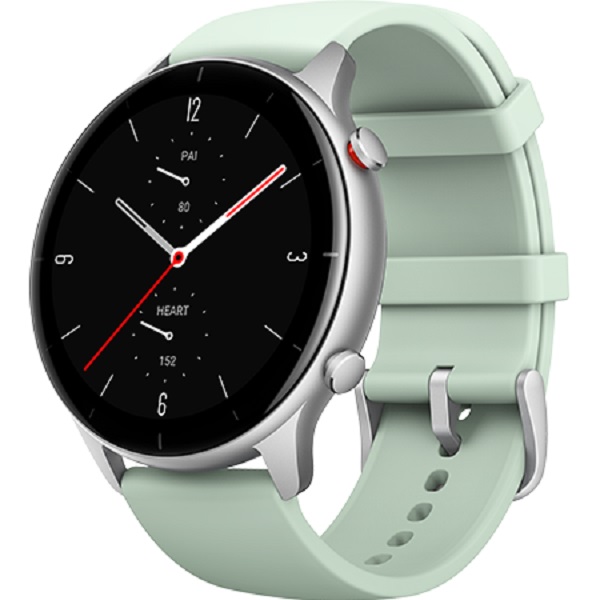
The Amazfit GTR 2e is a feature-packed smartwatch from Xiaomi that offers a range of exciting features and hidden advantages. Whether you’re a tech-savvy enthusiast or a casual user, this article will provide you with a comprehensive guide to unlocking the full potential of your Amazfit GTR 2e. From managing app alerts to optimizing battery life, we’ll explore various tips and tricks to enhance your experience with this remarkable device.
Turn on App Alerts
One of the key features of the Amazfit GTR 2e is its ability to receive app notifications directly on your wrist. To enable this feature, follow these simple steps:
- Launch the Amazfit App on your smartphone.
- Go to the Profile section.
- Select Amazfit GTR and navigate to App Alerts.
- Tap on the “Can’t access notifications” warning and grant access to notifications.
- Allow the Amazfit App to run in the background at all times.
- Tap on Manage Apps and choose the apps from which you want to receive notifications on your watch.
By customizing your app alerts, you can stay connected and informed without constantly checking your phone.
Change the Vibration Settings
The vibration settings on your Amazfit GTR 2e can be customized to suit your preferences. To adjust the vibration settings, follow these steps:
- Go to the Profile section in the Amazfit App.
- Select Amazfit GTR and navigate to Vibration.
- Choose the settings you want to change, such as the intensity or pattern of the vibration.
- Tap on the add button to save your custom vibration settings.
By personalizing the vibration settings, you can ensure that you never miss an important notification or alert.
Change Watch Faces
The Amazfit GTR 2e offers a variety of watch faces to suit your style and mood. To change the watch face on your device, follow these steps:
- Launch the Amazfit App on your smartphone.
- Go to the Profile section.
- Select Amazfit GTR and navigate to Watch Face Settings.
- Browse through the available watch faces and choose the one you want to apply.
- Sync the selected watch face with your Amazfit GTR 2e.
With a wide range of watch faces to choose from, you can personalize your device and make a statement with your wristwatch.
Activate Always On Display
The Always On Display feature allows you to keep the time and other important information visible on your Amazfit GTR 2e at all times. To activate this feature, follow these steps:
- Go to the Settings menu on your Amazfit GTR 2e.
- Navigate to the “Always On Display” option.
- Select your preferred dial from the available options.
- Confirm your selection, and the Always On Display feature will be enabled.
By enabling the Always On Display, you can conveniently check the time and other essential information without having to wake up your device.
Enable Auto-Brightness
The Auto-Brightness feature on the Amazfit GTR 2e adjusts the screen brightness automatically based on the ambient lighting conditions. To enable this feature, follow these steps:
- Swipe down on the home screen of your Amazfit GTR 2e to access the Quick Toggle Menu.
- Tap on the brightness icon.
- Look for the “A” icon, which represents auto-brightness.
- Tap on the “A” icon to enable auto-brightness.
With auto-brightness enabled, your Amazfit GTR 2e will automatically adjust the screen brightness to provide optimal visibility in any lighting situation.
How to Split-Screen
The split-screen feature on the Amazfit GTR 2e allows you to view two apps side by side, enhancing multitasking capabilities. To use the split-screen feature, follow these steps:
- Unlock your device and navigate to the Settings menu.
- Scroll down and find the Additional Settings option.
- Tap on Button Shortcuts and choose Open Split Screen.
- Select one of the available options and try opening Split Screen using your chosen gesture.
- To resize the split-screen, move the black line accordingly.
By utilizing the split-screen feature, you can effortlessly multitask and access multiple apps simultaneously on your Amazfit GTR 2e.
How to Format SD Card
If you have an SD card inserted in your Amazfit GTR 2e and want to format it, follow these steps:
- Open the list of Apps on your Amazfit GTR 2e.
- Find and select the Settings app.
- Within the Settings menu, look for the Storage option.
- Scroll down and tap on Format SD Card.
- Follow the prompts and confirm the formatting process.
Formatting an SD card can help optimize storage and resolve any issues related to the card.
How to Manage Auto-Update
The Amazfit GTR 2e allows you to control the auto-update settings for your apps. To manage auto-update, follow these steps:
- Open the Google Play Store on your smartphone.
- Tap on the Menu icon.
- Find and select the Settings option.
- Tap on Auto-Updates App.
- From the available options, choose whether you want to disable auto-updates completely, allow them at any time, or only over Wi-Fi.
By managing auto-update settings, you can ensure that your apps are updated according to your preferences.
How to Take a Screenshot
Capturing a screenshot on your Amazfit GTR 2e is a simple process. To take a screenshot, follow these steps:
- Press and hold the Home and Sleep/Wake buttons together.
- After holding the buttons for a moment, the screen will flash automatically.
- Release the buttons, and the screenshot will be saved as a new image in your Photo Gallery.
Taking screenshots can be helpful for capturing important information or sharing your Amazfit GTR 2e’s screen with others.
How to Clear Application Data
If you want to clear the data and settings of a specific application on your Amazfit GTR 2e, follow these steps:
- Turn on your device and open the Main Menu.
- Tap on Settings, and then select Application Manager.
- In the Application Manager, select the ALL tab.
- Choose the application for which you want to erase data and settings.
- Tap on the Clear Data option.
- Confirm the operation when prompted and touch OK to start the process.
Clearing application data can help resolve issues or free up storage space on your Amazfit GTR 2e.
How to Strengthen the Network
If you’re experiencing weak network connectivity on your Amazfit GTR 2e, you can take the following steps to strengthen the network:
- Go to the Settings menu on your Amazfit GTR 2e.
- Choose the option More Networks in the Connection settings.
- Tap on Mobile Networks.
- Change the network from 3G to 2G.
Note: For more advanced network strengthening options, you can consider using a repeater or an external 3G/GMS antenna. However, these options may come with additional costs.
By optimizing the network settings, you can improve the connectivity and performance of your Amazfit GTR 2e.
How to Detect Battery-Draining Apps
To identify which apps are draining your Amazfit GTR 2e’s battery, follow these steps:
- Install the OS Monitor app from the Google Play Store.
- Open the OS Monitor app and tap on Options.
- Select the option “Show CPU Usage.”
- The CPU meter will appear in the notifications area.
- If you notice that your battery is draining even when you’re not actively using your device, it may indicate the presence of energy-draining apps.
- Uninstall or optimize these apps to improve battery life.
By identifying and addressing battery-draining apps, you can extend the battery life of your Amazfit GTR 2e and enhance its overall performance.
Conclusion
The Amazfit GTR 2e is a powerful and versatile smartwatch that offers a range of features and customization options. By implementing the tips and tricks discussed in this article, you can unlock hidden features, personalize your device, and optimize its performance. Remember to refer back to this guide whenever you encounter any issues or want to explore new possibilities with your Amazfit GTR 2e. Enjoy your enhanced smartwatch experience!
Experiencing difficulties with your Device, check out our “How To” page on how to resolve some of these issues.