Being able to keep your eye on data traffic details can be incredibly useful. I’ve used a network monitor program on Windows for years but most companies don’t include an easily glanceable option for Android. Thankfully, we can add one right into the Status Bar with Xposed Framework.
Now, if you want a simple data traffic monitor (that can even sit in the Status Bar), then you can grab one of the many options that are available in the Play Store. This is an area where Android excels because of the large number of options that are available. There is bound to be one that fits your style but even still, 3rd-party applications from the Play Store are limited in what they can do and where they can display a particular piece of data.
So, if you don’t mind having a persistent notification with a Status Bar icon on the left side then you should definitely look into those Play Store applications.
However, if you want to control the placement of this Status Bar icon, and even have a great number of customization options then you’ll want to look no further than the GravityBox module for Xposed Framework. There’s a couple of different styles available in this module with a lot of ways to customize it.
As with these other guides, you will need to have Xposed Framework installed along with the GravityBox module in order enable this feature.
Add a Data Traffic Monitor
- Launch the GravityBox application
- Tap the Statusbar Tweaks option
- Then tap the Data Traffic Monitor option
- And enable it by tapping the Data Traffic Monitor Style option
- Then customize its options if you want
Explanation
As mentioned, there are a lot of data traffic monitor applications available in the Play Store. Some will only display the information inside the application itself and this can be a hassle because it forces you to leave whatever app you’re in now and open up another one just to see the details. However, the more popular options in the Play Store will also come with a persistent notification, a Status Bar icon or both. There are even some that will let you pick between them.
However, sometimes having a notification sitting in the Notification Shade at all times can be annoying. There are also some people who dislike having a persistent icon in the left side of the Status Bar because those are to be reserved for actionable or recent notifications and/or alerts. You will likely want most of the icons sitting in the Status Bar at all times to be on the right side with others including WiFi/cellular signal, time, battery level, etc.

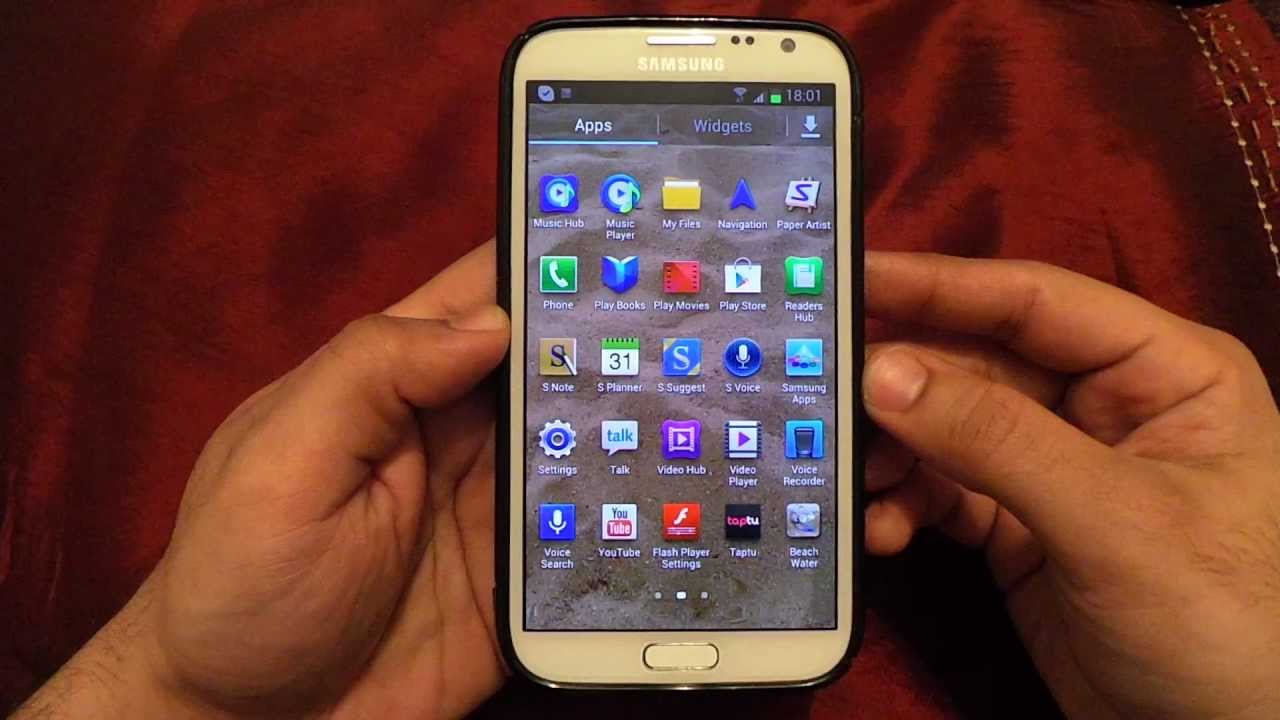
So for those of us who want things to be a bit more organized, or those who don’t want to be limited to the placement of the icon, we can use the GravityBox module. Once installed and activated through Xposed Framework, you can launch the application and then tap on the Statusbar Tweaks option. From here, tap on the Data Traffic Monitor option toward the bottom and then tap on the Data Traffic Monitor Style option to enable or disable it.
By default, it will be disabled but you can set it to a couple of different styles from here. At least on my version of the Oreo GravityBox module, I can choose between the Simple or Omni style right from this menu option. Once I pick one of those two styles, a number of customization options appear at the bottom. This way you can control the position of the icon, whether or not it is displayed on the Lock Screen, if you want it to show you mobile data only (or both mobile data and WiFi data), and more.
Be sure to check the embedded video above for a demonstration of what this feature is capable of.