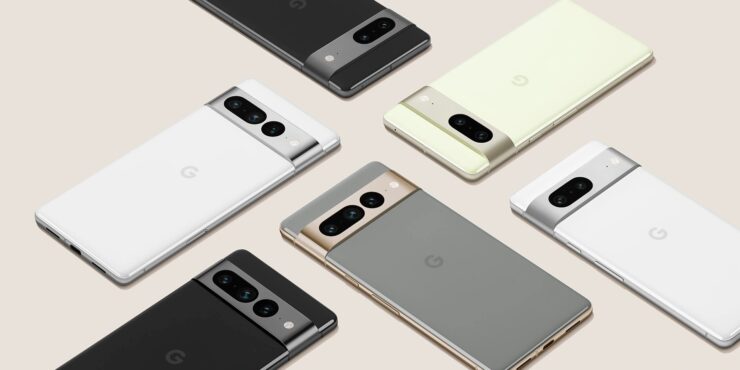
Are you the proud owner of a Google Pixel 7 Pro smartphone? If so, you may be interested to know that your device has a stunning 1440p QHD+ resolution display. However, you might be surprised to learn that this feature is disabled by default, limiting your display to 1080p full HD+. But fear not, enabling the full resolution mode on your Google Pixel 7 Pro is a simple process that can enhance your viewing experience. In this guide, we will walk you through the steps to enable the full resolution mode on your Google Pixel 7 Pro, along with some useful tips and considerations.
Why Enable Full Resolution Mode?
Before we dive into the steps, let’s understand why you might want to enable the full resolution mode on your Google Pixel 7 Pro. The higher resolution display offers sharper and more detailed visuals, making everything from photos to videos and text appear crisper and more vibrant. This can greatly enhance your overall viewing experience, especially when consuming media or using your smartphone for productivity tasks that require precise details.
It’s important to note that enabling the full resolution mode may have a slight impact on battery life, as the device needs to render everything in higher resolution. However, our research shows that the additional battery usage is minimal, and it largely depends on your usage patterns. So, if you’re ready to take advantage of the stunning display capabilities of your Google Pixel 7 Pro, let’s get started!
Step-by-Step Guide to Enable Full Resolution Mode
- Open the Settings Application: Start by opening the Settings application on your Google Pixel 7 Pro. You can access the Settings app by locating its icon, usually represented by a gear or cogwheel, on your home screen or app drawer.
- Scroll and Select Display: Once you’re in the Settings app, scroll down to find and select the “Display” option. It’s usually located among the various settings categories, such as “Network & Internet,” “Security,” and “Sound.”
- Locate Screen Resolution: Within the Display settings, scroll down until you find the option labeled “Screen Resolution.” By default, this setting is set to 1080p, which means your device is currently operating at full HD+ resolution.
- Switch to Full Resolution Mode: Tap on the “Screen Resolution” option to access the available resolution modes. Here, you’ll see a list of resolution options, including the desired 1440p QHD+ mode. Select the full resolution mode to switch your Google Pixel 7 Pro to its maximum resolution.
- Transition and Considerations: When you switch to the full resolution mode, you may notice a slight blip on the screen, and some applications or games may need to restart as Android adjusts to the higher resolution. It’s important to be aware of this transition, but it shouldn’t significantly impact your overall experience.
Tips for Optimizing Battery Life
As mentioned earlier, enabling the full resolution mode may slightly affect your battery life. However, there are a few tips you can follow to optimize your battery usage while still enjoying the benefits of the higher resolution display:
- Adjust Brightness: Lowering the brightness level of your screen can help conserve battery life. Consider using auto-brightness or manually adjusting it to a comfortable level based on your surroundings.
- Use Battery Optimization Features: Android devices offer various battery optimization features that can help extend battery life. Explore the battery settings on your Google Pixel 7 Pro and enable any available features that suit your needs.
- Limit Background Activities: Apps running in the background can consume additional battery power. Review your app settings and restrict background activities for apps that you don’t frequently use or that aren’t essential.
- Monitor Battery Usage: Keep an eye on the battery usage in your device settings. This feature allows you to identify any apps or processes that are consuming excessive battery power, enabling you to take appropriate action.
Conclusion
Congratulations! You have successfully enabled the full resolution mode on your Google Pixel 7 Pro, unlocking the true potential of its stunning display. By following the simple steps outlined in this guide, you can enjoy sharper, more detailed visuals on your device. Remember to consider the minor impact on battery life and optimize your settings accordingly. We hope this guide has been helpful in enhancing your Google Pixel 7 Pro experience.
Experiencing difficulties with your Device, check out our “How To” page on how to resolve some of these issues.


