
Android typically uses Fastboot Mode to unbrick the device but Samsung is different. Since it doesn’t have a Fastboot Mode we have to boot into Download Mode (also called Odin Mode) to get your smartphone working again. This means you need Odin and a freshly downloaded firmware for your specific Galaxy S10.
Using a program with a GUI like Odin is oftentimes preferred when compared to the alternative. The end result is the same thing though and that means this tutorial will walk you through how to unbrick the Samsung Galaxy S10, Galaxy S10+, and the Galaxy S10e. Just make sure you download the proper firmware.
When I say that, I don’t mean to just download any Galaxy S10 firmware because you have that phone (instead of the S10+ or the S10e). I mean, you need to make sure you have downloaded the exact firmware for your device. This oftentimes means you need to know what region (and/or the wireless carrier) your device is from.
It also means you may need to know what carrier your device was made for as well. This isn’t an issue for those who bought their Galaxy S10 from an official retailer but it can be confusing to figure out if you picked up yours from a 3rd-party reseller (like I did). As it turns out, my Galaxy S10+ has a region origin of Panama.
You can find this out by using the Phone Info application from the Play Store.
Warning – Completing the tutorial listed below will wipe all of the data from your smartphone. This includes SMS text messages, photos, videos, apps, games, contacts and anything else. Make sure you manually back up your data to your PC or in the cloud.
How to Unbrick the Samsung Galaxy S10, S10+ and S10e
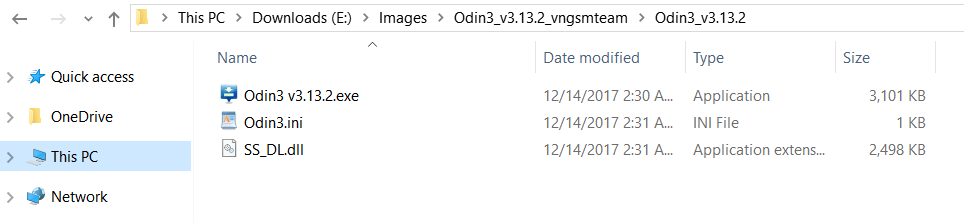
- Download and extract Odin version 3.13.2 onto the PC
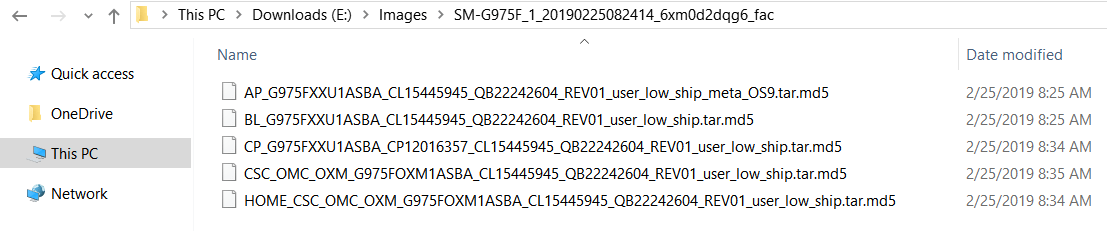
- Download the Samsung firmware that matches your specific version of the Galaxy S10
I recommend sources like SamMobile, Updato, and SamFirm. SamFirm generally gives faster downloads, but requires additional steps (grab version 0.3.6 if you use it).
- Extract the firmware files into a folder on your computer
- Boot the Galaxy S10 into Download Mode

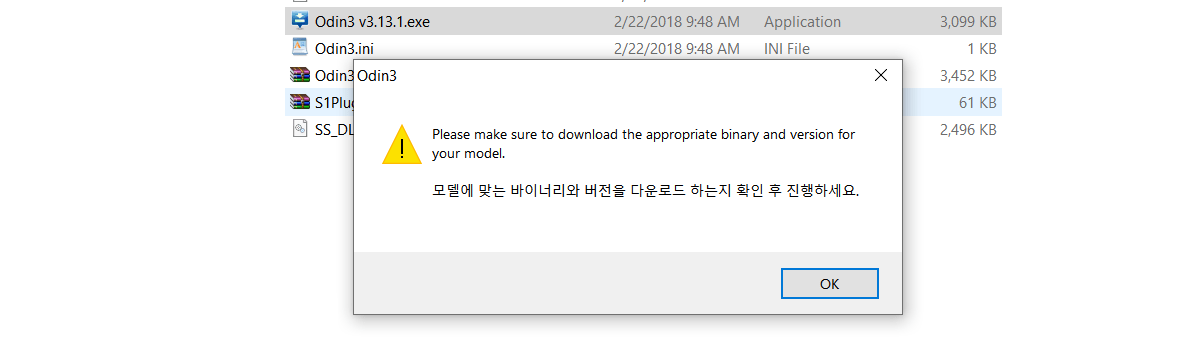
- Open up Odin and click the OK button to bypass the warning
This is just a reminder to make sure you downloaded the firmware version that matches your device
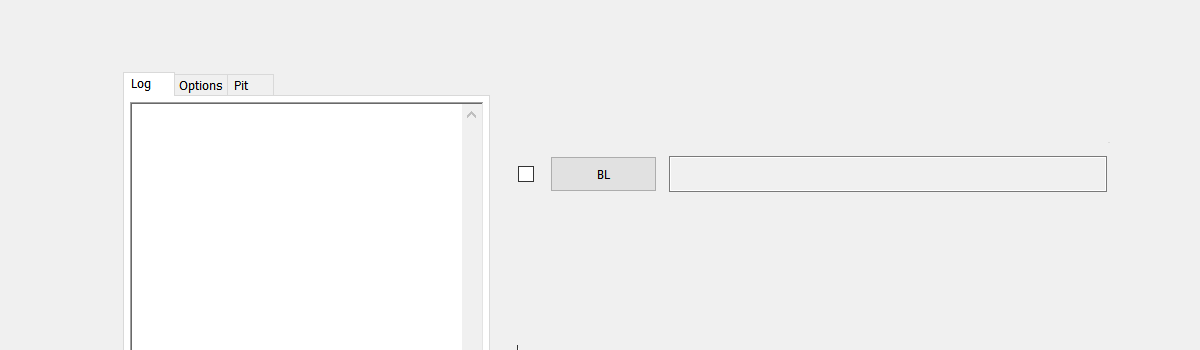
- Click the BL button, then browse to and select the firmware file that begins with BL
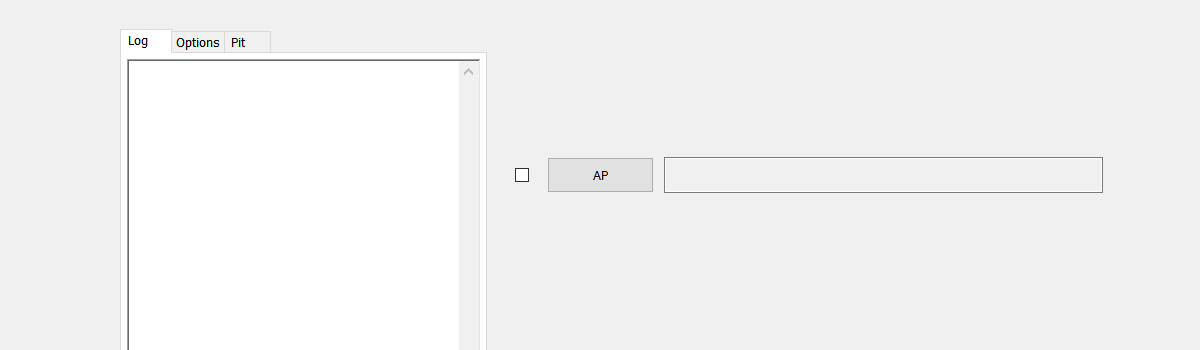
- Click the AP button, then browse to and select the firmware file that begins with AP
This file is big so wait a minute or two to allow Odin to fully load this 4GB+ file
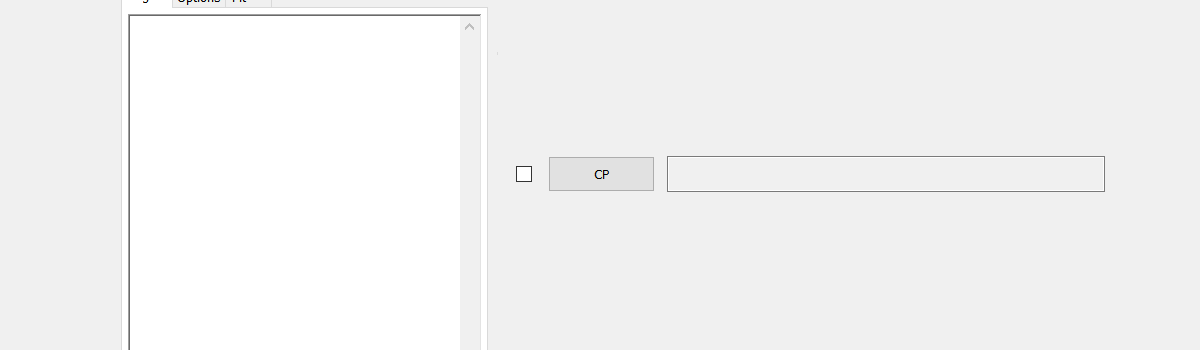
- Click the CP button, the browse to and select the firmware file that begins with CP
- Then click the CSC button, and browse to then select the firmware file that begins with CSC

- You will even want to click on the Options tab to make sure the Re-Partition option is NOT checked
- Once all four files are loaded into Odin, click the Start button
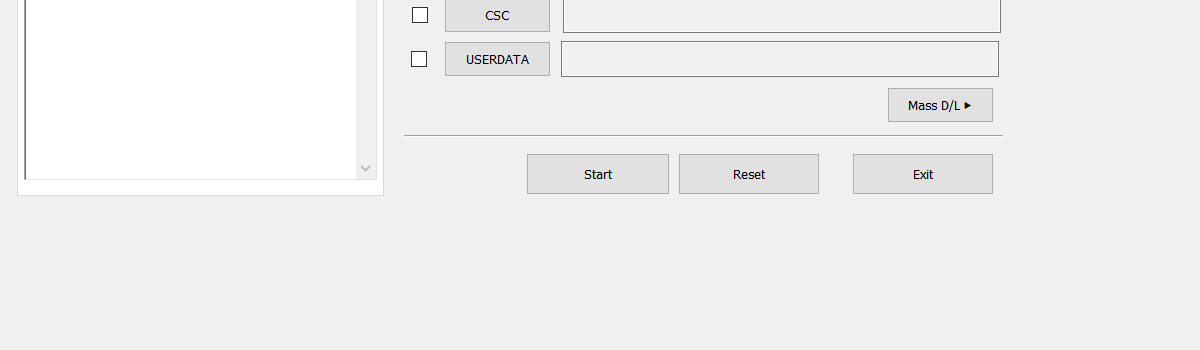
- Wait for the green PASS status message to appear in Odin and the Galaxy S10 will reboot on its own

- Then, simply wait until the Galaxy S10, S10+, or S10e boots back up so you can activate Android and log into your Google/Samsung accounts again
This is all quite routine for anyone who has owned a Samsung device in the past. You may not have ever needed to, or wanted to, install a fresh firmware as we did here. However, nothing has really changed with the unbrick process when compared to the last handful of generations.
You will likely need the updated version of Odin. I have read that it isn’t required but I was having some sort of USB error when I tried using the older version. It was recommended that it was due to me having 3.x USB ports and not a 2.0 one, but I was able to get by that issue just fine by switching ports, upgrading Odin, and restarting the Galaxy S10+ I have.
I have gone ahead and linked the updated version of Odin in the step by step guide above. Since I was able to get passed the issue I was having by using that version, I recommend it over an older one. But again, it could have been any combination of those other things I did that fixed it.
Galaxy S10, S10 Lite, S10+, and S10e Unbrick Process
The key point here is to make sure that you download the correct version of the firmware for your specific device. This goes beyond just making sure the models match up (S10, S10+, S10e) but also include the region as well as the carrier. It is generally not advised to install a carrier version on your device that you aren’t using on that specific carrier.
Most firmware downloads from around the world don’t have a carrier attached to it. Such as mine, there is just one version of the Panama software available for the Exynos Galaxy S10+ that I bought from a reseller. Unlike some countries where Samsung has multiple firmware downloads for each device and each carrier within that country.
Unless you know what you’re doing, simply go for the same version of the firmware that you had on it when you pulled it out of the box.
Once everything is done though (as shown from the video above), your Galaxy S10 series smartphone will reboot on its own and you will be sitting through a longer than normal boot cycle. This is because we have just done a factory reset on the phone and we have to wait for Android and Samsung to get stuff setup again.
These longer than normal reboots only happen when we wipe data. So once you have Android activated again and your account set up, your subsequent reboots will not take as long.