


This guide you walk you through the entire process to get Magisk installed on the Galaxy S8 or S8+, and gaining root access to the device.
There are multiple ways to gain root access to the Galaxy S8 and Galaxy S8+, but since Magisk is gaining popularity, I’ll be covering this today. In a future guide, I will walk you through how to root the Galaxy S8 with SuperSU, but for now we’ll stick with Magisk. The developer of Magisk even bases their root solution off phh’s open source superuser tool.
A lot of people would rather have an open source superuser solution in the first place. So before we begin, you need to have followed the guide on how to unlock the bootloader of the Galaxy S8.
Once that is completed, then you need to follow the guide on how to install TWRP on the Galaxy S8. While this next step is optional, I would then advise that you follow the guide on how to create a Nandroid backup on the Galaxy S8. We’re about to install a big modification on the device so it’s always smart to have a recent backup completed before we do that.
With all of that completed, you’re now safe to proceed with how to install Magisk on the Galaxy S8 while also gaining root access.
Note – If you want to root the Galaxy S8 with SuperSU instead, then you can follow this linked guide.
Galaxy S8 Install Magisk
- Download Magisk from XDA
- Download the uninstaller for Magisk
- Have these two files on the local storage of the Galaxy S8
- Power off the Galaxy S8
- Boot the Galaxy S8 into Recovery Mode
- Tap on the Install button
- Browse to and tap on the Magisk installer .ZIP file (from Step 1)
- Swipe the white arrows to the right to confirm the installation
- Wait for Magisk to be installed
- And tap the Reboot System button when it appears
- Wait until the Galaxy S8 boots into Android
- Open up the Application Drawer
- Launch the Magisk Manager application to see if installed properly
Explanation
Along with preferring an open source root solution, many people choose Magisk over SuperSU these days because of the additional features that it provides. This can be the Magisk Hide toggle so you can bypass SafetyNet checks, or the popular Magisk Modules that can be compared to the popular Xposed Framework project. And while SuperSU has shifted to a systemless method, some choose Magisk because of how easy it is to accept an OTA update even while you have root access.
Whatever your reasons are, this guide will walk you through how to get Magisk installed on the Galaxy S8. As long as you have followed through with the requirements linked above the step by step guide, we can then proceed. You’ll want to download the Magisk ZIP file from either XDA or the mirror, and I also recommend that you have the Magisk uninstaller ZIP file on the Galaxy S8 or Galaxy S8+ as well. Just in case something goes wrong.

We can then power down the Galaxy S8 and the boot up into Recovery Mode. If you’ve ever installed anything in TWRP before then this process will feel very familiar. We just want to tap on the Install button and then browse to where the Magisk ZIP file is located. Tap on the Magisk ZIP file and then swipe the white arrows to the right. This will start the installation process and it shouldn’t take more than a minute or two. You’ll even see the text in the logs telling you exactly what the mod is doing.
When Magisk is installed on the Galaxy S8, you’ll see two buttons appear at the bottom of the screen. If you want to do anything else in TWRP right now, you can press the Home button and do that, but if you’re done then you can tap the Reboot System button just like I did in the video above. This will reboot the Galaxy S8 and take you right back into Android. If anything goes wrong and you get into a bootloop, then boot back into TWRP and flash that uninstaller ZIP file.

Just like I showed in the video though, the process should work flawlessly and you should then see the Magisk Manager application in the App Drawer. You can then open the Magisk Manager application to see that Magisk is installed properly, and you have root on the Galaxy S8 thanks to MagiskSU. You’re now done with the process and can install your root applications if you would like.
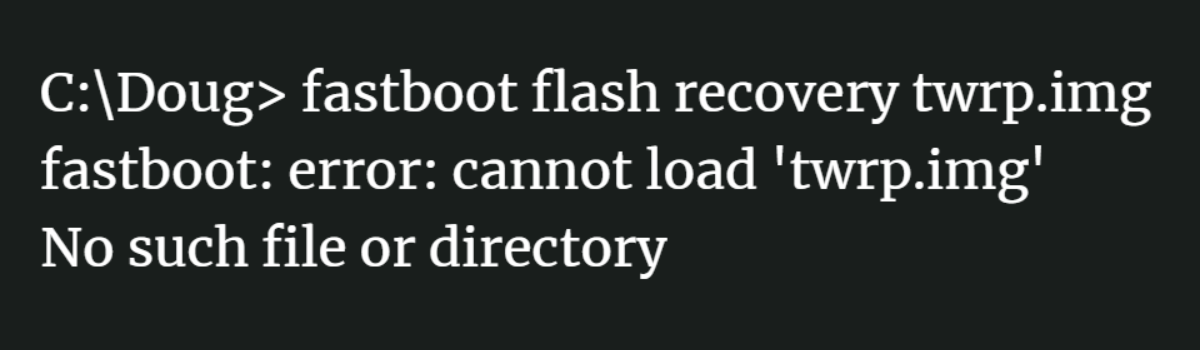

https://uploads.disquscdn.com/images/6ca92eb82988a8cd0fe8f3b44506eadbe6814f3de5f9988b46ea996b1c2375f9.jpg Hi and thank’s for your tutorial.
I installed Magisk 13.3. (what is the latest version) and when i run Root Checker i get the message “stage 2. superuser binaries not installed”. Next comes Stage 3 – Root User Account: Success. Got any idea how to solve the issue?
Thank you
Fred
Would I still get Samsung official updates with this?
No, you will need to manually flash new updates if you unlock and root the phone. Flashing updates in this way will wipe the data each tiem
Why does it say “some choose Magisk because of how easy it is to accept an OTA update even while you have root access”?