Are you experiencing network connectivity issues on your PlayStation 4 (PS4) console? Are you frequently encountering disconnections or high ping rates? If so, the problem could be related to your Network Address Translation (NAT) type. In this comprehensive guide, we will explain what NAT type is, the different types of NAT on PS4, and provide step-by-step instructions on how to change your NAT type to resolve common network issues.
NAT, or Network Address Translation, is a technology that allows multiple devices to connect to the internet through a single IP address. It acts as a virtual barrier between your local network and the internet, protecting your devices from unauthorized access. On PS4, there are three main NAT types:
NAT Type 1: Open
NAT Type 1, also known as Open, provides a direct connection to the internet without any restrictions. This type of NAT allows your PS4 to connect to all players, regardless of their NAT type. However, it is important to note that NAT Type 1 can leave your network vulnerable to security threats, so it is not recommended to set your router to this type.
NAT Type 2: Moderate
NAT Type 2, also known as Moderate, is the recommended NAT type for most PS4 users. With NAT Type 2, your PS4 is connected to the internet through a router that bypasses certain security restrictions, allowing for smooth gameplay and online interactions. It offers a good balance between security and connectivity.
NAT Type 3: Strict
NAT Type 3, also known as Strict, is the most restrictive NAT type. With NAT Type 3, your PS4 is connected to the internet through a router that does not bypass security restrictions. This can lead to limited connectivity, higher latency, and potential issues with online functions. NAT Type 3 is not ideal for online gaming and may require additional configuration to improve network performance.
1. Checking Your PS4 NAT Type
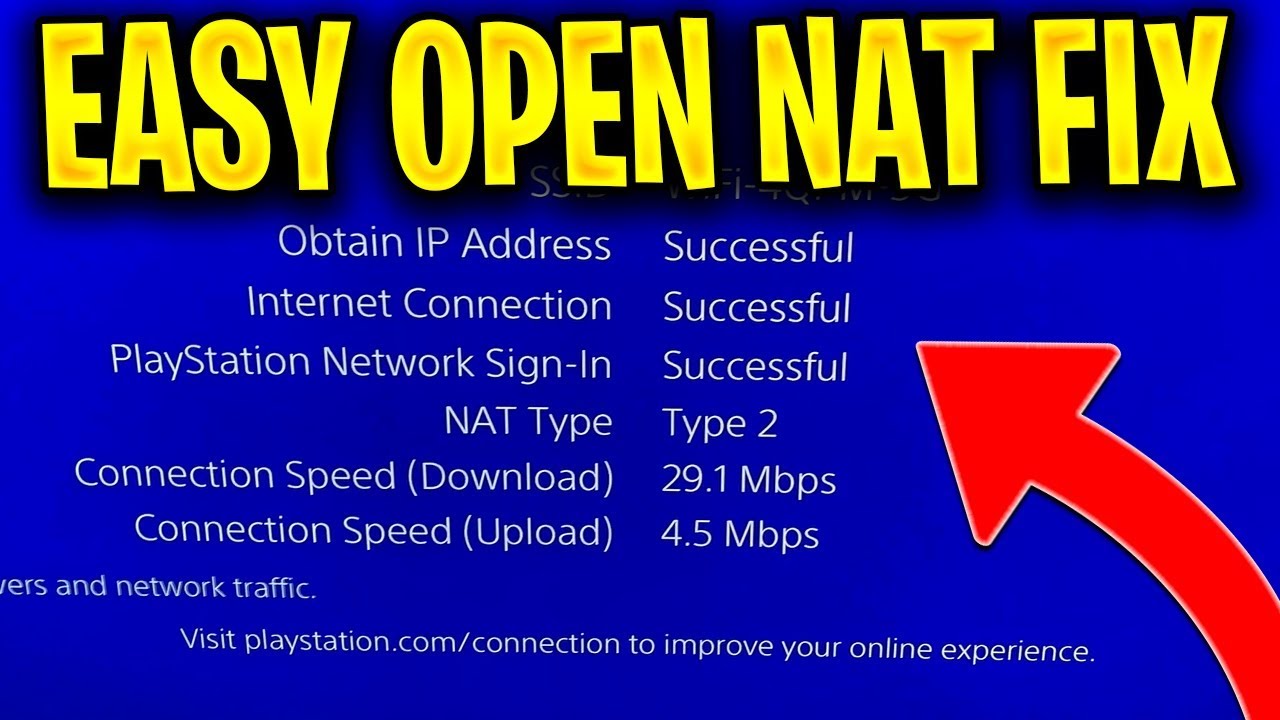
Before you can change your NAT type, it is important to identify the current NAT type of your PS4. Here’s how you can check your PS4 NAT type:
- On your PS4 system, navigate to the Settings menu.
- Select the Network option.
- Choose View Connection Status.
- Look for the NAT Type information, which will be displayed at the bottom of the page.
Make a note of your current NAT type, as it will help you determine the necessary steps to change it.
2. Changing Your PS4 NAT Type
Changing your PS4 NAT type involves accessing your router’s admin panel and making specific configurations. The exact steps can vary depending on your router model, but the following general instructions will guide you through the process:
Step 1: Accessing Your Router’s Admin Panel
To access your router’s admin panel, follow these steps:
- Open a web browser on a device connected to your network.
- Enter the IP address of your router into the browser’s address bar. The default IP address is often 192.168.1.1, but it may vary depending on your router model.
- If prompted, enter your router’s username and password. This information is usually printed on the router or provided in the router’s user manual.
Step 2: Enabling Universal Plug and Play (UPnP)
After accessing your router’s admin panel, locate the setting for Universal Plug and Play (UPnP). Enabling UPnP allows your PS4 to automatically configure the necessary network settings for optimal connectivity. Here’s how to enable UPnP:
- Look for a section called “media” or something similar in your router’s admin panel.
- Find the UPnP setting within that section and enable it. If you can’t find a “media” section, explore other sections as UPnP settings may be located elsewhere.
Enabling UPnP will help improve your PS4’s connectivity, but it may not be enough to change your NAT type. In that case, you’ll need to proceed to the next step.
Step 3: Forwarding Ports to Your PS4
If enabling UPnP doesn’t change your NAT type, you can manually forward specific ports to your PS4. Port forwarding allows incoming connections to reach your PS4 without being blocked by your router’s firewall. Here’s how to forward ports to your PS4:
- Locate the port forwarding settings in your router’s admin panel. This setting is typically found under a section called “Forwarding,” “Applications,” or “Virtual Servers.”
- Add the following ports for both TCP and UDP protocols: 80, 443, 3478, 3479, 3480. These ports are used by the PlayStation Network services and games.
- Assign your PS4’s IP address to each of these ports. Refer to your router’s documentation or the guide provided by the router manufacturer for instructions on how to assign a static IP address to your PS4.
- Save the changes in your router’s admin panel.
After forwarding the necessary ports and rebooting your console, you should check your PS4’s NAT type to see if it has changed. If not, there may be additional ports required for specific games. Consult the online support pages for the game in question for information on additional port forwarding requirements.
3. Recommended Port Forwarding
When configuring port forwarding for your PS4, it is important to open the correct ports to ensure optimal connectivity. Here are the recommended port numbers for connecting your PS4 console to the PlayStation Network’s services:
- TCP: 80, 443, 3478, 3479, 3480
- UDP: 3478, 3479
By forwarding these ports to your PS4, you can improve your network performance and potentially change your NAT type to a more desirable one.
4. Restarting Your PS4 and Network Connection
If you have followed the steps above and your NAT type hasn’t changed, or if you continue to experience network issues, restarting your PS4 and network connection can often resolve common connectivity problems. Here’s how to do it:
Rebooting Your PS4
- Press and hold the power button on the front of your PS4 console for at least 7 seconds.
- The system will beep twice and then turn off.
- Press the power button again to turn on your PS4.
Rebooting Your Network Connection
- Unplug the power cable from both your modem and router.
- Verify that all lights on the modem and router are off.
- After waiting for 30 seconds, plug the power cable back into your modem and then your router.
- It may take a minute or two for the internet connection to reestablish.
After rebooting your PS4 and network connection, check your NAT type again to see if it has changed. If not, you may need to explore further troubleshooting steps or consider contacting your internet service provider for assistance.
5. Troubleshooting NAT Type Failed Error
If you encounter the “NAT Type Failed” error while testing your PS4’s internet connection, there are a few additional steps you can take to troubleshoot the issue:
- Restart your PS4 and network connection, as described in the previous section.
- Update your router’s firmware to the latest version. Check the manufacturer’s website for instructions on how to update the firmware.
- Disable any VPN or proxy settings on your router, as they can interfere with your PS4’s network connection.
- If you’re using a wireless connection, try connecting your PS4 directly to the router using an Ethernet cable to rule out any wireless interference.
If these troubleshooting steps don’t resolve the NAT Type Failed error, it’s recommended to consult the official support channels provided by Sony or contact your internet service provider for further assistance.
6. Additional Tips for Improving Network Performance
Changing your NAT type is just one step towards optimizing your network performance on PS4. Here are some additional tips to improve your gaming experience:
- Position your router in a central location to minimize signal interference and maximize coverage.
- Use a wired Ethernet connection for your PS4 whenever possible to reduce latency and improve stability.
- Close bandwidth-intensive applications or devices that may be consuming network resources.
- Regularly update your router’s firmware to ensure compatibility with the latest networking standards and security protocols.
- Consider upgrading your internet plan to a higher speed if you frequently experience slow download or upload speeds.
Remember, network performance can be influenced by various factors, including internet service provider limitations, network congestion, and the quality of your home network setup. By following these tips and troubleshooting steps, you can optimize your network connection and enjoy a smoother gaming experience on your PS4.
Conclusion
In conclusion, understanding and changing your NAT type on PS4 can greatly improve your online gaming experience. By following the steps outlined in this comprehensive guide, you can identify your current NAT type, make the necessary configurations on your router, and potentially change your NAT type to a more desirable one. Remember to prioritize security while optimizing connectivity and always refer to official documentation or support channels for specific game requirements. With these tips and tricks, you’ll be able to enjoy seamless online gaming on your PS4.
Experiencing difficulties with your Device, check out our “How To” page on how to resolve some of these issues.