Just like all the other new versions of Windows OS, Windows 11 offers power mode settings to allow you to control the amount of power consumed by your computer. This implies that just like the previous versions, Windows 11 will let you set up your device differently so that you can balance its performance with the energy consumed. However, in Windows 11, this feature has been shifted from the battery slider directly into the Settings app. So, you might be having a tough time getting hold of the power settings. Worry not, because here we will discuss a detailed guide to check out the various ways to change power mode on Windows 11 to boost its battery life while increasing system performance.
Guide to Change Power Mode on Windows 11
Method 1: Change Power Mode from Settings App
The simplest way to change power mode settings on Windows 11 is by using the Settings app. Here is how to do it:
Open Settings– use the Windows 11 shortcut Win + I. Click on “System” button on the left sidebar, then select “Power” or “Power and Battery” from the right side menu.
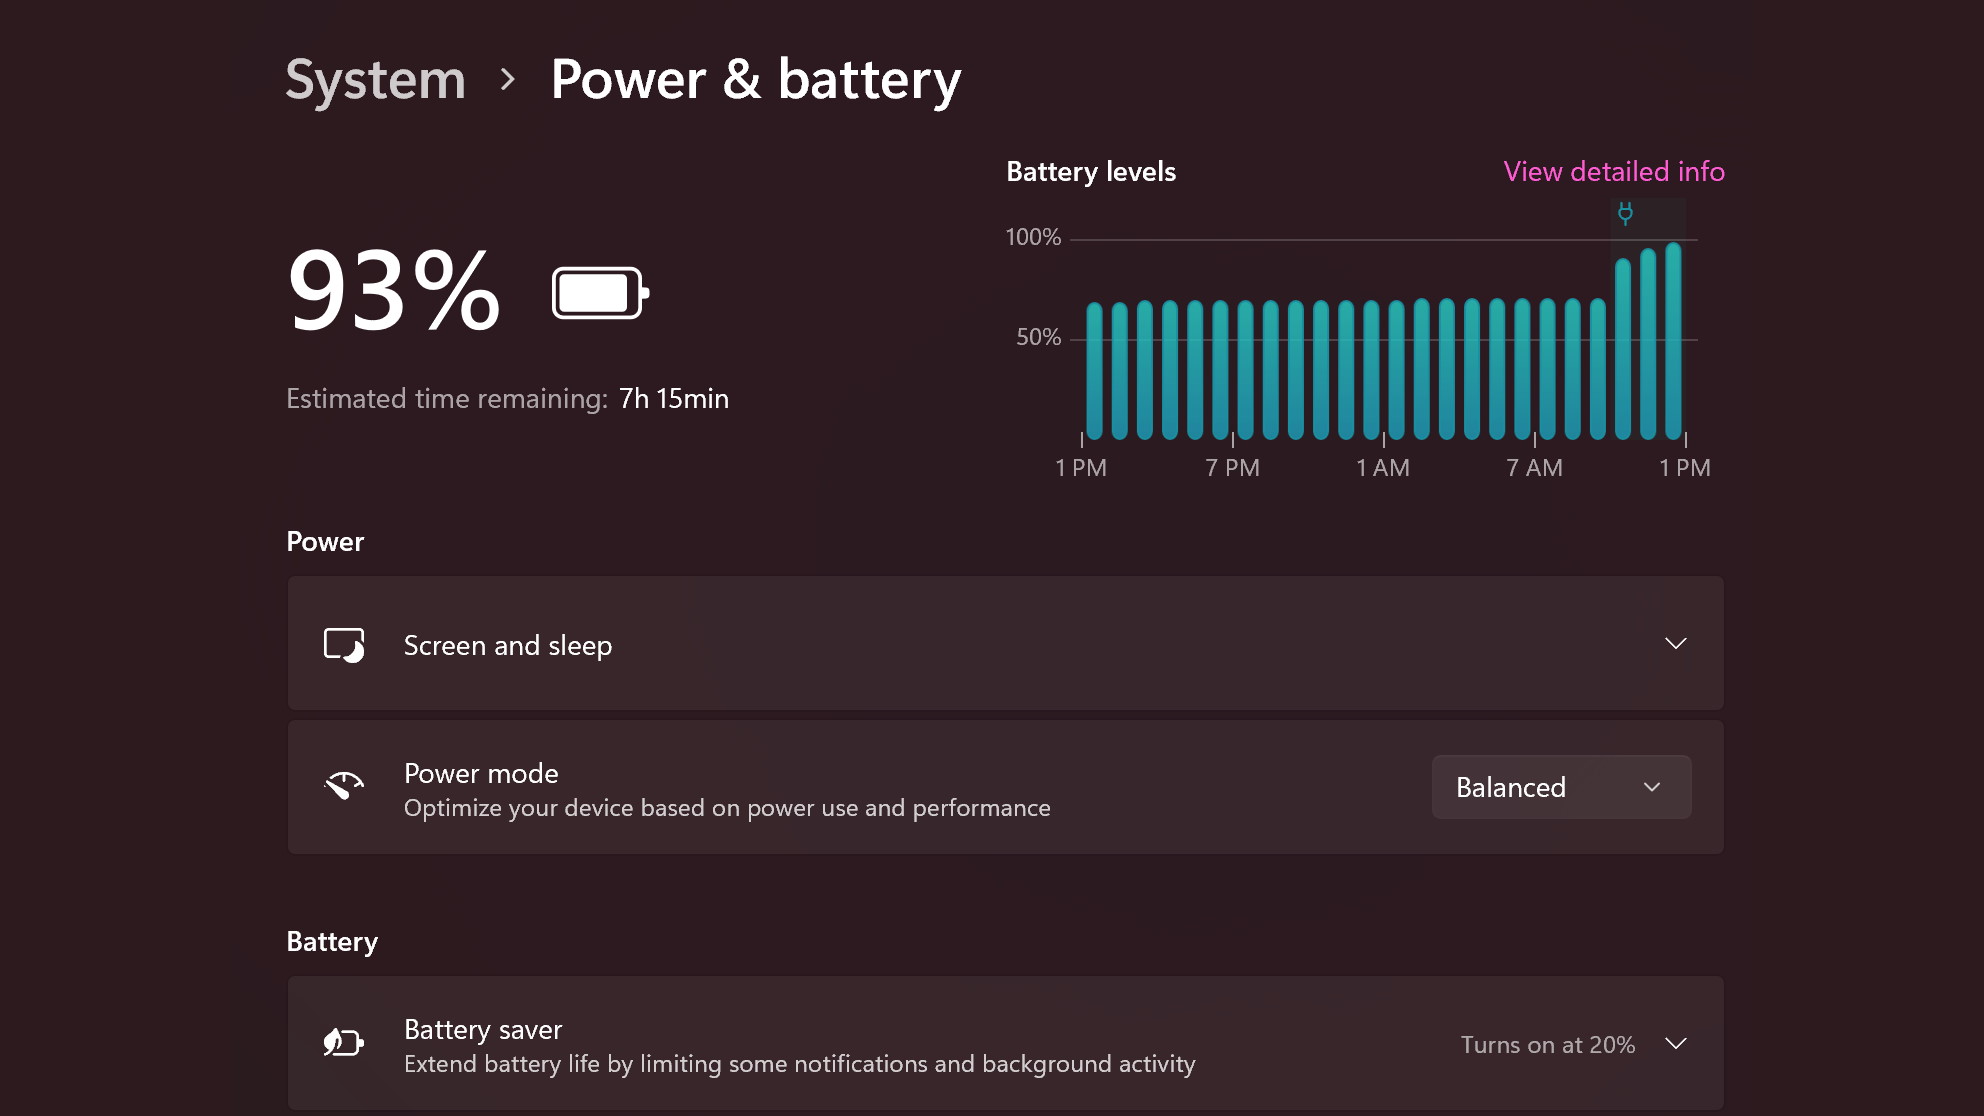
Scroll over and reach “Power mode” to open the drop-down list that should show Balanced by default. You can choose between the 3 modes: Best performance, Balanced, Best power efficiency.
All the changes made are automatically saved. Windows 11 can now offer better performance with greater battery consumption or higher battery life with slower performance based on the selected mode. Note here that the “Balanced” option is the middle path between the two extremes.
You are also allowed to customize your settings based on when your Windows 11 PC will be inactive before turning off the screen and going to sleep. To do this, maximize the “Screen and Sleep” tab and choose the preferred duration from the drop-down list.
This way, you can successfully change the power mode by using the Setting menu on any Windows 11 computer.
Method 2: Change Power Mode from Control Panel
The second option for changing the power modes on Windows 11 is via Control Panel. This technique is much similar to the power mode settings on Windows 10, so a lot of you are probably already familiar with it. To do this, here are the steps as follows:
Go to Control Panel on the Windows 11 computer. For this, you have to search for “control” in your search bar, then select “Control Panel”.
Here, ensure that you use “Icons” view and then select “Power Options“.
Now, you can select the desired power mode for your Windows 11 PC. The options available will include High Performance, Balanced, and Power Saver. In case any of these three plans do not show up on your PC, you will have to click “Show additional plans” on the bottom of the screen to check all plans. You have the option of either selecting any of these plans, keeping the default option, or selecting the “Change Plan Settings” button beside the preferred mode and suiting it to your requirements.
It is also possible to create a new power plan according to your liking. You just have to click on “Create a power plan” button on your left sidebar.
After clicking on “Change Plan Settings“, it’s now possible to change the power plans to decide how long the computer has to remain inactive before going to sleep or turning off the screen. You might want to check the “Change Advanced Power Settings” tab to make any more changes to your power plans. You should click on “Save Changes” to save your work done.
Conclusion
Clearly, switching the power modes on Windows 11 is fairly easy, and can be done successfully using any of the two separate methods in Windows 11. Once you have completely understood the process of changing power modes, it’s advisable to check out the ways to boost the battery life of your Windows laptop as well as how you can keep track of your screen time in Windows 11. Thus, you can be well equipped to handle your computer and get optimum performance from your Windows11 PC.
Experiencing difficulties with your Device, check out our “How To” page on how to resolve some of these issue