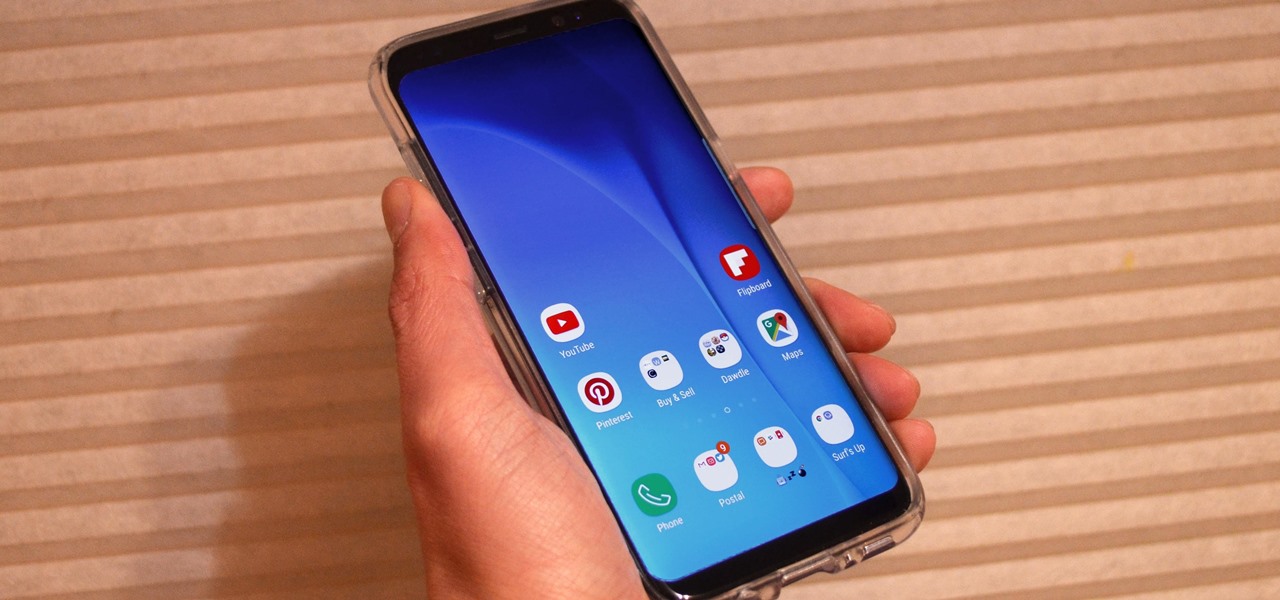
In recent years, the trend of using on-screen navigation buttons instead of hardware buttons has become increasingly popular among Android smartphone manufacturers. While this change offers certain benefits, such as increased screen real estate, some users find the constant presence of these buttons to be a bit annoying, especially when using specific apps. If you are one of those users looking to hide the on-screen navigation buttons and even the status bar for a more immersive experience on your Android device, you’re in luck. In this article, we will guide you through the process of enabling systemwide immersive mode on any Android device without the need for root access.
Pre-requisites for Enabling the “Immersive Mode”
Before we dive into the steps for enabling immersive mode on your Android device, there are a few prerequisites you need to fulfill:
1. Enabling Developer Options and USB Debugging
The first step is to enable Developer Options and USB Debugging on your Android device. To do this, follow these simple steps:
- Go to Settings on your Android device.
- Scroll down and tap on About Phone.
- Locate the Build Number option and tap on it 5-6 times. This will enable Developer Options on your device.
- Go back to the main Settings menu and you will find a new option called Developer Options. Tap on it.
- Scroll down and enable the USB Debugging option.
2. Installing ‘Shortcutter’ App from Google Play Store
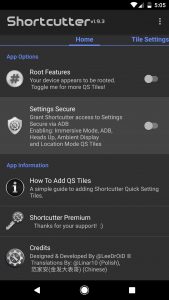
To get the immersive mode toggle, you will need to install the Shortcutter app from the Google Play Store. This app is available for free and can be easily installed on your Android device.
3. Installing Android Debug Bridge (ADB)
Android Debug Bridge (ADB) is a command line tool that allows you to interact with and control your Android device from your computer. To install ADB, follow these steps:
Installing ADB on Mac
- Open Terminal on your Mac.
- Paste the following command and press return/enter:
/usr/bin/ruby -e "$(curl -fsSL https://raw.githubusercontent.com/Homebrew/install/master/install)"
- Once the installation is complete, paste the following command to install ADB:
brew cask install android-platform-tools
Installing ADB on Windows
- Go to the Android SDK download page and scroll down to the bottom.
- Click on the link to download the zip file.
- Extract the zip file and run the .exe file.
- Deselect everything except “Android SDK Platform-tools” and click on the install button.
Now that you have fulfilled the prerequisites, let’s move on to enabling systemwide immersive mode on your Android device.
Enabling Systemwide Immersive Mode
To enable systemwide immersive mode on your Android device, follow these steps:
- Open Terminal or Command Prompt on your computer and run the following command:
adb devices
- After running the command, you should see your device listed in the terminal with a unique alphanumeric code and the word “device”.
- Enter the following command to give the Shortcutter app the necessary permission:
pm grant com.leedroid.shortcutter android.permission.WRITE_SECURE_SETTINGS
- Once done, disconnect your phone and open the Shortcutter app.
- Go to the “Tile Settings” tab and find the “Immersive/File Screen Tile” option. Enable it.
- Now, you will find the “Immersive Mode” tile in the Quick Settings panel. If you don’t see the icon, click on the “Button Order” icon and drag and drop the icon to add it to your Quick Settings panel.
- Whenever you want to go into immersive mode, simply tap on the icon and select “Full” in the pop-up box. Your navigation and status bar will disappear, providing a completely immersive experience.
You can also choose to hide just the navigation bar or the status bar. When the immersive mode is enabled, you can swipe from the bottom or the top to reveal the status bar or the navigation bar.
Disabling Specific Apps From Using Immersive Mode
While the immersive mode is great for most apps, there are certain apps that do not play well with it. One example is Hangouts. If you want to disable the immersive mode for specific apps like Hangouts, follow these steps:
- Connect your Android device to your computer using a USB cable.
- Launch Terminal or Command Prompt and go into ADB shell mode by typing the following command:
adb shell
- Run the following command to disable immersive mode for Hangouts:
settings put global policy_control immersive.full=apps,-com.google.android.talk
- From now on, whenever you open Hangouts, the immersive mode will be disabled by default. You can exclude any app from immersive mode using this method. Simply change the app path after the ‘-‘ sign in the command.
That’s it! You have successfully enabled systemwide immersive mode on your Android device and even learned how to disable it for specific apps.
Conclusion
Enabling systemwide immersive mode on your Android device can enhance your viewing experience by providing a distraction-free interface. Whether you’re scrolling through social media feeds or browsing the web, immersive mode offers a handy feature to have. By following the steps outlined in this article, you can easily enable immersive mode on any Android device without the need for root access. Enjoy your immersive experience and let us know in the comments how it has improved your Android usage!
Experiencing difficulties with your Device, check out our “How To” page on how to resolve some of these issues.


1 comment