Whether you want to save a video of what is playing on your screen or a part of a website to share with someone, recording your Mac’s screen can come in handy because Apple provides a built-in screen recording feature known as Screenshot for all Mac devices. With the help of this Screenshot app, you can easily save videos or audio, or anything that is happening on your Mac’s screen. Of course, if you have macOS Mojave or an updated version, you will be able to use this feature.
Haven’t you updated your operating system or have an older Mac? Don’t worry because you can still record your Mac’s screen with QuickTime.
Keep reading this article to learn how you can record your Mac’s screen.
How to Record Your Mac’s Screen with Screenshot App
You can quickly launch Screenshot if you have Mojave, Catalina, or an updated MacOS. Follow these steps –
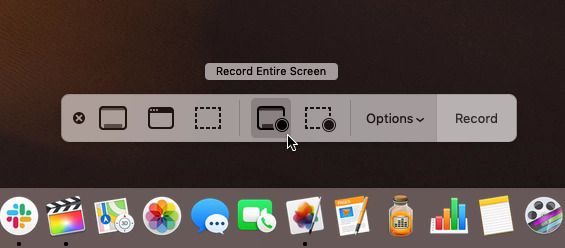
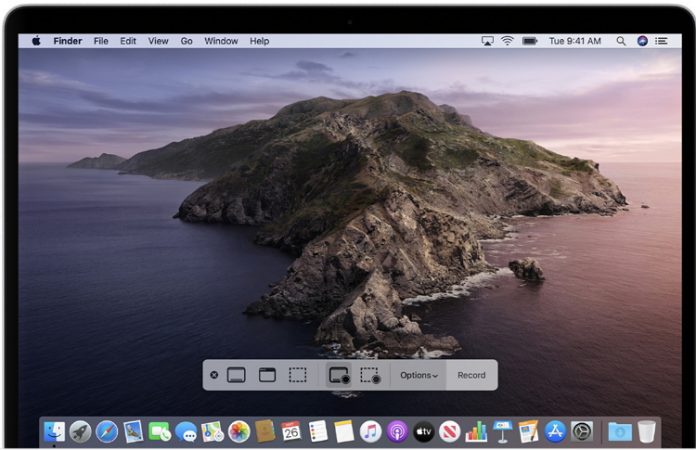
Press command + shift + 5 on your keyboard at the same time to open the Screenshot. At the bottom of your Mac’s screen, you will see the Screenshot control bar. There you will get the option for capturing still screenshots or for recording a video.
Select whether you want to Record Selected Portion or Record Entire Portion. If you choose “Record Selected Portion,” a dialogue box will pop up on your screen, allowing you to drag and resize the recording window.
Tap on “Options” to check what other preferences are available. For example, you can set a countdown timer, select which mic to use and decide where to save the screenshot.
Click on the Record button after selecting your desired option, or if you are recording the complete screen, you can just click anywhere on the screen to start recording. For example, if you have opted to set a timer, you will see the timer counting down sign until the recording starts. If not, the recording will start automatically.
To stop your recording, tap on the Stop button on the top right side of the menu bar. You can also click command + control + ESC simultaneously to stop recording. Or, click on the command + shift + 5 from your keyboard and the screenshot bar will come again with a Stop button. Or, if you have a Touch bar, You will see the Stop button on the top left side.
After stopping the recording, you will see a thumbnail of your recorded video on the lower-right side of your Mac’s screen. If you swipe the thumbnail to the right side or do nothing, the recording will automatically save as a QuickTime movie or MOV in your preferred location.
If you are willing to move the recorded video to another location, just drag the thumbnail to your desired folder. You can also insert the recorded video into a document or email.
Click on the Control button and hit the thumbnail to get more options. For example, you can change the location of your saved recordings, open the recording in a specific application, or delete the recording.

How to Record Your Mac’s Screen with QuickTime Player
QuickTime Player is an ideal way to record your Mac’s screen if you have an outdated macOS version. Here are the steps you need to follow–
Open the QuickTime Player
From the top menu, select File. Or you can right-click the QuickTime Player icon if it is in your Dock.
Select the New Screen recording option
Then the Screen Recording window will arise.
Click on the Arrow button next to the record button to get a dropdown menu list.
You can access options for showing your mouse clicks and choosing which mic to use for audio recording from the list. You can also choose your desired location to save the video.
To record only a part of your screen, drag the cursor to move or resize the recording window.
Click anywhere to record the entire screen.
Tap on Start Recording from the middle of the window
Once you are ready to stop the recording, click on the Stop button from the menu bar. You can also click command + control + ESC at the same time to stop the recording.
If you are getting any issues while recording or saving the recorded file, contact Apple customer care.
To play your saved recording
You can utilize various forms of media players available for the MacOS to playback your saved recording. One of such, which is Elmedia Video Player. it boasts compatibility
with all commonly used video and audio formats and can transfer local files
on any device – (https://www.elmedia-video-player.com/)
Experiencing difficulties with your Device, check out our “How To” page on how to resolve some of these issues.


