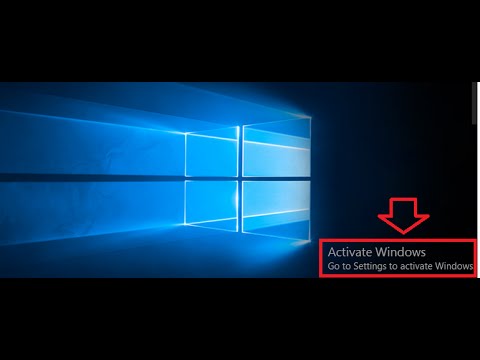
If you are a Windows 10 user, you may have encountered the frustrating “Activate Windows” watermark that appears on your screen. This watermark is a constant reminder that your Windows license is invalid or expired, preventing you from personalizing your desktop and receiving important updates. It can be quite annoying, especially when taking screenshots or recording your screen. But don’t worry, there are several methods to remove this watermark and regain control of your Windows 10 experience.
In this comprehensive guide, we will explore different techniques to remove the Activate Windows watermark permanently. We will cover methods that involve using PowerShell, Notepad, the Registry Editor, and even activating your Windows with a product key. By following these step-by-step instructions, you can say goodbye to the pesky watermark and enjoy a seamless Windows experience.
Let’s dive into each method in detail.
How to Remove the Activate Windows Watermark with PowerShell
PowerShell is a powerful scripting language that allows you to interact with your Windows operating system. By executing a simple script, you can remove the Activate Windows watermark. Here’s how:
- Press the Windows key and R simultaneously on your keyboard to open the Run dialog box.
- Type powershell and press Enter. This will open the PowerShell application as an administrator.
- In the PowerShell window, type the following command:
slmgr /renewand press Enter. - Restart your computer to apply the changes.
Please note that if you have made modifications using third-party apps to activate Windows, this method may not work. If that’s the case, proceed to the next method.
How to Remove the Activate Windows Watermark with Notepad
One of the most popular methods to remove the Activate Windows watermark is by using the simple yet powerful Notepad application. Follow these steps to remove the watermark using Notepad:
- Press the Windows key on your keyboard and type Notepad. Click on the Notepad app to open it.
- Create a new, blank document in Notepad.
- Copy and paste the following script into the Notepad document:
@echo off

taskkill /F /IM explorer.exe

explorer.exe

exit
- Click on File in the menu bar and select Save As.
- Save the file with the name Activation.bat and choose the file format as All Files.
- Select a location to save the file, such as your desktop, for easy access.
- Right-click on the Activation.bat file and choose Run as administrator.
- Restart your computer to see the watermark disappear.
How to Remove the Activate Windows Watermark by Using the Registry Editor
The Windows 10 Registry Editor allows you to make deeper changes to your computer’s settings. By modifying a specific value in the Registry, you can remove the Activate Windows watermark. Here’s how:
- Press the Windows key and R simultaneously to open the Run dialog box.
- Type regedit and press Enter to open the Registry Editor.
- Navigate to the following key:
HKEY_CURRENT_USER\Control Panel\Desktop - On the right side of the window, locate a value called PaintDesktopVersion and double-click on it.
- In the Edit DWORD Value window, change the value from 1 to 0.
- Click OK to save the changes.
- Restart your computer to apply the modifications.
How to Remove the Activate Windows Watermark with a Product Key
The most reliable and permanent way to remove the Activate Windows watermark is by using a valid product key to activate your Windows 10. Here’s how you can do it:
- Click on the Start button and select Settings.
- In the Settings window, click on Update & Security.
- Navigate to the Activation tab on the left-hand side.
- Click on Change product key.
- Enter your 24-character alphanumeric product key and click Next.
- Follow the on-screen instructions to complete the activation process.
- Once your Windows 10 is activated, the Activate Windows watermark will be permanently removed.
Conclusion
The Activate Windows watermark can be a constant annoyance for Windows 10 users, but thankfully, there are several methods to remove it. Whether you choose to use PowerShell, Notepad, the Registry Editor, or activate your Windows with a product key, you can regain control of your Windows 10 experience and enjoy a watermark-free desktop.
Remember, it’s important to ensure that your Windows license is valid and up-to-date. Activating Windows with a genuine product key not only removes the watermark but also unlocks additional features and updates.
We hope this guide has helped you remove the Activate Windows watermark and enhance your Windows 10 experience. If you found this article helpful, feel free to share it with others who may be facing the same issue.