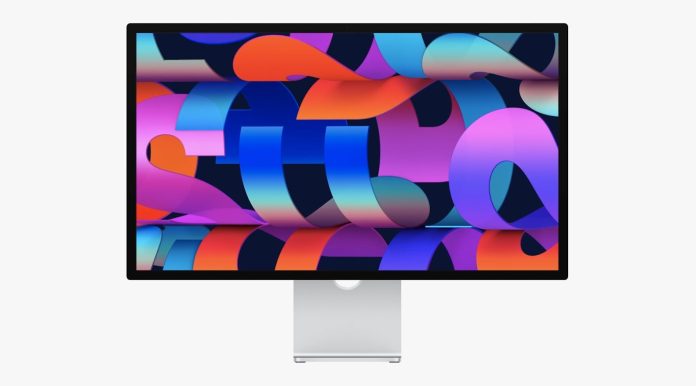
The studio display is the first-ever display of Apply, featuring a built-in custom processor running on iOS. The lack of a power button makes it different from the rest of the monitors. The Studio Display of apple is a wonderful screen and monitors both in terms of visually and picture quality. This may provide additional features to the display, but bugs may occur, requiring you to restart Apple Studio Display. This $1600 external monitor is running its internal version of the iOS, so restarting a device is a swift way to fix all critical problems like the camera acting up or unexpected crashes. Here we have provided everything that you need to perform to restart the studio display of the apple device.
Why is there a necessity to restart an Apple Studio Display?
Same as all other devices, you need to restart your Studio Display of Apple, particularly when you are running into problems associated with the microphone, integrated 12-megapixel camera, resolution won’t change, web camera is frozen, or something else. There is a probability of the occurrence of unexpected software issues which may occur after you update the firmware of the display. For handling certain things like Hey Siri, Centerstage, and Spatila Audio, Apple generally ships its Studio Display with an A13 Bionic chip. The studio display of Apple is a capable monitor consisting of some cool smart built like custom A13 Bionic chip of Apple from the iPhone 11 handling a six-speaker sound system, spatial audio, Siri, etc., providing it with added functionality.
The introduction of a dedicated computer processor means the display has a built-in Siri functionality even though the connected Mac does not support Siri out of the box. While this delivers a lot of advantages, there are some downsides to it too. Same as how the iPhone receives the updates for its iOS installed on it, so does the Apple Studio Display. While receiving updates automatically installed helps with the security, sometimes it may lead to unexpected issues like bugs caused by a new update. The occurrence of such bugs needs you to perform a restart to bring things back to normal.
How to Restart Apple Studio Display
As there is no software toggle or power button on the Studio Display to restart it, you have to disconnect it from the power source for some time.
First, disconnect the plug of the Studio Display from the power socket
Then, wait for a while, around five to ten seconds, until the screen goes blank
Finally, all you have to do is reconnect the Studio Display of apple back to the power socket
Just like your iPhone is not available instantly after being turned on, similarly, the Studio display does immediately power on. After plugging in the power source display, you have to patiently wait for the monitor to restart and be available to you.
With the restart, your monitor runs smoothly
Software bugs do not spare any device. The smart monitor Apple is no exception. Whether the camera is malfunctioning, the sound is muffled, or something else messes up with the Studio Display of your device, restarting it must solve all the problems you encounter. Some issues do not get solved with just a simple restart; instead, they require a software update to fix them permanently. Thanks to Apple, it occasionally releases some software updates for its Studio Display that fixes all critical bugs and introduces innovative features like improving webcam performance. Apple also provides manners in which customers can check the updates for Studio Display manually.
Wrapping up
Yes, just plugging and unplugging the Studio Display of apple is how you restart it. Without the presence of a physical button restarting the screen might sound a little comical, but the solution is easy enough. Since there is no power button, you need to dive straight to the power source to handle the restart of the monitor. Hopefully, all the problems that led to the restart have already been solved and your monitor is functioning pretty well again.
Experiencing difficulties with your Device, check out our “How To” page on how to resolve some of these issues.


