


We have already written two articles showing you how to root the Google Pixel 6 and the Pixel 6 Pro. However, tech changes constantly, so an up-to-date version is needed to root your device.
The developer of Magisk released version 24.1 of his root tool for Android, which means there is a new way to root the latest Google Pixel 6 smartphones. Thankfully, the process is much easier than it used to be, and it will now resemble the traditional root process that many of you are already familiar with.
Pre-Requisites
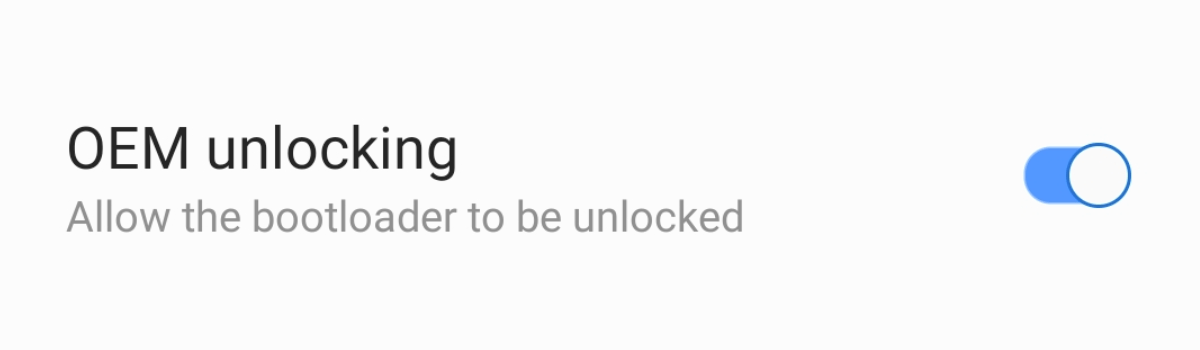
The previous method required us to turn off “vb meta” and “verification“, but thankfully, Magisk is going to handle that for us now. Rooting the Google Pixel 6 also requires you to have the bootloader unlocked, so if you haven’t unlocked your bootloader yet, check our guide on how to unlock the bootloader of the Google Pixel 6 or the Pixel 6 Pro.
Also, you need to download and extract your device’s firmware file. Make sure that you download the exact firmware file that matches your device’s current firmware. Our device is on the January update(Jan 2022), so we downloaded the January factory images directly from Google.
We are downloading the firmware directly from the Google server and then extracting it so that we can modify the boot image file, which is needed to gain root access.
Extracting and Preparing the Firmware
Download and extract the firmware file into a folder. In that folder, there is another zip file. Extract that ZIP file to get it’s contents. You will find “the boot.img” file, which we must flash.
We need this file on our Google Pixel 6 or the Pixel 6 Pro. So, if you have downloaded this firmware to your PC, just copy this file over to your smartphone.
Installing Magisk Manager
After that, install Magisk Manager from the developer’s GitHub page. We generally recommend that you download the latest version of Magisk, but if you want to use the same version that we are using in this tutorial, it is version 24.1.
Here are the steps to root The Google Pixel 6 with Magisk 24.1:
Once you installed the application, go ahead and open it up.
- Tap on the install button at the top section.
- Tap on “select and patch a file” and browse to the Downloads folder or any other folder where you copied that “boot.img” file. Then, select it.
- Start the process by tapping the ‘Let’s Go’ button at the top.
Magisk will patch that “boot.img” file and repackage it into a new file named “Magisk_patched.” It is also a “.img” file and this is what will replace our boot image file on our device.
- Copy this “magisk_patched” file onto your PC and put it in the same ADB and fastboot tools folder. This is important as it needs to be in that folder so that we can execute the proper command after we have copied the file from the phone and put it back onto the PC.
- Now boot your Google Pixel 6 and Pixel 6 Pro into fastboot mode, as this is necessary for this tutorial.
Flashing the Patched Boot Image
Whilst keeping your Google Pixel 6 in fastboot mode and being connected to our PC with a USB cable, we will now open a command prompt within the same folder as our ADB and Fastboot Tools, and that is the same folder where we will place that “Magisk_patched‘ file.
Next up in the command prompt, type out the command ‘fastboot flash boot’ and the file name of that ‘Magisk patched file’. Also, please remember, without quotes. Hit enter on the keyboard to continue. The process will start and you will have to wait a bit. When you see the two OKAY messages, the process is now complete.
Finalizing Root
Now head over to your device, which is still in fastboot mode, and ensure the “start” option is highlighted at the top. If it is not highlighted, use the volume up or down button to highlight it. Press the power button to select the Start option. It will boot us back into the Android operating system. You can then download the root checker app to check that you have gained root access on your device.
Experiencing difficulties with your Device, check out our “How To” page on how to resolve some of these issues.

1 comment