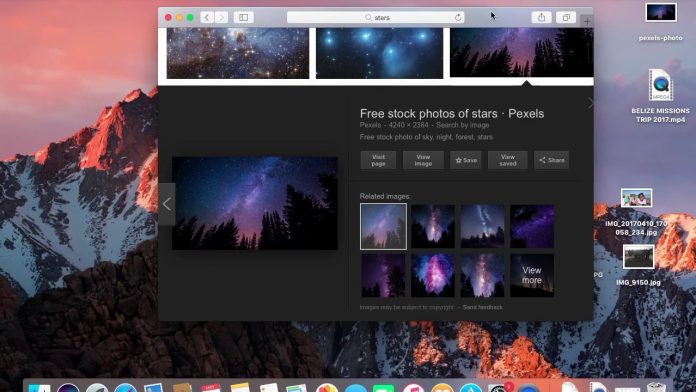
It’s simple to save images on a Mac computer, whether you’re creating a presentation for work, working on a school assignment, or just downloading your favorite pictures from a friend’s Facebook album. You can save any image on your Mac once you know the process, whether from a website, social networking platform, or even a PDF supposed to be protected against saving.
Here we will discuss the best possible ways of how to save image on Mac. So, keep reading.
How To Save Image On Mac?
Right Click On The Image
This method gives you the most excellent control and is the best way to store the majority of images on a Mac. Remember that right clicking on a Mac is equivalent to tapping the trackpad with two fingers. If your mouse lacks a dedicated right click, you can still perform a right click by pressing and holding the Control key on your keyboard as you click.
- Right-click the image you want to save
- Then choose “Save Image As…” from the dropdown menu.
- Specify the file name for the selected image and the place where you want to save the file.
- To save, use the Save button.
Drag-and-drop
On a Mac, dragging is the quickest and easiest way to save an image. But it gives you less control because you can’t name the file.
- Left-click and hold the image you want to save
- Drag it to the desired location, which may be a Word or Presentation, a folder on the desktop, an open folder, or even the desktop itself.
- When a green circle with a “+” appears, release the image to drop it into it’s new location.
Take A Screenshot
You can take any image using a screen capture on a Mac, including images from Instagram or PDFs that you can’t download directly. This feature is similarly referred to as a screenshot or print screen on Windows.
- Press “Command + Shift + 4” simultaneously to take a screenshot of a specific image or portion of the screen.
- Next, left click, hold, and drag a box to encompass the appropriate content.
- Press “Command + Shift + 3” simultaneously to take a snapshot of your full monitor on a Mac.
Copy The Image
No matter if you’re migrating to a new computer or need to extract a certain snapshot from an outdated hard drive, it’s common to want to move or copy files from an external device onto your Mac. Most people are familiar with the straightforward drag and drop technique, but there is another way to copy an image on a Mac or even move a whole folder.
Follow the below-mentioned instructions to save an image without right-clicking:–
Connect your Mac to the hard disc or another external device.
Select your external device by clicking Finder
Then go to the Devices option
Choose the directory or file that you want to copy.
Click on Edit and Copy the file
To copy a file, open the location and select Edit.
Finally, click on Paste
Once finished, click the Eject button on the Finder Sidebar next to the disc icon to securely eject your external device before unplugging it.
Note: There’s a good probability you’ll have duplicate files on your Mac if you’re copying over a large number of images. Use a reliable duplicate cleanser to avert this from occurring.
Use Download Browser Extensions
All of the techniques mentioned above are ideal for saving one or a few images on a Mac, but downloading numerous internet photos might be time-consuming. A browser plugin is the best way to download photos on a MacBook.
Following the setup of a download extension, follow these steps to save Google photos on a Mac:
Visit the website where you wish to download the images
Then, click the puzzle icon
Choose “Image downloader”
Select All or click the download icon next to each image you want to save.
Wrapping up
Saving images on your Mac device is easy. After reading this article, you may feel more confident using your Mac and storing images on it.
Experiencing difficulties with your Device, check out our “How To” page on how to resolve some of these issues.


