In today’s workspace, we all look for privacy and confidentiality. This is true for the emails also. To protect sensitive information from unauthorized or unwanted users, we need to protect the emails even after sending them to the recipients. What if the mail you are sending expires after a certain time you choose, and the recipients do not get any access after that? This can be done exactly how it is said. However, for Apple users, there is one issue. The iPhone mail itself does not provide any such features to ensure security and confidentiality once it is sent. Here we will help you resolve this problem so that you can send expiring emails to any other iPhone or iPad.
How to send expiring emails on iPhone or iPad:
If you are an iPhone user, the first thing you need to do is install the latest version of the Gmail app to access this feature. In these few simple steps, you can get it done:
Launch the Gmail app ( the latest version) in your iPhone or iPad
Log in with your account if you already have an existing account, or else you need to create a new Gmail account.
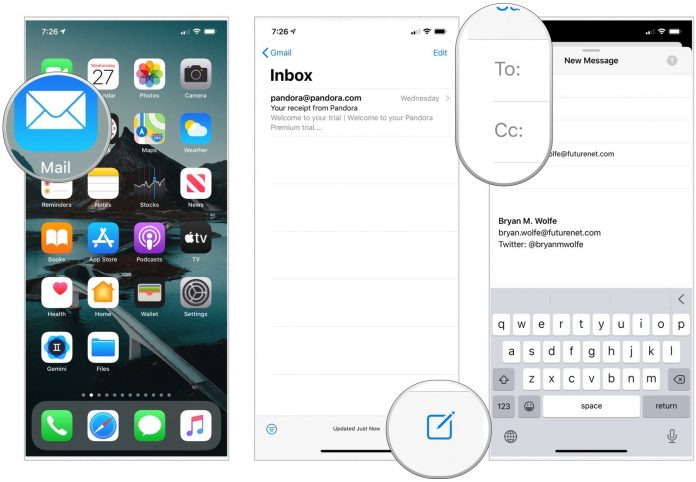
Head to your inbox and locate “Compose” on the bottom right side of your screen and click on it to compose a new mail.
Attach all your documents, data, information that you want to send.
At the top right side of your phone screen, you will find an icon like “(…) “, click on it.
A menu bar will be opened, choose the Confidential mode option and switch it on.
In that section, you can set the amount of time after which you want that email to get expired.
There is a Set Expiration time to select the desired time. For example, if you want your mails to expire in 1 day or 1 week, or 1 month,
Select among those options and set an expiration date according to your preference. Then click on done to finish the task.
That’s how you can set your email with an expiration date, after which the recipient will not get any access.
In case of more security, Gmail also allows you to set a passcode. Here are the following steps:
You will find the Require passcode option in that same menu where you got the confidential mode.
Hit on the “standard” option to choose whether you want a standard or SMS passcode required by the recipients before accessing the mail, which will be sent via message to the recipient, and for this, you need to give the recipient’s phone number. Google itself generates these passcodes. Non-Gmail recipients will also get an email passcode.
Once that is done, a dialogue box will pop up at the bottom indicating you about the expiration date along with a description, “Recipients won’t have the option to forward, copy, print or download this email”.
Now you can send it by clicking on the arrow icon on the top right side of your screen.
Conclusion:
Hence your mail is secured and confidential with a passcode that also expires after a specific time that you aspire. Follow the above instructions to send Expiring Emails on your iPhone or iPad. For more queries on iPhone or iPad, click the links below and let us know your thoughts in the comments below.
Experiencing difficulties with your Device, check out our “How To” page on how to resolve some of these issues.


