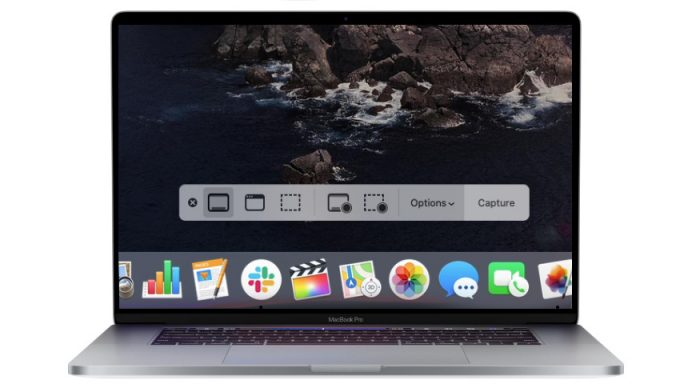
Taking screenshots is common that we often do on our PC, smartphones, laptops, and MAC. And though this is a simple thing to do, often new users do not know about the right procedure to capture the screenshots on Mac. Here, we will talk about the simplest yet most effective way to take the screenshot with ease. So, if you are looking for the best mac screenshot shortcut, stay with us until the end of the article and know how you can take a screenshot on your Mac PC.
Methods to Take screenshots on Mac
Method 1: Using keyboard shortcuts
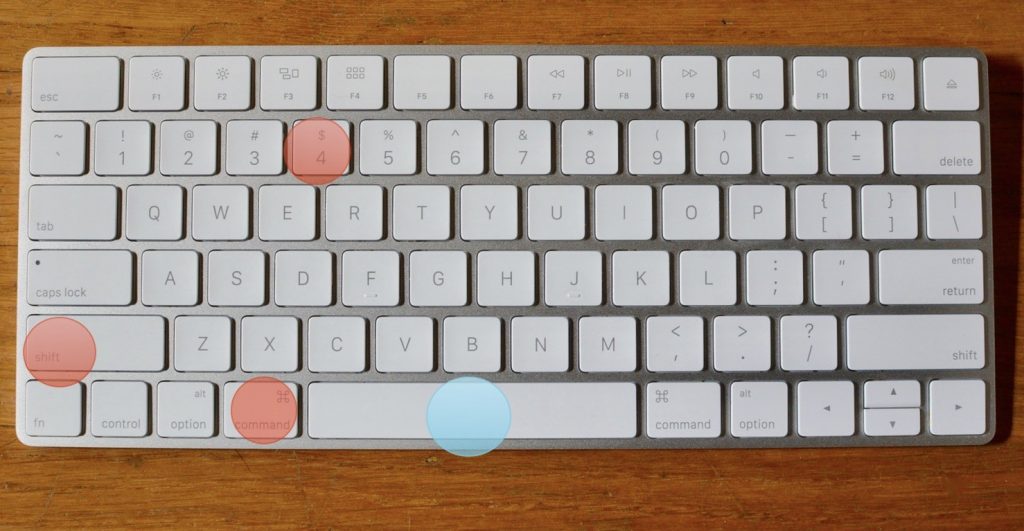
The first and the most common method to take a screenshot is to use the keyboard shortcut. The simplest mac screenshot shortcut is SHIFT + COMMAND + 3.
Step 1: Open the screen which you want to take a screenshot of.
Step 2: Press SHIFT + COMMAND + 3
Step 3: This will capture the entire screen and make a shortcut on the screen to access and edit as per the needs.
Method 2
The method stated above lets you capture the screenshot of the entire screen. And in case you are looking for how to crop a screenshot on Mac, then you can either use the image editor of your choice after taking the screenshot or, more conveniently, follow the following steps.

Step 1: Open the screen where you need to take the screenshot from.
Step 2. Press SHIFT + COMMAND + 4.
Step 3. This will change your cursor to a crosshair. Use the crosshair accordingly to select the area of which you need to take a shot.
Step 4. You can access the cropped screenshot as normal.
Method 3
If for some reason, you are not too keen to use the keyboard shortcuts, this is the perfect method for you. Wondering how to screenshot on Mac without keyboard? Here are a few steps you need to follow. For this, there is an in-built utility in MAC OS, named “Grab”. The steps to use this Utility are
Step 1: Go to applications, Select Utility, and then click on Grab
Step 2. Under the main menu, you need to click on “Tab,” “Capture”, and then “Selection”.
Step 3: Next step is to select the area you want to take a screenshot of.
Step 4: Save the screenshot by going to “File” and click on “Save”.
These were the simplest yet most reliable ways to take a screenshot on your Mac. Apart from these, you can try your hands on various other third-party apps that often provide more work options.
Experiencing difficulties with your Device, check out our “How To” page on how to resolve some of these issues.


