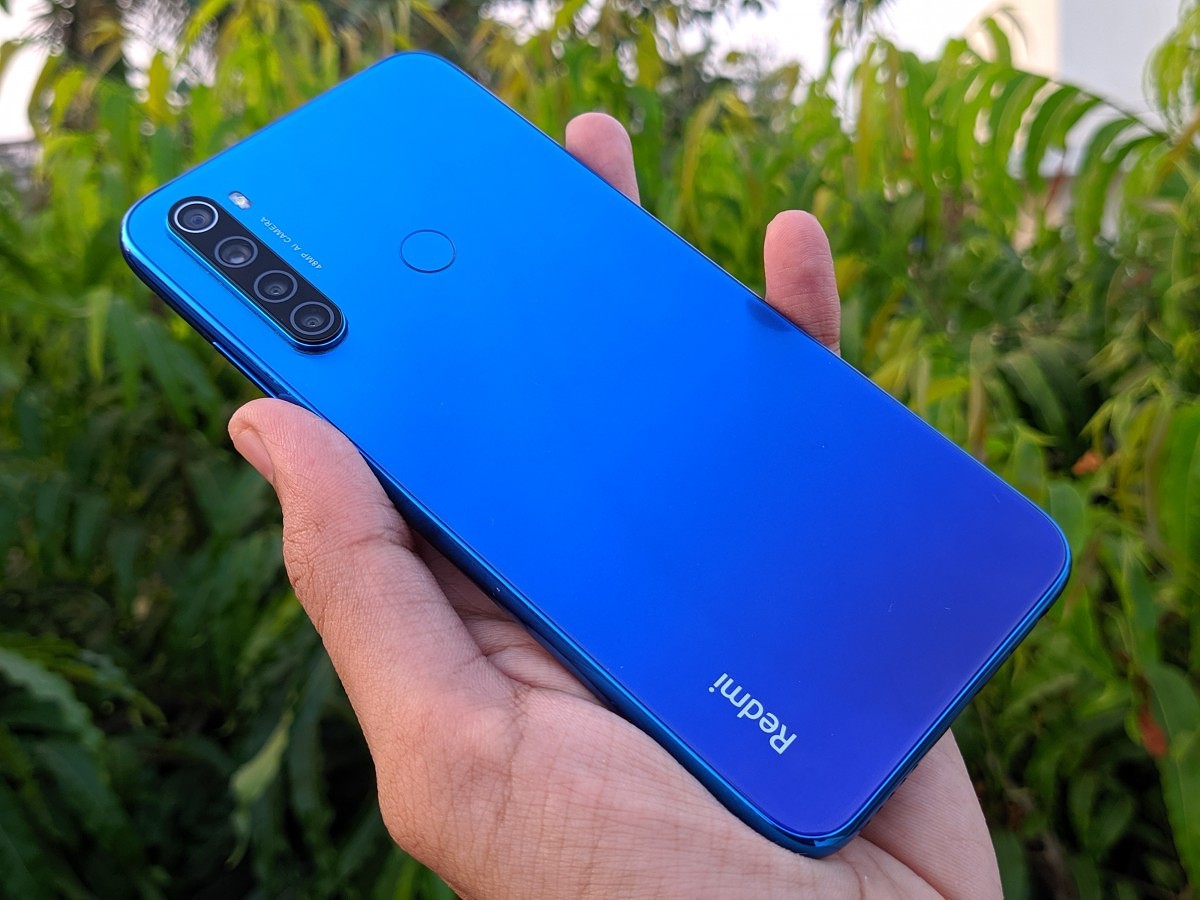
Unlocking the bootloader of your Redmi Note 8 smartphone is an essential step if you want to customize and optimize your device’s performance. By unlocking the bootloader, you gain access to the inner workings of your phone, allowing you to install custom recoveries, root your device, and flash custom ROMs. In this comprehensive guide, we will walk you through the step-by-step process of unlocking the bootloader on your Redmi Note 8. So, let’s get started!
Unlocking the bootloader of your Redmi Note 8 is the first step towards achieving complete control over your device. It allows you to install custom recoveries like TWRP, which then enables you to flash custom ROMs, root your device, and perform various other system modifications. However, it’s important to note that unlocking the bootloader will erase all the data on your device, so make sure to back up your important files before proceeding.
Before You Begin
Before you start the process of unlocking the bootloader on your Redmi Note 8, there are a few things you need to prepare:
- A computer running Windows or Linux operating system
- A USB cable to connect your Redmi Note 8 to the computer
- A Mi Account (create one if you don’t have it already)
- Make sure your Redmi Note 8 is charged to at least 50%
Enabling Developer Options
To begin the process, we need to enable Developer Options on your Redmi Note 8. Follow these steps:
- Go to “Settings” on your device.
- Scroll down and tap on “About phone.”
- Locate the “MIUI Version” and tap on it seven times. You will see a message saying “You are now a developer!”
Enabling OEM Unlocking
Now that you have enabled Developer Options, we need to enable OEM unlocking. Here’s what you need to do:
- Go back to the main “Settings” menu.
- Scroll down and tap on “Additional Settings.”
- Tap on “Developer Options.”
- Look for the “OEM Unlocking” option and toggle it on.
Enabling USB Debugging
Next, we need to enable USB Debugging on your Redmi Note 8. Follow these steps:
- Go to “Developer Options” in the “Settings” menu.
- Scroll down and find “USB Debugging.”
- Toggle it on.
Adding Account in Mi Unlock Status
To proceed with unlocking the bootloader, we need to add your Mi Account to the Mi Unlock Status. Here’s how:
- Go to “Developer Options” in the “Settings” menu.
- Scroll down and find “Mi Unlock Status.”
- Tap on it and add your Mi Account details.
Installing ADB and Fastboot Drivers
Before we can continue, we need to install the ADB and Fastboot drivers on your computer. Here’s how:
- Download the ADB and Fastboot drivers for your operating system (Windows or Linux).
- Install the downloaded drivers on your computer.
Downloading Mi Unlock Tool
Next, we need to download the Mi Unlock Tool on your computer. Follow these steps:
- Visit the official Mi Unlock Tool website.
- Download the tool to your computer.
- Sign in with your Mi Account within the tool.
Entering Fastboot Mode
To unlock the bootloader, we need to enter Fastboot mode on your Redmi Note 8. Here’s how:
- Power off your device.
- Press and hold the Volume Down button and the Power button simultaneously until the Fastboot logo appears on the screen.
Unlocking the Bootloader
Now that you’re in Fastboot mode, it’s time to unlock the bootloader of your Redmi Note 8. Follow these steps:
- Connect your Redmi Note 8 to the computer using a USB cable.
- Open the Mi Unlock Tool on your computer.
- Click on “Unlock” within the Mi Unlock Tool.
- Wait for the tool to check the device unlock status.
- If the unlock status is successful, click on “Unlock Anyway” to proceed.
- The Mi Unlock Tool will start the unlocking process and erase all the data on your device.
- Once the process is complete, your Redmi Note 8’s bootloader will be unlocked.
Flashing TWRP Recovery
With the bootloader unlocked, you can now flash a custom recovery like TWRP on your Redmi Note 8. Follow these steps:
- Download the TWRP recovery image file for your Redmi Note 8.
- Move the TWRP image file to the ADB and Fastboot installed folder on your computer.
- Rename the TWRP image file to “recovery” for convenience.
- Open the Command Prompt or Terminal on your computer.
- Navigate to the ADB and Fastboot installed folder using the command
cd C:\Program Files (x86)\Minimal ADB and Fastboot(Windows) orcd /path/to/folder(Linux). - Connect your Redmi Note 8 to the computer using a USB cable.
- Type
adb devicesin the Command Prompt or Terminal and press Enter to check if your device is detected. - Reboot your Redmi Note 8 into Fastboot mode by typing
adb reboot bootloaderand pressing Enter. - Once in Fastboot mode, type
fastboot devicesand press Enter to make sure your device is still detected. - Flash TWRP recovery by typing
fastboot flash recovery recovery.imgand pressing Enter. - After the flashing process is complete, type
fastboot boot recovery.imgand press Enter to boot into TWRP recovery.
Rooting Your Redmi Note 8
Congratulations! You have successfully unlocked the bootloader and flashed TWRP recovery on your Redmi Note 8. Now, if you want to root your device, follow these steps:
- Download the Magisk zip file to your computer.
- Transfer the Magisk zip file to your Redmi Note 8.
- Reboot your device into TWRP recovery by turning it off and pressing the Volume Up and Power buttons simultaneously.
- In TWRP recovery, tap on “Install” and select the Magisk zip file.
- Swipe to flash the Magisk zip file and root your device.
- Once the flashing process is complete, reboot your device.
- Congratulations! Your Redmi Note 8 is now rooted.
Conclusion
In conclusion, unlocking the bootloader, flashing TWRP recovery, and rooting your Redmi Note 8 opens up a world of possibilities for customization and optimization. However, it’s important to note that these processes come with risks, and you should proceed with caution. Make sure to follow the instructions carefully and take backups of your important data. Enjoy the benefits of a rooted device, and remember to explore the vast community of custom ROMs and mods available for your Redmi Note 8.
Experiencing difficulties with your Device, check out our “How To” page on how to resolve some of these issues.


