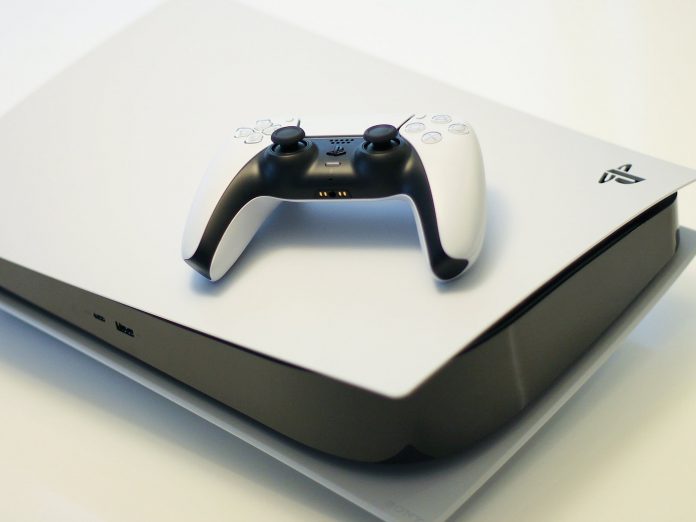
Sony’s PS5 gaming system is the most powerful gaming console at present. Because of its excellent speed and amazing interface, people across the world love the PS5. It has already replaced the PS4 pro by providing users with an unforgettable gaming experience.
Why upgrade the internal storage of PS5?
The PS5 console supports the best external hard drives but adding extra internal storage can be the game-changer.
If you know how to upgrade the internal storage of the PS5, You will be able to experience a new height of gaming. There are many reasons to upgrade the internal storage of PS5. Some of them are mentioned below.
If you’re a player, you would know that most of the best PS5 games occupy more than 100GB of the inbuilt 825 GB storage space of your PS5.So, without upgrading the system, you will not be able to access a good number of games.
The biggest benefit that game lovers will get after upgrading the internal storage of PS5 is that an additional SSD can play the native games that one can’t access without upgrading.
You can only store the next-gen games on external hard drives. If you want to play them, you will have to transfer them to the console’s internal storage. The whole process is very hazardous. With upgraded internal storage, you’ll be able to play the native games without any hazards.
Which SSDs are compatible with PS5?
Not all SSDs are compatible with PS5. The main reason behind this is that the speed requirements of PS5 games are extremely fast, and most of the SSDs don’t have that level of speed.
For PS5, you’ll need a PC, i.e., Gen4 x4 M.2 NVMe SSD. Only this can match the speed requirements. You can easily get one in the market as these SSDs have big manufacturers such as Samsung, Seagate, and Western digital.
How to upgrade PS5 internal storage
Upgrading the internal storage of PS5 is a very simple process that can be done without any professional help. You just need to go through all the steps carefully. For doing this, you’ll need a flat surface to work on, a #1 Philips or a cross-head screwdriver, and a torch or flashlight.
Follow the steps mentioned below:
Step 1
Place your console upside down carefully on a flat surface. It means the PlayStation logo that you have on the top of the console must be facing downwards. Recheck the cables and make sure that they are disconnected.
Step 2
Slide off the bottom of the PS5 cover. Gently pull over the cover plate. You may hear a click, don’t panic as it’s completely normal.
Step 3
Once the cover plate is removed, remove the cover by removing the screw from the expansion slot cover
Step 4
Make sure to adjust the spacer size to match the size of your M.2 SSD after removing the screw underneath and the spacer.
Step 5
Graph the edge of your M.2. SSD, and then you need to align it with the connection. After that, insert the SSD in.
Step 6
After giving a gentle push to your M.2 SSD downward, fasten it by using the screw that was inside the PS5.
Step 7
Now you have to attach the expansion slot cover once again and fasten the screw. Also, slide back the PS5 bottom cover plate into its place.
Step 8
The main process is done. You have to reconnect your power cables, and HDMI to switch your PS5 on. You’ll now be able to see a formatting guide on the screen. Ensure to follow the on-screen instructions to format your M.2 SSD. Complete the guide and then press the X button to format.
Step 9
After it is formatted correctly, you’ll be able to see the drive’s SSD read speed on the screen. If it is over 5,500 MB/s, it means it is done properly.
Step 10
The process is now done, and you need to move your games to the SSD now. For doing this, follow the steps below:
- Go to settings
- Go to storage installation
- Now, go to the installation location
- Click on specific games and apps that you’re willing to move.
Hope you’ve successfully upgraded the storage of your PS5. Happy gaming.
Experiencing difficulties with your Device, check out our “How To” page on how to resolve some of these issues.


