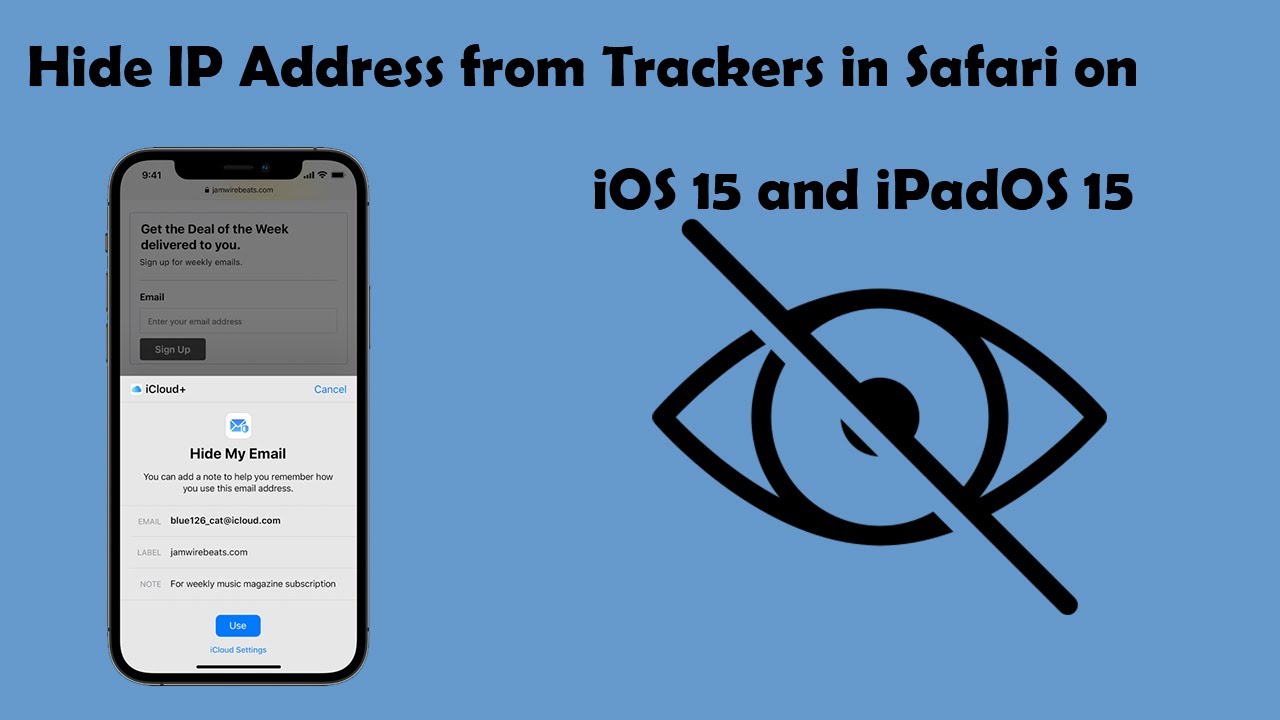
In today’s digital age, protecting your privacy online is of utmost importance. With the release of iOS 15, Apple has introduced new features to enhance privacy and security on their devices. One such feature is the ability to hide your IP address from trackers in Safari, Apple’s web browser.
What is Intelligent Tracking Prevention?
Intelligent Tracking Prevention (ITP) is a privacy-focused feature that Apple first implemented in 2017. Its primary aim is to make it harder for websites to track users across the web, thereby preventing the creation of browsing profiles and histories.
It’s important to note that ITP does not block ads. Instead, it stops websites from tracking users’ browsing habits without their permission. With iOS 15, Apple has taken ITP a step further by allowing users to hide their IP address from trackers as well.
Why Hide Your IP Address?
Your IP address is a unique identifier that can be used to track your online activities. By hiding your IP address, you can prevent websites and trackers from knowing your location and other sensitive information. This helps protect your privacy and ensures that your browsing habits remain private.
How to Hide Your IP Address in Safari
Hiding your IP address in Safari is a simple process. Just follow these steps:
- Launch the Settings app on your iPhone or iPad.
- Scroll down and tap Safari.
- Under the “Privacy and Security” section, tap Hide IP address.
- Select Trackers and Websites or Trackers Only.
By selecting “Trackers and Websites,” Safari will automatically block trackers and websites from knowing your IP address. If you choose “Trackers Only,” Safari will only hide your IP address from trackers, allowing websites to still access this information.
iCloud Private Relay: An Added Layer of Protection
If you have the new iCloud Private Relay feature enabled in iOS 15, Safari will automatically block trackers and websites from knowing your IP address. This feature is available to users with iCloud+ plans.
However, even if you don’t have a paid iCloud+ plan, you can still hide your IP address from trackers by following the steps outlined above. This gives you an additional layer of protection for your online privacy.
Additional Tips for Protecting Your Privacy
While hiding your IP address is a great step towards protecting your privacy, there are other measures you can take to further enhance your online security. Here are some additional tips:
1. Use a Virtual Private Network (VPN)
A VPN encrypts your internet connection, making it more secure and anonymous. It hides your IP address and routes your internet traffic through a server in a different location, making it difficult for anyone to trace your online activities back to you.
2. Enable Content Blockers
Safari allows you to install content blockers, which can help block unwanted ads, trackers, and other malicious content. These blockers can enhance your browsing experience while also protecting your privacy.
3. Clear Your Browsing Data Regularly
Clearing your browsing data, such as cookies and cache, can help remove any stored information that could be used to track your online activities. It’s a good practice to clear your browsing data regularly to maintain your privacy.
4. Be Mindful of the Websites You Visit
Always exercise caution when visiting websites, especially those that require you to enter personal information. Stick to reputable websites with secure connections (look for “https” in the URL) and be wary of suspicious links or pop-ups.
Conclusion
By following these steps and implementing additional privacy measures, you can enhance your online security and protect your privacy while browsing in Safari on iOS 15. Remember, it’s essential to stay vigilant and take proactive steps to safeguard your personal information in today’s digital landscape.
Experiencing difficulties with your Device, check out our “How To” page on how to resolve some of these issues.