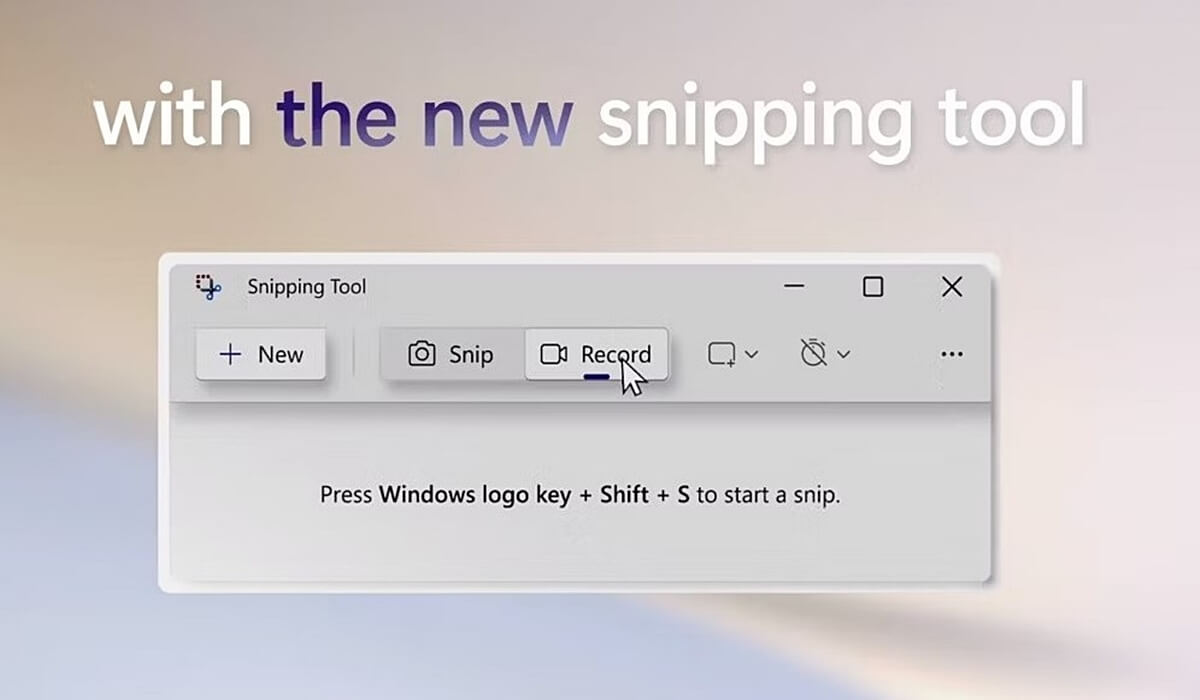
Microsoft is finally fulfilling a year-long promise of making a native screen recorder for Windows 11 – by adding this to the current Snipping Tool.
Since being native, this new tool would be fast and easy to operate. Interested users can try this for recording simple on-screen activities and sharing the items with friends right from the Snipping Tool playback menu. It’s initially coming to Windows 11 beta users and sometime later to the general public.
A Native Windows 11 Screen Recorder
Up until now, recording any on-screen activity on your Windows machine needs third-party software. But last year, Microsoft added it’s Xbox Game Bar with an in-built screen recorder, which is mostly used for capturing moments in the games.
As we don’t yet have a native screen recorder specifically meant for just this purpose, Microsoft said it’d make one. And after a formal announcement earlier this year, the company is finally bringing a native screen recorder to it’s Windows 11 machines.
As spotted by Windows Latest in the Microsoft Feedback Hub, the OEM posted the rollout of a native screen recorder for Windows 11, which is cooked into Snipping Tool v11.2211.11.0. It’s rolling out for Windows 11 dev and production channels soon, with public availability later sometime.
Interested users can try by following the below steps:
- Open Start menu > All apps > Snipping Tool.
- Select the record button and switch to Record mode from Snip mode.
- Click on the new +New button.
- Select a portion of the screen. To do this, simply click and hold, and drag the cursor across the screen.
- Select the desired area of the screen and release the mouse button.
- Resize the selected area.
- Select the Start button when you are satisfied with your selected area. This would be visible in the overlay menu.
- Once the countdown ends, the recording of the selected region will automatically begin.
- You can stop the record and save the captured footage by clicking on the red stop button in the overlay menu.
All the moments you’ve captured with this tool will be saved to the Snipping Tool’s playback menu, where you share or edit for further purposes.
Other Trending News:- News