


Gmail is one of the most popular email services, known for its user-friendly interface and extensive features. Attaching files to emails is a common task, but it can sometimes be time-consuming and cumbersome. However, with the latest version of Google Chrome, you can now attach files to Gmail by simply copying and pasting them. This innovative feature, known as “Clipboard Filenames,” allows you to seamlessly add attachments from your file manager directly into your email. In this comprehensive guide, we will walk you through the process of using this convenient method to quickly attach files in Gmail.
How It Works
The Clipboard Filenames feature in Google Chrome 90 and later streamlines the process of attaching files to Gmail. By enabling this experimental flag, you can copy files from your file manager and paste them directly into the email composition window. This feature is designed to work on various operating systems, including Windows, Mac, Linux, Chrome OS, and even Android. However, keep in mind that since this feature is still in the experimental phase, there may be some minor issues that could be resolved in future updates.
Enabling Clipboard Filenames in Google Chrome
To take advantage of the Clipboard Filenames feature, you need to ensure that you have the latest version of Google Chrome installed on your computer. If you haven’t updated your browser yet, it’s essential to do so before proceeding. Once you have Chrome version 90 or later, follow the steps below to enable Clipboard Filenames:
- Launch Google Chrome on your computer.
- In the address bar at the top of the Chrome window, type
chrome://flagsand press Enter. This will open the Experiments tab.
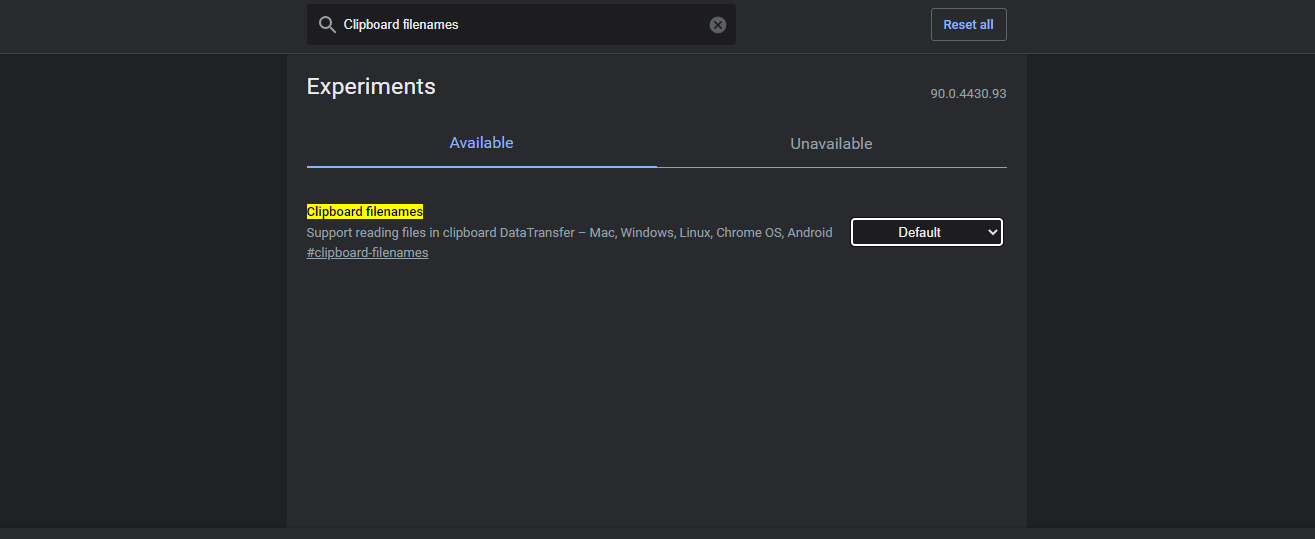
- In the search box at the top of the page, type “Clipboard filenames” and locate the corresponding option in the search results.
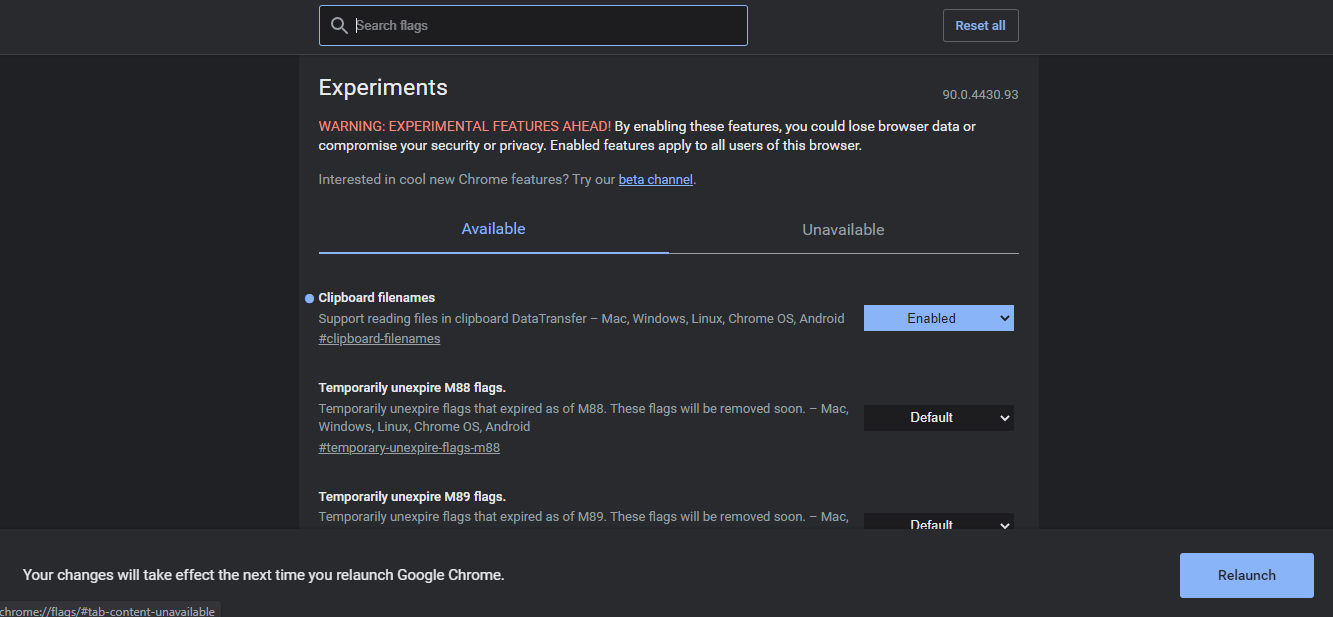
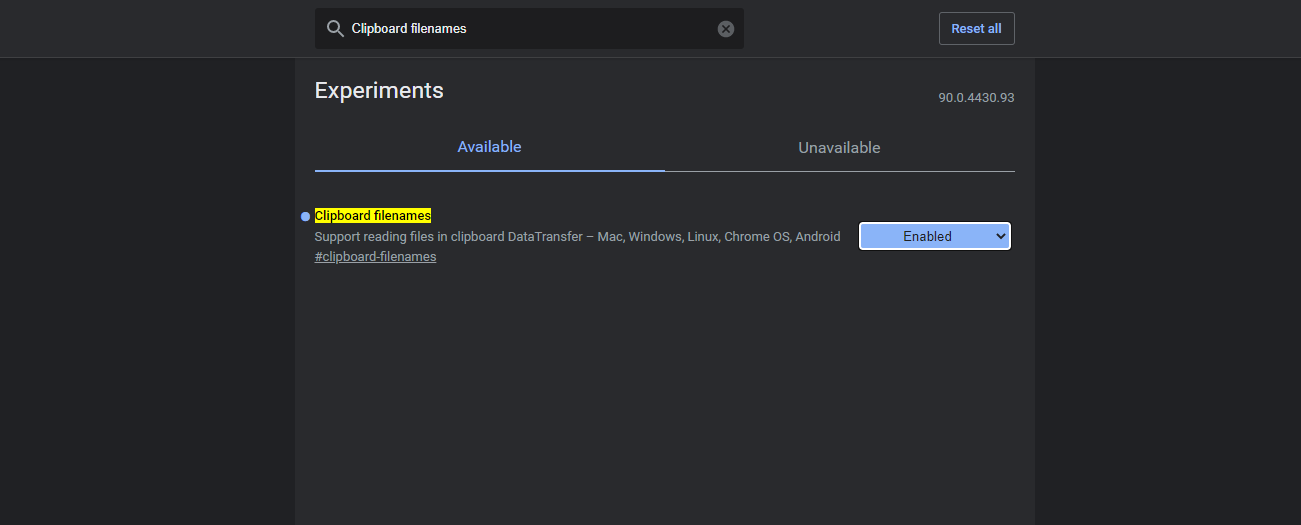
- Click the drop-down menu next to “Clipboard filenames” and select “Enabled.”
- To apply the changes, you need to restart Chrome. Click on the “Relaunch” button at the bottom of the Chrome window, and Chrome will restart.
Once you have completed these steps, Clipboard Filenames will be enabled in Google Chrome, and you can proceed to attach files to your Gmail emails using the copy and paste method.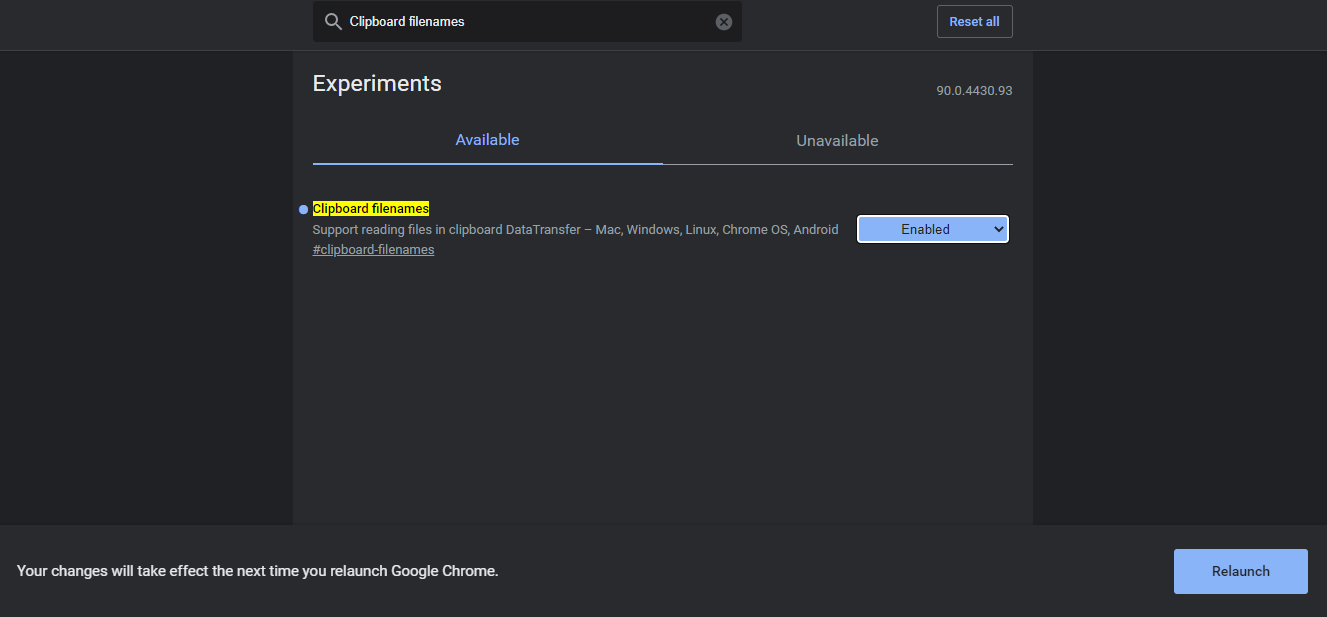
Attaching Files to Gmail Using Copy and Paste
Now that you have enabled the Clipboard Filenames feature in Google Chrome, you can easily attach files to your Gmail emails through the copy and paste method. Follow the steps below to utilize this efficient technique:
- Open your file manager (e.g., File Explorer on Windows or Finder on Mac) and navigate to the location of the file you want to attach to your email.
- Right-click on the desired file and select “Copy” from the context menu.
- Switch back to Google Chrome and open Gmail.
- Click on the “Compose” button to start a new email.
- In the body of the email composition window, right-click and select “Paste” from the menu. Alternatively, you can click inside the body area and press Ctrl+V (Windows, Linux, or Chrome OS) or Command+V (Mac) to paste the file.
- After pasting, you will see the attached file listed at the bottom of the “New Message” pop-up window.
It’s important to note that if you paste an image file, it will appear in-line within the email text instead of being treated as a separate attachment. If the inline display is not desired, you can click the paperclip icon in the “New Message” window and attach the file using the traditional method.
Additional Tips and Considerations
While the copy and paste method for attaching files in Gmail is a convenient option, there are a few additional tips and considerations to keep in mind:
- Compatibility: The Clipboard Filenames feature is designed to work across multiple operating systems and file managers. However, since it is still in the experimental stage, there may be some variations in functionality. It’s always a good idea to test the feature on your specific system to ensure compatibility.
- File Size Limitations: Gmail has specific file size limitations for attachments. Make sure that the file you are trying to attach does not exceed the maximum file size allowed by Gmail.
- Privacy and Security: When copying and pasting files into Gmail, it’s important to be mindful of the privacy and security aspects. Ensure that the files you are attaching do not contain sensitive or confidential information that could be accessed by unintended recipients.
- Alternative Attachment Methods: While the copy and paste method is convenient, Gmail also offers other attachment methods, such as dragging and dropping files directly into the email composition window or using the traditional file attachment button.
By following these tips and considerations, you can make the most of the copy and paste method to attach files in Gmail and streamline your email workflow.
Conclusion
Attaching files to Gmail emails has never been easier with the Clipboard Filenames feature in Google Chrome. By simply copying files from your file manager and pasting them into Gmail, you can save time and effort when composing emails with attachments. This innovative method provides a seamless way to attach files without the need for traditional file selection dialogs. Whether you’re using a Windows, Mac, Linux, or Chrome OS device, this method empowers you to quickly share files through Gmail. Give it a try and experience the convenience of copy and paste attachments in Gmail today!
Remember to keep your Google Chrome browser updated to ensure you have access to the latest features and improvements. With Clipboard Filenames enabled, you can enjoy a more efficient email experience on Gmail.
Experiencing difficulties with your Device, check out our “How To” page on how to resolve some of these issues.


adnan__khan.official