


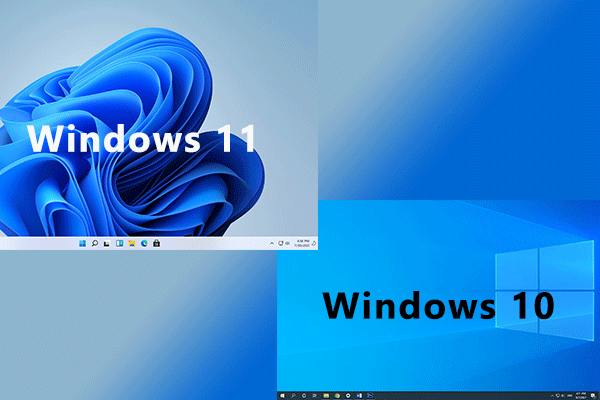
In this guide, we will walk you through the process of dual booting Windows 11 and Windows 10 on your computer. Dual booting allows you to have both operating systems installed on your machine, giving you the flexibility to switch between them whenever you want. Whether you want to try out the new features of Windows 11 while keeping Windows 10 as a backup, or you simply prefer using both operating systems for different tasks, dual booting can be a useful solution. Let’s dive into the steps required to achieve this.
Prerequisites
Before we begin, there are a few things you need to check and prepare:
- Compatibility: Ensure that your computer meets the minimum system requirements for both Windows 11 and Windows 10. Check the official Microsoft website for the specific requirements.
- Backup: It’s always a good idea to back up your important files and data before making any changes to your operating system. This will ensure that you don’t lose any valuable data in case something goes wrong during the dual boot installation process.
- Sufficient Disk Space: Make sure you have enough free disk space on your computer to accommodate both Windows 11 and Windows 10 installations. Each operating system will require its own partition, so plan accordingly.
Step 1: Create a Partition
The first step is to create a new partition on your hard drive to install Windows 11. Here’s how you can do it:
- Open the Disk Management tool by pressing Windows + X and selecting Disk Management from the menu.
- Right-click on the drive where you want to create the new partition (usually the C: drive) and select Shrink Volume.
- Enter the amount of space you want to allocate for the new partition in megabytes (MB) and click Shrink. This will create unallocated space on your hard drive.
- Right-click on the unallocated space and select New Simple Volume. Follow the on-screen instructions to create a new partition.
- Once the partition is created, you can format it with a file system of your choice, such as NTFS.
Step 2: Download Windows 11 ISO
Next, you need to download the Windows 11 ISO file from the official Microsoft website. Follow these steps:
- Visit the Microsoft Windows 11 download page and click on the Download button.
- Select the edition of Windows 11 you want to install (Home, Pro, etc.) and choose the appropriate language.
- Click Download to start downloading the ISO file. Make sure to save it in a location that is easily accessible.
Step 3: Create a Bootable USB Drive
To install Windows 11, you’ll need to create a bootable USB drive. Here’s how to do it:
- Connect a USB drive with at least 8GB of storage to your computer.
- Download and install a reliable bootable USB creation tool like Rufus.
- Open Rufus and select your USB drive from the device dropdown menu.
- Click on the Select button next to the Boot selection section and browse to the location where you saved the Windows 11 ISO file.
- Click on Start to begin the process. This will erase all data on the USB drive, so make sure you have a backup if necessary.
- Once the process is complete, you’ll have a bootable USB drive with the Windows 11 installation files.
Step 4: Install Windows 11
Now that you have created a bootable USB drive with the Windows 11 installation files, it’s time to install Windows 11 alongside Windows 10. Follow these steps:
- Restart your computer and boot from the USB drive. You may need to change the boot order in your computer’s BIOS settings to prioritize booting from the USB drive.
- When the Windows 11 installation screen appears, select your language, time, and keyboard preferences, and click Next.
- Click on the Install now button to start the installation process.
- Follow the on-screen instructions to complete the installation. When prompted to choose where to install Windows 11, select the partition you created earlier.
- Windows 11 will now be installed on the selected partition. The installation process may take some time, so be patient.
- Once the installation is complete, your computer will restart, and you’ll see the Windows 11 setup screen. Follow the on-screen instructions to configure Windows 11.
- After the initial setup, you’ll be able to choose between Windows 11 and Windows 10 each time you start your computer.
Step 5: Dual Booting Options
Now that you have successfully installed Windows 11 alongside Windows 10, let’s explore some options for managing the dual boot setup:
- Default Boot: By default, your computer will boot into the operating system that was last selected. However, if you want to change the default boot operating system, you can do so by going to the System Configuration settings in Windows 11.
- Boot Menu: If you want to manually select the operating system to boot into each time you start your computer, you can access the boot menu by pressing a specific key during startup. The key may vary depending on your computer’s manufacturer, but common keys include F12, Esc, or Del.
- Bootloader: The Windows bootloader is responsible for managing the dual boot setup. If you encounter any issues with the bootloader or want to modify its settings, you can use tools like EasyBCD to make changes.
Conclusion
Congratulations! You have successfully dual booted Windows 11 with Windows 10 on your computer. Now you can enjoy the best of both worlds by switching between the two operating systems whenever you need to. Remember to always back up your important files and data before making changes to your computer’s operating system. We hope this guide has been helpful, and if you have any questions, feel free to reach out for further assistance. Happy dual booting!
Experiencing difficulties with your Device, check out our “How To” page on how to resolve some of these issue


1 comment