Are you excited about setting up your new Fitbit Charge 5 but feeling a bit overwhelmed by the instruction manual? Don’t worry, we’ve got you covered! In this comprehensive guide, we’ll walk you through the step-by-step process of setting up your Fitbit Charge 5, one of the best fitness trackers on the market. Whether you’re a fitness enthusiast or just starting your fitness journey, this guide will help you get your Fitbit Charge 5 up and running smoothly.
Getting Started with Fitbit Charge 5
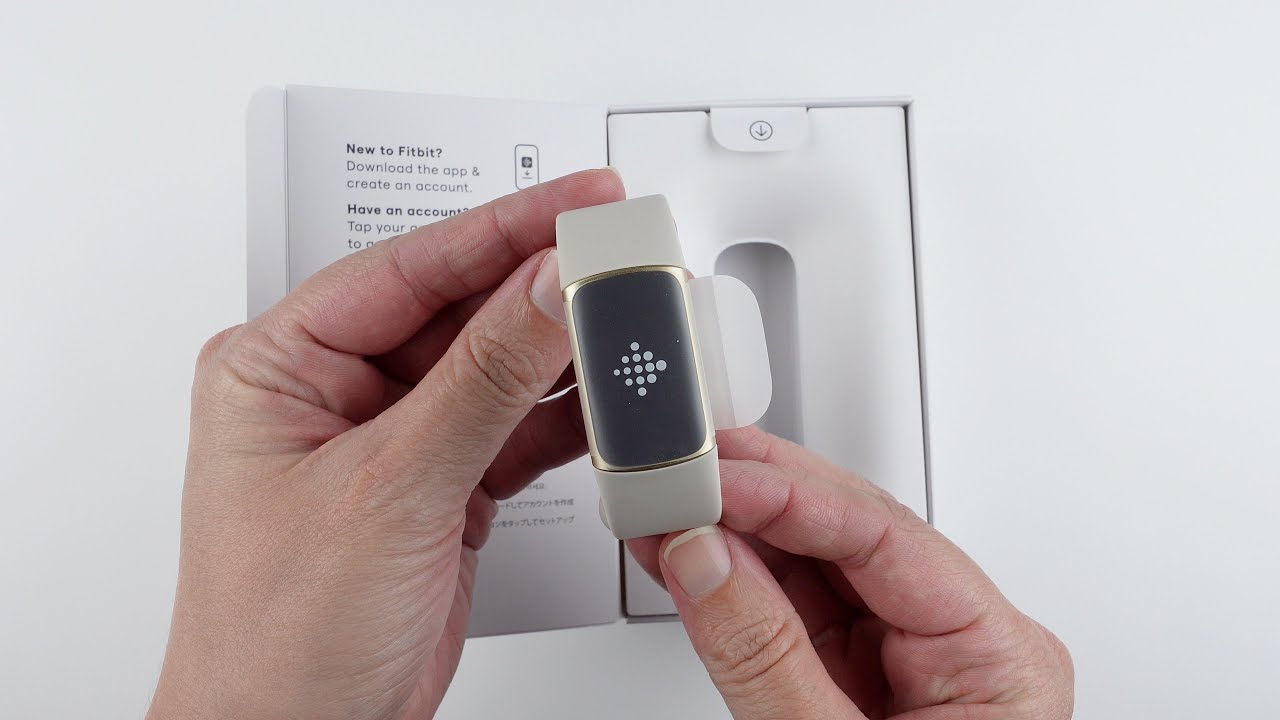
Before diving into the setup process, there are a few things you need to do to get started with your Fitbit Charge 5. First, download the Fitbit app on your iOS or Android device. You can find the app for free on the App Store or Play Store. Once downloaded, make sure to install it on your device.
Next, ensure that your Fitbit Charge 5 is fully charged. Connect the magnetic charger to the back of your Fitbit Charge 5, and when it’s properly connected, you’ll feel a slight vibration. The display screen on your Fitbit will also show that it’s charging.
Steps to Set Up Fitbit Charge 5
Now that you have the Fitbit app and your Fitbit Charge 5 ready, let’s dive into the setup process:
- Login to the Fitbit app on your smartphone or tablet. If you’re a new user, you’ll need to set up your name, age, height, and weight.
- Once logged in, click on “Set Up a Device” within the Fitbit app.
- Look for the “Charge 5” option among the Fitbit models available and select it to start the setup process.
- Accept the Fitbit terms and conditions, and proceed to the next step.
- Connect your Fitbit Charge 5 to the magnetic charger. The app will detect the connection, and the setup process will move forward automatically.
- A four-digit code will appear on your Fitbit Charge 5’s screen. Input this code into the Fitbit app and pair your device with the app via Bluetooth. Make sure your mobile device’s Bluetooth is turned on.
- You may be prompted to update your Fitbit software. Select “Update Now” and keep your phone or tablet near your Fitbit device during the update process.
- The app will provide instructions on how to use and wear your Fitbit Charge 5. Feel free to read or skip these instructions based on your preference.
- In the final step, you’ll have the option to set up Fitbit Premium, which includes a 6-month trial. Fitbit Premium offers additional features and insights to enhance your fitness journey.
Congratulations! Your Fitbit Charge 5 is now set up and ready to track your fitness goals. Don’t forget to personalize your device by adding your fitness level to get accurate data.
Troubleshooting Fitbit Charge 5 Setup Issues
In some cases, you may encounter difficulties during the setup process. Here are a few troubleshooting tips to help you resolve common issues:
Check the charger connection: If your Fitbit Charge 5 is not vibrating slightly and showing a charging icon when connected to the charger, ensure that the charger is properly connected.
Restart your Fitbit Charge 5: Sometimes, a simple restart can fix minor issues. Restart your device by pressing and holding the button on the side until you see the Fitbit logo.
Reset your Fitbit Charge 5: If the above steps don’t work, you can try resetting your device. Go to the Settings section of the Fitbit app, select your device, and look for the option to reset it. Keep in mind that resetting your device will erase all data stored on it.
If you’re still experiencing issues with your Fitbit Charge 5 setup, we recommend reaching out to Fitbit customer support for further assistance. They have a dedicated team ready to help you troubleshoot and resolve any problems you may encounter.
Using Fitbit to Track Your Fitness
Now that your Fitbit Charge 5 is set up, let’s explore how you can use it to track your fitness and achieve your health goals:
Navigating the touch screen: The Fitbit Charge 5 features a touch screen interface that allows you to easily access various functions. Double-tap the screen to return to the home screen. Swipe side to side to view notifications, set timers, perform EDA scans, start workouts, and measure your heart rate with ECG (available with Fitbit Premium). Swipe up from the home screen to check your daily workout routine, heart rate, and sleep score. Swipe down to access settings such as Fitbit Pay, sleep mode, screen wake, and more.
Syncing with the Fitbit app: Make sure to regularly sync your Fitbit Charge 5 with the Fitbit app to keep your data up to date. Open the Fitbit app, and it will automatically sync with your device when it’s nearby.
Monitoring your activity: The Fitbit Charge 5 tracks various activities, including steps, distance, calories burned, and active minutes. Use the Fitbit app to set daily activity goals and monitor your progress.
Tracking your workouts: Whether you’re running, cycling, or doing yoga, the Fitbit Charge 5 can track your workouts. Start a workout session directly from your device or use the app to select a specific workout mode.
Monitoring your heart rate and sleep: The Fitbit Charge 5 continuously tracks your heart rate throughout the day and during workouts. It also provides insights into your sleep patterns, helping you understand your sleep quality and make improvements if necessary.
Conclusion
The Fitbit Charge 5 is a versatile and powerful fitness tracker that can help you achieve your health and fitness goals. By following the step-by-step setup process and using the device to track your activity, workouts, heart rate, and sleep, you’ll have all the tools you need to stay motivated and make positive changes. Remember to sync your device regularly and explore the features offered by Fitbit Premium for an even more personalized experience. Happy tracking!
Experiencing difficulties with your Device, check out our “How To” page on how to resolve some of these issues.