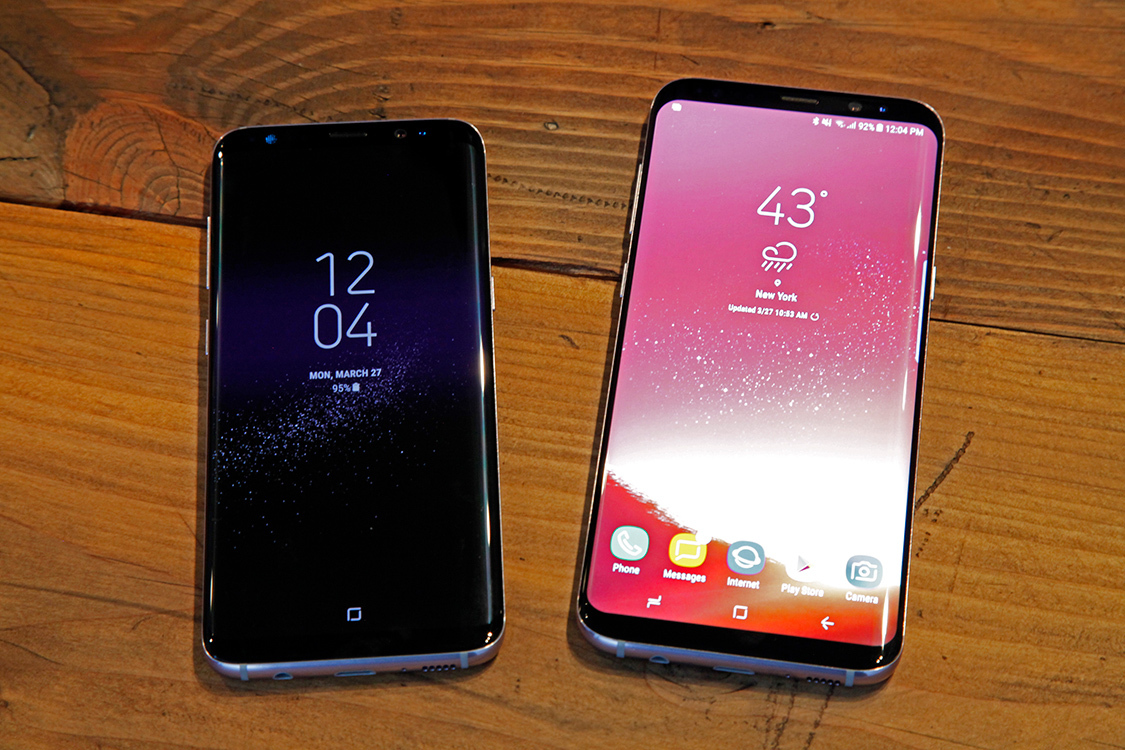
Another good troubleshooting step for the Galaxy S8 and the Galaxy S8+ is to boot into recovery mode and Wipe the Cache Partition.
In a previous tutorial, I walked you through one of the most important troubleshooting steps that you should know about. A lot of issues can be caused by a 3rd-party application so knowing how to boot the Galaxy S8 into Safe Mode is a great way to finding out what is causing the issue.
But there’s something else that can make an application or game or even the Android OS show poor performance, ruin your battery life, or even cause it to overheat.
The Android OS and your applications store certain pieces of information in the cache partition. They will then refer to this cache and show you the data within the application itself instead of having to calculate it every single time you open it. However, this data can become corrupt for various reasons and sometimes the data stored here can be something the app isn’t expecting. So it can be a good idea to Wipe the Cache Partition of the Galaxy S8 if you’re experiencing any issues.
The process is easy and it can be done right from the stock recovery of the device.
Galaxy S8 Wipe Cache Partition
- Power off the Galaxy S8
- Then boot the Galaxy S8 into Recovery Mode
- Press the Volume Down button 5 times
- And make sure the Wipe Cache Partition option is highlighted
- Press the Power button to select this option
- Press the Volume Down button to highlight the Yes option on the next screen
- Press the Power button to select this option
- Wait for the Galaxy S8 to wipe the cache partition
- Then press the Power button to select the Reboot System Now option
Explanation
Since different applications use cached data for different things, having bad data stored in the cache partition can cause all sorts of issues with your Galaxy S8 or Galaxy S8+. For instance, if the data has become corrupt, then you could see an application force closing every time you try to launch it. An application or game can also be told to store a number for a specific piece of cache data and a poorly coded one could have a bug that made it store a letter or a word.
So when that application tries to input that cached data into the application itself, this could all sorts of different issues. And all of this can happen with the Android OS itself where it’s trying to access some data and cannot use it because the data is wrong or it is corrupt. This can cause Android or the application to continue trying to access or use that data and that can result in poor battery life or even overheating issues with your phone.

So there are a bunch of reasons why wiping the cache partition of the Galaxy S8 can be good if you are experiencing any issues. It doesn’t delete any of your important data so you don’t have to worry about doing backups or restores either. To start, we need to boot the Galaxy S8 into Recovery Mode. If you’re unsure of how to do this then follow the link in Step 2 of the guide above. Once there, press the Volume Down button until the Wipe Cache Partition option is highlighted.
Press the Power button to select this option and you’ll be asked if you’re sure you want to do this. Press the Volume Down button again to highlight the Yes option, and then press the Power button again to select this option. The wipe shouldn’t take long at all and when it is done you’ll be taken back to the main Recovery Mode menu. The Reboot System option should be highlighted by default so you can just press the Power button from here to select it.
This will cause the Galaxy S8 or Galaxy S8+ to reboot and then you’ll be taken right back into the Android OS and your lock screen.
OR
These are the instructions on how to wipe cache on your Samsung Galaxy S8 or Samsung Galaxy S8 Plus:
Firstly, Power off the gadget.
Press and hold the Volume Up button and the Bixby button, then press and hold the Power button. When the green Android logo displays, release all buttons. Note: Installing system update’ will show for about 30 – 60 seconds before displaying the Android system recovery menu options.
Press the Volume down button several times in order to select and choose “Wipe cache partition.”
Press the Power button to choose.
Press the Volume down button to highlight “Yes” and press the Power button to select. After the wipe cache partition is complete, “Reboot system now” is highlighted.
Press the Power button to restart the device.
At the point when it’s done, the Galaxy S8 or Galaxy S8 Plus will reboot with wiped cache.
How to clear the app cache on the Samsung Galaxy S8:
For issues that are related to a specific app, it’s best to first try to clear the app cache. You can clear the app cache with these instructions below: Power on your Galaxy S8 or Galaxy S8 Plus. Navigate to Settings and then the App Manager. Find and select the app you want to clear the cache for. After you’ve chosen the app, look for the app info screen. Choose Clear Cache. To clear the app cache for all apps, navigate to Settings and then to Storage. Select Cached Data to clear all app caches all at once. Remember! Clearing the cache of the app will clear the information stored in the app such as your user name, passwords, game progress, preferences, settings, and so on.
Experiencing difficulties with your Android Device, check out our “How To” page on how to resolve some of these issues.
Other Android Technical Reviews:- Android


1 comment