It’s taken OnePlus 5 years to finally release its flagship smartphone with a 1440p display. It’s been that long since these higher resolution displays have been mainstream and the OnePlus 7 Pro is the company’s first device with it. However, not everyone cares about the higher resolution and are able to save battery life by setting it to 1080p FHD+.
The LG G3 was the first mainstream smartphone to ship with a 1440p display. At the time there were a number of criticisms but the technology has matured and evolved these last 5 years. Each year OnePlus has received thousands of requests to finally use a 1440p display in their smartphone.
This was made a reality with the release of the OnePlus 7 Pro earlier this year.
The regular OnePlus 7 still comes with the traditional 1080p OLED display that they are known for. It’s the bigger brother, the OnePlus 7 Pro that is shipping with the higher resolution display. By default, OxygenOS tries to save you some battery life by automatically switching between 1440p and 1080p when needed.
We have seen something similar in Sony’s smartphones. They actually ship with a 3160p (UHD, aka 4K) display but only outputs at that resolution in certain situations. OnePlus has a similar system set up with the OnePlus 7 Pro which will only drop you down to 1080p when it detects the phone is outputting an FHD source.
Thankfully, we can extend the OnePlus 7 Pro battery life by setting things so it will always output at 1080p.
Time needed: 3 minutes
How to Change the OnePlus 7 Pro Display Resolution to 1080p FHD+
- Open up the Settings application
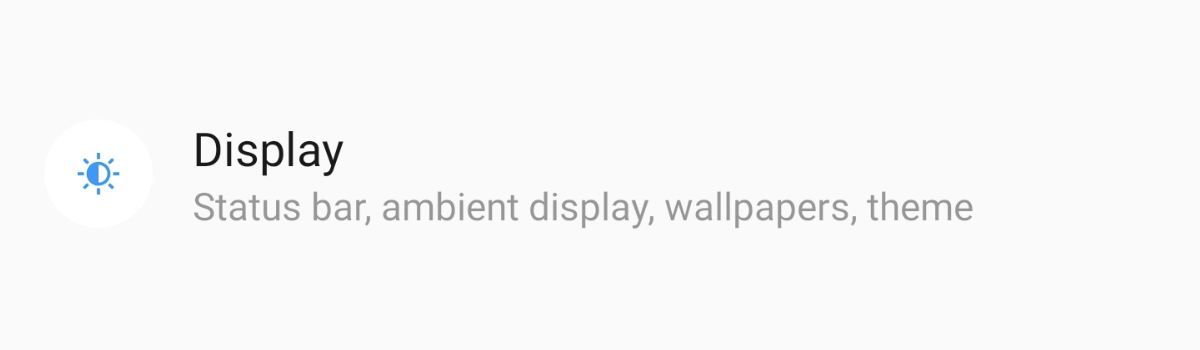
- Then look for and tap on the Display menu
- Tap on the Resolution option
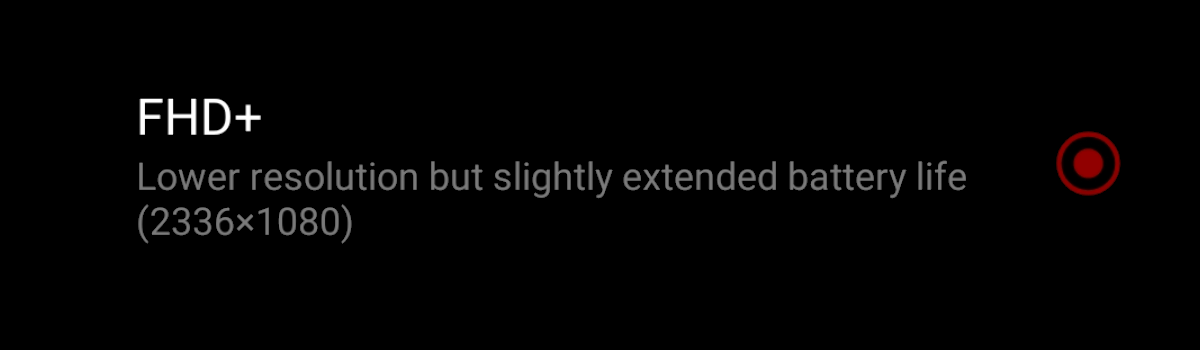
- And lastly, tap the FHD+ option at the bottom
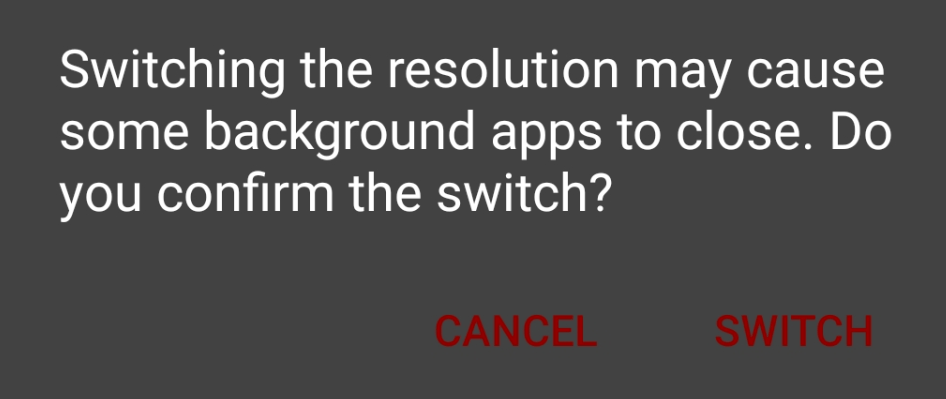
You’ll then be prompted with the message below. Tap on Switch to confirm the change.
Advertising the resolution of a smartphone’s display but having the software output a different one isn’t new either. I mentioned about how Sony handle’s its 4K smartphones but Samsung does something similar as well. The company will say its flagship smartphones (for the last few years) have a 1440p display.
And they definitely ship with screens that are capable of displaying things at that resolution.
But Samsung has its software set so that it displays things at 1080p FHD (FHD+ in most cases) by default. Meaning, Samsung has it set up so that it doesn’t even automatically switch between the two resolutions. At least the company hasn’t with its software over the last few years.
Instead, they keep things at 1080p at all times unless the person goes in and changes the display resolution themselves. I don’t mind the way OnePlus has approached the situation because you get what you are advertised right out of the box. Sure, the OnePlus 7 Pro will occasionally switch to 1080p mode, but not that the detriment to your content.
Save OnePlus 7 Pro Battery Life by Using 1080p FHD+ Mode
Since OxygenOS outputs at 1440p, you won’t see any visual changes when switching from Auto mode (which is set by default) to 1440p QHD+. However, when you go from Auto or QHD+ mode down to 1080p FHD+ mode, you will notice that the text size has changed.
This is because of how the Display Size feature (aka the DPI) changes when the resolution changes.
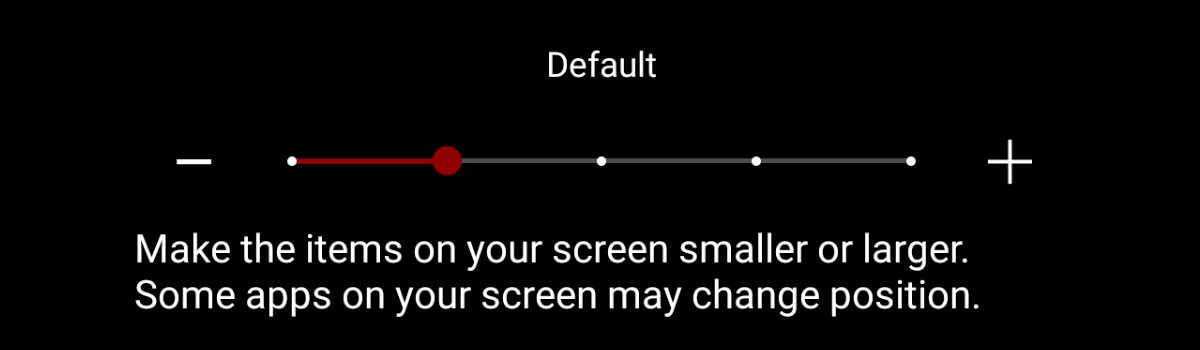
So you may notice some text and icons are a bit bigger than you are normally used to. If that is the case, then you’ll want to go back a step in the menus (so you in Settings -> Display) and then scroll down. Look for the Display Size feature and you’ll see a slider at the bottom of the screen.
Adjust the slider here until the text and icons are being displayed how you are used to it. This most likely entails moving the slider one notch to the left which will make the icons and text a bit smaller. You always have the ability to refine these DPI settings even further by diving into the hidden Developer Mode.