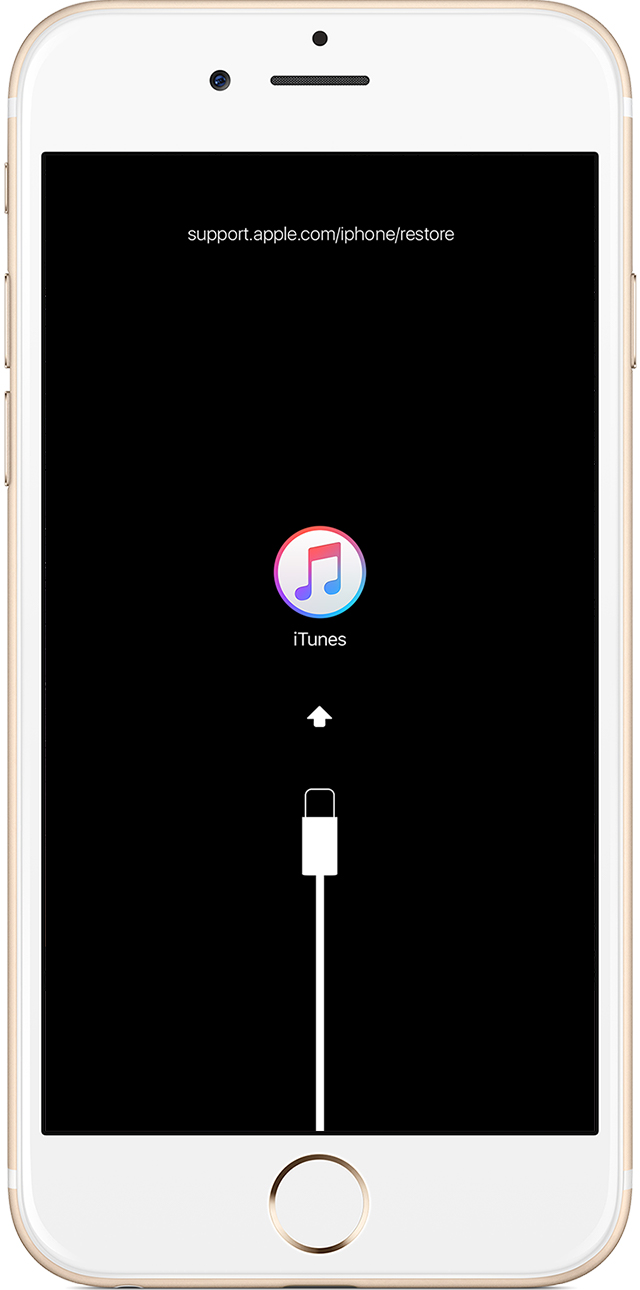
As a proud owner of an iPhone SE, you may occasionally encounter frustrating connection issues when trying to connect your device to your computer. Whether you’re attempting to sync your music library, transfer files, or perform a backup, a failure to establish a connection can be incredibly inconvenient. But fear not! In this comprehensive guide, we will walk you through the troubleshooting steps to resolve any iPhone SE connection problems with your computer.
Common Causes of Connection Issues
There are several factors that could contribute to your iPhone SE not connecting to your computer. Here are some common causes to consider before proceeding with the troubleshooting steps:
Faulty USB Connection: Ensure that your USB cable is securely connected to both your iPhone SE and your computer. A loose or damaged cable can prevent a successful connection.
Dust or Debris: Over time, dust and debris can accumulate in the lightning port of your iPhone SE, hindering proper connectivity. Gently clean the port using a soft brush or compressed air.
Outdated Software: It’s important to keep both your iPhone SE and your computer’s operating system up to date. Outdated software can cause compatibility issues and prevent a successful connection.
Trust Issues: When connecting your iPhone SE to a computer for the first time, you need to trust the computer on your device. If you haven’t granted trust, your iPhone SE may not establish a connection.
Now that we’ve identified some potential causes, let’s dive into the troubleshooting steps to get your iPhone SE connected to your computer.
Troubleshooting Steps
Step 1: Check the USB Connection
The first step in troubleshooting your iPhone SE connection issue is to ensure that the USB connection is secure and functioning properly. Follow these steps:
- Disconnect the USB cable from both your iPhone SE and your computer.
- Inspect the USB cable for any signs of damage or wear. If you notice any issues, try using a different USB cable.
- Reconnect the USB cable firmly to both your iPhone SE and your computer.
- If you’re using a USB hub, try connecting the cable directly to a USB port on your computer.
Step 2: Clean the Lightning Port
If your USB connection is secure but your iPhone SE still won’t connect to your computer, it’s possible that dust or debris is obstructing the lightning port. Here’s how you can clean it:
- Power off your iPhone SE to prevent any accidental damage.
- Use a soft brush or a can of compressed air to gently remove any dust or debris from the lightning port.
- Avoid using water or any liquid cleaning agents, as they can damage the port.
Step 3: Troubleshooting for Mac Users
If you’re using a Mac and your iPhone SE still won’t connect, follow these troubleshooting steps:
- Ensure that your Mac is running the latest version of macOS. Click on the Apple menu, select “About This Mac,” and click on “Software Update” to check for updates.
- Disconnect your iPhone SE from your Mac.
- Restart both your iPhone SE and your Mac.
- Reconnect your iPhone SE to your Mac using the USB cable.
- When prompted on your iPhone SE, choose “Trust” to establish a secure connection.
- If the issue persists, try using a different USB cable or USB port on your Mac.
Step 4: Troubleshooting for Windows Users
If you’re a Windows user experiencing connection issues with your iPhone SE, try the following troubleshooting steps:
- Make sure that you have the latest version of iTunes installed on your computer. Open iTunes, go to “Help,” and select “Check for Updates” to ensure you’re up to date.
- Disconnect your iPhone SE from your computer.
- Restart both your iPhone SE and your computer.
- Connect your iPhone SE to your computer using the USB cable.
- If prompted, tap “Trust” on your iPhone SE to establish a secure connection.
- If the problem persists, try using a different USB cable or USB port on your computer.
Step 5: Update Your iPhone SE and Computer Software
Outdated software can sometimes cause connection issues between your iPhone SE and your computer. To ensure compatibility, follow these steps:
- Update your iPhone SE: Go to “Settings,” tap on “General,” and select “Software Update.” If an update is available, follow the prompts to install it.
- Update your computer’s operating system: For Mac users, click on the Apple menu, select “System Preferences,” and choose “Software Update.” If you’re a Windows user, follow the instructions specific to your operating system.
By keeping your software up to date, you can avoid compatibility issues and ensure a smooth connection between your iPhone SE and your computer.
Conclusion
We hope that this troubleshooting guide has helped you resolve any connection issues between your iPhone SE and your computer. By following these steps, you can ensure a seamless connection, allowing you to sync your data, transfer files, and perform backups effortlessly. Remember to regularly clean your lightning port and keep your software updated to prevent future connection problems. If the issue persists, consider reaching out to Apple Support for further assistance. Happy connecting!


