Samsung has a history of doing things with Android that no other OEM does. Because of this, it also means that installing Magisk to gain root access is different than other devices as well. The process may seem long but I can break it down for you so the tutorial is easy to understand & simple to follow.
There are a lot of things that we can do with an Android smartphone which has root that we cannot do with one that does not. I’ve covered some of the reasons why I use root here, but your mileage may vary. Don’t feel that you should, or have to root the Galaxy Note 10.
You should decide to follow this tutorial because you have specific reasons to.
Requirements
Before you can start the tutorial detailed below, you first need to unlock the bootloader of the Samsung Galaxy Note 10, Galaxy Note 10+, Galaxy Note 10+ 5G, or the Galaxy Note 10 Lite. This means that the following tutorial is only for the Exynos variant because most Snapdragon models have an unlockable bootloader.
Once you have that done, you can then proceed with the step by step tutorial I have written (and recorded) for you.
Note – Gaining root access to the Galaxy Note 10 series requires us to perform a factory reset. Therefore, it is advised that you go in and back up as much of your personal data as possible (photos, videos, WiFi passwords, etc.).
Time needed: 30 minutes
How to Root the Samsung Galaxy Note 10 & Galaxy Note 10+ with Magisk
- Download your current firmware for the Galaxy Note 10
You will then want to extract the contents of this firmware.
- Download Magisk Manager
Go ahead and sideload this APK file so you can use it.
- Copy the AP_ firmware file from the PC to the Galaxy Note 10
- Open the Magisk Manager application
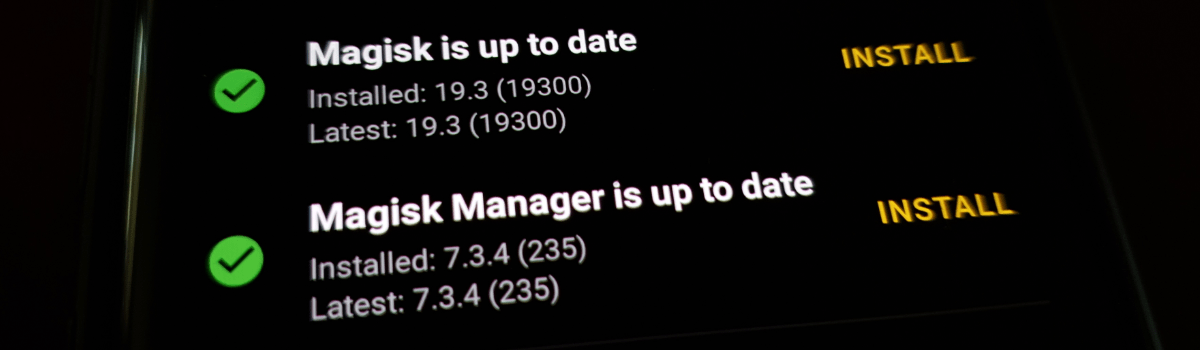
- Tap the Install button
You want to tap the top Install button, next to the Magisk version section.
- Tap the Install button again when the dialog box appears
- Then choose the Select and Patch a File option
You will need to grant Magisk Manager access to your internal storage.

- Locate and tap on the AP_ firmware file from earlier
- Wait for Magisk Manager to patch the file then copy the patched file back to the PC
This file is going to be in the root of your internal storage and will be named
magisk_patched.tar. - Download and install Odin on your PC
- Right-click the Odin .EXE file and run it as an Administrator
- Boot the Samsung Galaxy Note 10 into Download Mode
You will then want to connect the smartphone to the PC with a USB cable.
- Click the BL button in Odin and load the firmware file starting with BL_
- Click the CP button in Odin and load the firmware file starting with CP_
- Click the CSC button in Odin and load the firmware file starting with HOME_CSC_
- Click the AP button in Odin and load the magisk_patched.tar file
- Click the Options tab within Odin
- Uncheck the Auto Reboot option

- When ready, click the Start button at the bottom of the Odin window
- Wait a few minutes for the process to be completed
You should see a green PASS message in Odin when everything goes smoothly.
- Unplug the USB cable from the Samsung Galaxy Note 10
- Press and hold the Power and Volume Down buttons for ~7 seconds to force the reboot
- Then, immediately begin holding the Power and Volume Up buttons until you see the Recovery Mode main menu
Remember, follow along with the video below if you end up getting confused.
- Press the Volume Down button until the Factory Reset option is highlighted

- Press the Power button to select this option
- Confirm that you want to proceed with the factory reset
- Wait a few seconds for the factory reset to be finished
- Then press the Power button when you’re back at the Recovery Mode menu
This should be done when the Reboot System Now option is highlighted.
As you can see, the tutorial does look long and complex but it’s only that long because of the way I break the steps down. I do this because it makes the whole process easier to read and easier to understand. I could just as easily have said “flash this modified firmware with Odin” but not everyone would understand that.
This is why I treat these tutorials as if this is your first time (or as close as I can get).
I encourage you to follow along with me using the embedded YouTube video as well because having those visual aids can help. This is especially true for those who get stuck at a particular step as it can help you to get back on track. I am essentially just following my own tutorials when creating the videos.
Risks of Gaining Root on the Galaxy Note 10
I don’t want to say there aren’t any risks involved here because there are. You can read over the Disclaimer link in the footer of the website but I think everyone knows by now that you are taking a risk when using these community tools. I create these tutorials to minimize these risks as much as possible.
There is only so much that I can do though.
Now, I will say that rooting the Samsung Galaxy Note 10, Note 10+, Note 10 Lite, or Note 10+ 5G will trip KNOX. This means that any application or service (Samsung Health, Samsung Pass, Samsung Pay, Secure Folder, Secret Mode in Samsung’s Internet Browser) will not work anymore. If you try then you’ll be told the app/phone detects unofficial code and will stop you.
There are some workarounds available to get some of these things working again. I’ll be covering these in future tutorials so that I can keep them organized but you shouldn’t expect these workarounds to work. It’s great when they do, but it’s usually a cat and mouse game between the developer community and Samsung.