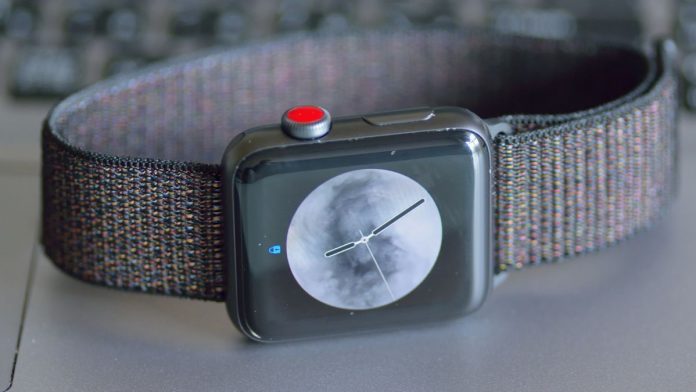
Apple has built its new shortcut app where you can automatically change your Apple watch face based on the time of the day and your location. Thanks to Apple, you don’t have to change it every time manually.
What is an Apple watch face?
If you have an Apple watch, you must know that you can change and customize watch faces. Depending on what’s your purpose, you can customize your watch face for more informative or functional. The only thing is every time you need a different watch face, you need to wipe them. For instance, when you go to your office, you can apply a watch face containing all your work-based complications. And you can later swipe it to a minimal functional watch face in the evening before going to bed.
Many people have a strict schedule and wish to follow them through. This feature is perfect for them, considering how it can give an option to automate the iOS so that it can change the watch face on your Apple Watch automatically. And no longer swiping to change watch faces. But to do so, you need to learn how to create shortcuts first. If you don’t have any clue, don’t worry this article will guide you through all the steps and we’ll show you how to automate the watch face feature on your Apple watch.
Note: After automating one watch face for a certain time, if you want to move to another watch face, you need to set up a second separate automation for that watch face. In case you are in a certain location, and you want your watch face to be changed in that certain location, you can also do it, and after you leave that place, your watch face will revert to the previous one.
How to Automatically Change Your Apple Watch Face at a Specific Time:
First, go to your iPhone and download and install the shortcuts app
Go to the app and click on the automation tab, which will be at the bottom of the screen.
You will find an option to create personal automation; click on it.
There you need to select a specific time of the day.
There are two options: sunrise or sunset, and after selecting the one, you need to specify the time more. You can also repeat it like an alarm clock, such as daily, weekly, or monthly.
Then hit the next button
Now click on the add action and use the search bar to type ‘watch’
The result list will pop up, and from there, you can choose a watch face of different actions.
After selecting, you will see an option just below “Set active watch face too,” on your active screen. Just press the word face in blue.
Now you can choose the watch face you prefer and also the time when you want this.
Note: the list contains many of Apple’s official names and some duplicates.
- Then hit the next button
- Now toggle off the switch and confirm by clicking the Don’t Ask prompt.
And that’s it you’re done.
After you have changed your watch face, just take a quick look at the automation screen to confirm. Now your watch face should automatically change according to the time. But that’s not all; you can also change your apple watch face based on location.
How to Automatically Change Your Apple Watch Face Based on Location:
Again go to the shortcut apps from your iPhone
Click on the automation tab at the bottom of your screen.
Then select the option ‘Create Personal Automation’
You will get two options: Arrive or Leave. Suppose you have Chosen Arrive, then you can select the location and hit next.
Hit the add action option
After that, go to the search bar and type watch
You need to choose a new Watch Face from all the search results
After selecting, you will see an option just below “Set active watch face too,” on your active screen. Just press the word face in blue.
You can also change your watch face when you leave or arrive.
Confirm the watch face and view the automation screen that you have created.
Now that’s done, just simply click the done button to finish the process.
Conclusion:
So that’s all. Follow the steps above, and you can easily change your watch face according to your preference. Thanks to the shortcuts app, you can do much more than automate your Apple watch face.
Experiencing difficulties with your Device, check out our “How To” page on how to resolve some of these issues.


