
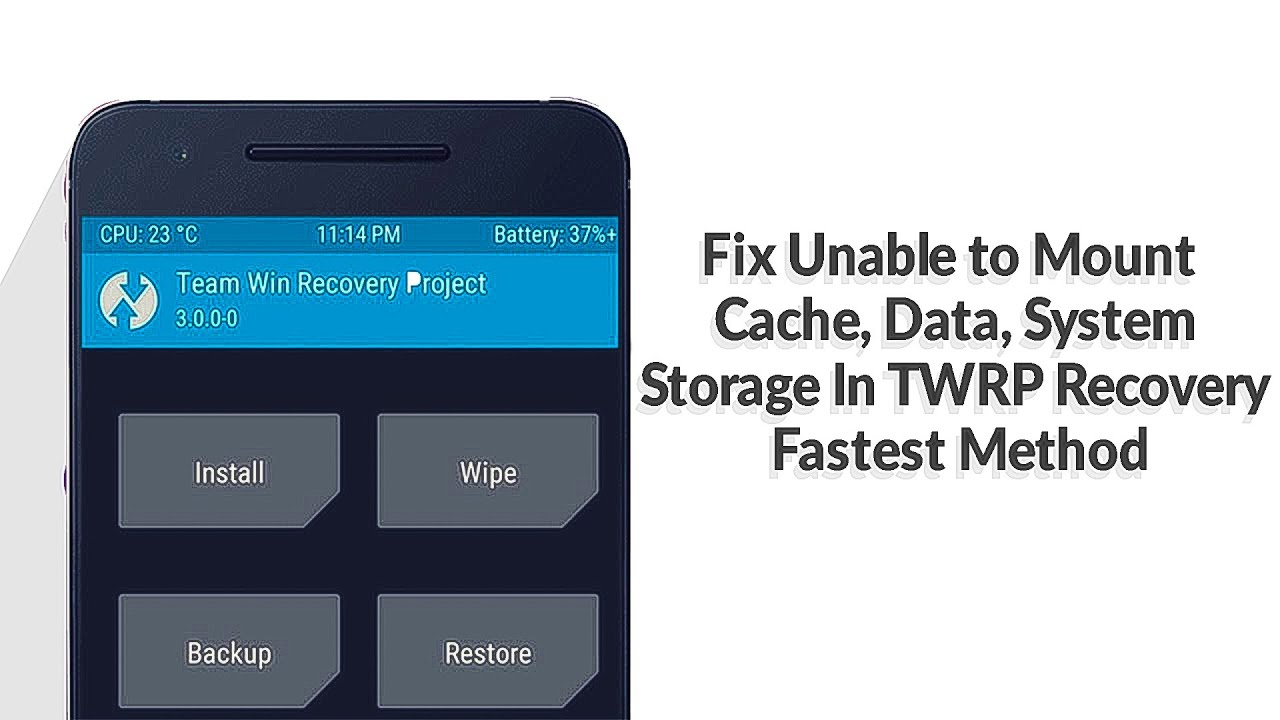
Are you facing the frustrating “Unable to mount storage” error in TWRP Recovery? Is your internal storage showing as 0MB, even though you have ample free space? If you’ve encountered these issues while using TWRP, especially after installing custom ROMs, you’re not alone. Many users have come across this problem, which can be caused by various factors, such as encryption or partition corruption.
In this comprehensive guide, we’ll walk you through the step-by-step process of resolving the TWRP unable to mount storage and internal storage 0MB issues. We’ll explore different potential solutions, from addressing encryption problems to repairing file systems. By following these instructions, you can overcome these challenges and regain access to your device’s storage in TWRP.
Before we delve into the solutions, let’s understand why this error occurs in the first place. In most cases, TWRP is unable to decrypt the internal storage, leading to the “Unable to mount storage” message. This issue arises because TWRP doesn’t handle encrypted storage properly. Additionally, corruption of the /data partition can prevent TWRP from locating it, resulting in the same error.
Now that we have a basic understanding of the problem, let’s move on to the solutions.
Solution 1: Check Encryption Settings
To start, let’s verify if your internal storage is encrypted due to a legacy screen lock method. Follow these steps:
Go to your Android device’s Settings.
Navigate to Security > Screen Lock.
Change your screen lock method to either Pass or Pin.
Create a new passcode or PIN and save it.
Reboot your device into TWRP.
When prompted, enter the passcode or PIN you just created.
TWRP will then attempt to decrypt your device’s internal storage. If successful, you should no longer encounter the “Unable to mount storage” error. If the issue persists, proceed to the next solution.
Solution 2: Repair or Change File System
If the first solution didn’t resolve the problem, you can try repairing or changing the file system. Follow these steps:
Reboot your device into TWRP again.
From the TWRP main menu, go to Wipe > Advance Wipe > Data.
Choose Repair File System and see if this fixes the issue.
If the error persists, select Change File System instead.
Choose Ext2 as the new file system and swipe to confirm.
Now switch back to Ext4 and swipe to confirm.
Return to the TWRP main menu and go to Mount.
Check if your partitions can be mounted now.
If you’re still unable to mount your partitions, you’ll need to proceed to the next solution, which involves repairing the internal partition. Please note that this step may result in the loss of your internal storage data, so make sure you have a backup before proceeding.
Solution 3: Repair the Internal Partition
To repair the internal partition and potentially resolve the “Unable to mount storage” error, follow these steps:
Reboot your device into TWRP.
From the TWRP main menu, go to Wipe > Advance Wipe > Data.
Select Repair or Change File System.
Swipe to confirm and initiate the repair process.
Wait for the repair to complete.
Once the repair is done, go back to the TWRP main menu.
From there, navigate to Mount and check if your partitions can be mounted now.
If you’ve successfully repaired the internal partition, the “Unable to mount storage” error should no longer appear. However, keep in mind that this solution may result in the loss of your internal storage data. Make sure you have a backup of your important files before proceeding.
Conclusion
Encountering the “Unable to mount storage” error in TWRP Recovery can be frustrating, but it’s not an insurmountable problem. By following the solutions we’ve provided in this guide, you can resolve this issue and regain access to your device’s internal storage. Remember to always create backups of your data before attempting any repairs or changes to avoid any potential loss.
If you’re still experiencing difficulties or have any questions, don’t hesitate to reach out to us for assistance. We’re here to help you navigate the world of tech and ensure a smooth and enjoyable experience with your devices.
Stay tuned for more informative guides and troubleshooting tips!
Experiencing difficulties with your Device, check out our “How To” page on how to resolve some of these issues.