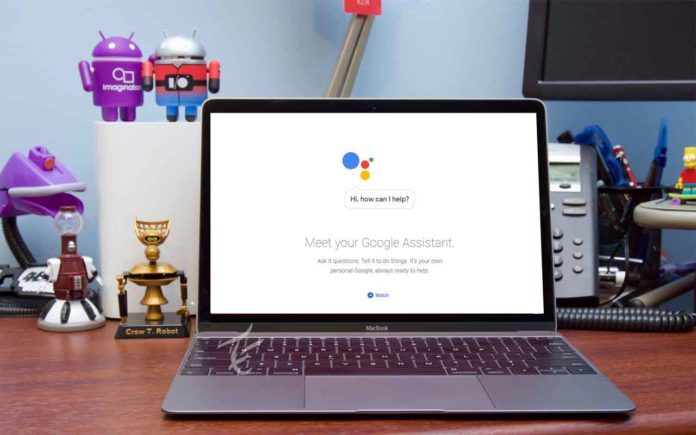
Google Assistant is a widely used voice assistant that allows users to interact with their devices using voice commands. While it is available on various platforms such as smartphones, smart displays, and smart speakers, using Google Assistant on desktop PCs has always been a challenge. However, thanks to the efforts of a Chennai-based developer named Melvin L. Abraham, there is now an unofficial cross-platform Google Assistant desktop client based on the Google Assistant SDK. In this article, we will guide you through the steps to set up and use Google Assistant on your Windows, macOS, or Linux machine.
Register Device for Using Google Assistant on PC
Before you can start using Google Assistant on your PC, you need to register your device and set up the necessary configurations. Here’s how you can do it:
- Download the latest version of the desktop client from GitHub that is compatible with your operating system.
- Install the Assistant app on your PC. However, note that it won’t work until you configure the backend. To do this, open the Actions Console from your web browser and click on ‘New Project.’ You will need to log in with your Google account to access the Actions Console.
- Go through Google’s terms of service, toggle the ‘Yes’ option, and click on ‘Agree and continue.’
- In the New Project popup, set a new project name, choose the language and region, and click on the ‘Create project’ button.
- After creating the project, scroll down to the device registration option and click on the ‘Click here’ hyperlink.
- On the device registration page, click on the ‘Register Model’ button to proceed.
- Set the product name, manufacturer name, and device type. You can choose any device type, such as TV or any other preferred type. Once done, click on the ‘Register Model’ button.
- In this crucial step, download the key file (a .json file) by clicking on the ‘Download OAuth 2.0 credentials’ button. You will need this file later to configure the client.
Enable Google Assistant API and Setup Consent Screen
To enable the Google Assistant API and set up the consent screen, follow these steps:
- Open Google Cloud Platform’s Console and click on the drop-down menu next to GCP’s logo in the top-left corner.
- Choose the project you created earlier by clicking on the ‘All’ tab, locating the project, and clicking on the ‘Open’ button.
- From GCP’s left side menu, click on ‘APIs & Services’ to enable the Google Assistant API.
- On the Dashboard, click on ‘Enable Apps and Services,’ which will take you to the API library page.
- On the API Library’s search page, type ‘Google Assistant API’ and choose it from the results.
- Click the ‘Enable’ button to enable the Google Assistant API.
- In the Google Assistant API’s page, switch to the Credentials section from the left sidebar and click on ‘Configure Consent Screen.’
- In the OAuth consent screen, set ‘External’ as the user type and click on ‘Create.’
- On the app information page, choose your email in the user support email section.
- Scroll down and enter your email address in the developer contact information box. Click on ‘Save and Continue.’
- Proceed to the ‘Scopes’ page and click on ‘Save and Continue.’
- Repeat the same step for the Optional Info page by clicking on ‘Save and Continue.’
- On the page that appears, click on the ‘Add users’ button to add test users.
- Add users by entering their email addresses, separating multiple email IDs with a comma. Click on ‘Save.’
Setup Google Assistant Client Authentication
After completing the device registration and configuring the consent screen, you can proceed with setting up the authentication for the Google Assistant client:
- Open the Google Assistant client on your PC and go to the Settings by clicking on the gear icon in the top-left corner of the app.
- Use the OAuth 2.0 credentials .json file that you downloaded earlier. Click on the Browse button under the Authentication section and set the JSON file’s path as the ‘Key File Path.’ Leave the ‘Saved Token Path’ empty.
- After setting the path, click on the Save button.
- The app will prompt you to automatically set the saved tokens path. Choose the ‘Automatically set a path’ option.
- Restart the application by clicking on the ‘Relaunch Assistant’ button in the bottom-left corner.
- When the app opens again, you’ll see a page asking you to paste the authentication code. At the same time, a new authentication page will open in your default web browser.
- Switch to the authentication page and choose your Google account to allow permissions.
- Click on ‘Allow’ to grant Google Assistant permissions.
- You’ll receive an authentication code. Copy the code to your system’s clipboard.
- Switch back to the client app and paste the code in the given field. Click on Submit.
- Restart the Assistant by clicking on the ‘Relaunch Assistant’ button.
Google Assistant Client Impressions
The unofficial Google Assistant client for desktops is well-designed and user-friendly. Its elegant interface features rounded corners, and you can resize the app horizontally and vertically to suit your preferences. With this client, you can issue various basic voice commands, such as conducting searches, checking the weather, and controlling smart home devices. On Windows machines, you can even access the client using the keyboard shortcut ‘Windows+Shift+A.’
The app’s settings page offers customization options to tailor the experience to your liking. For example, you can choose to keep the app always on top of other applications for quick access. Additionally, you can switch themes to have a light or dark mode.
However, there are certain limitations to the unofficial Google Assistant client. You cannot use the app to play music from streaming services, watch YouTube videos or Netflix shows, or launch applications. Moreover, you cannot activate the Assistant using the ‘Hey Google’ or ‘Ok Google’ hotword. Instead, you need to manually open the app to use voice commands or type queries. Nevertheless, the project’s developer has plans to introduce hotword detection in the future.
Try Google Assistant on Your PC
If you’re interested in contributing to this open-source project, you can do so by visiting the project’s GitHub page. While it remains uncertain whether Google will release official desktop Assistant clients for other platforms, you can explore this unofficial client and see if it meets your needs. To discover the full capabilities of the app, take a look at our best Google Assistant tricks article and try them out.
In conclusion, using Google Assistant on your Windows, macOS, or Linux machine is now possible with the help of an unofficial cross-platform desktop client. By following the steps outlined in this article, you can set up Google Assistant on your PC and enjoy its functionalities. Although the client has certain limitations, it provides a convenient way to interact with Google Assistant on your desktop. Give it a try and enhance your productivity by using voice commands and smart home controls right from your PC.
Experiencing difficulties with your Device, check out our “How To” page on how to resolve some of these issues.


