Regular backups ensure the safety of valuable data present on your system. When you have a good data backup system in place, you never have to worry about losing an important presentation or your favorite memories in the form of videos or pictures. External backup safeguards the protection of your data in case there is a sudden breakdown or a crash of your computer. We will show you how to backup Mac to external hard drive without time machine.
Steps to backup Mac to external hard drive
Buy a Hard Drive (External)
The storage of the hard drive that you purchase must be bigger than that of your Mac. Buying a 1TB or more hard drive from a reliable brand would be great. This would not just suffice for your Mac, but you would be able to use it for other personal storage purposes too.
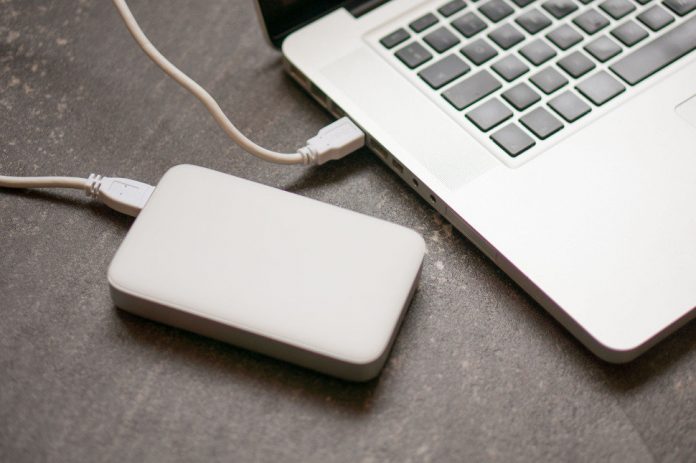
Connect the Hard Drive to Mac
Most Mac’s come with a USB – C ports. If you have an older version of Mac, then get a USB 3.0 cable to connect the hard drive to your Mac.
Format the Hard Drive
A formatted hard drive will work seamlessly on your Mac OS. For the File System Value, you must select Mac OS Extended.
Disable FileVault
You will be unable to clone the Mac’s hard drive with FileVault enabled. If you have ever turned it on for some reason earlier, you must disable it to continue with your process of backing up Mac.
Restart Mac
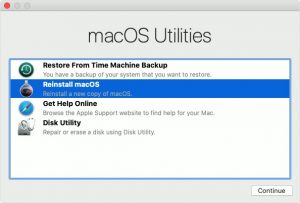
Next, you must restart your Mac. Click on Apple Menu > Restart Now. You must then immediately press and hold the Command and R buttons. Keep holding them till you get the Recovery Screen. The recovery screen icon looks like a spinning globe. When you see this icon, you can let go of the Command and R buttons. The system will load the Recovery screen.
Once these steps are completed and you have the Recovery screen in front of you, then you can proceed with the backup of your Mac.
Here are the steps to perform the backup to the hard drive proceeding from the Recovery screen that you have reached after performing the above steps:
- On the Recovery screen, you will find some icons displayed. You must click on the icon that says Disk Utility

Next click on Continue and the system will open a Disk Utility window
Select your external drive from the list displayed on the left-hand side of the screen
From the menu on top click on Edit, you will get a drop-down
Click on Restore on this drop-down to open a pop-up window where you will get the option to select the hard drive of your Mac
Next click on Restore which is a blue button that will be located on the right side of the screen
Clicking on Restore will prompt the backup to begin. The system will transfer all the data stored in your Mac’s hard drive to the external hard drive that you have plugged in
The transfer will take some time. Once this is complete, you can restart your Mac
When your Mac is restarted go to Locations > right click on hard drive > Eject hard drive
It is important that you eject the hard drive in the right way to ensure that the data that has been transferred doesn’t get corrupted.
Follow the above steps to take a backup of your Mac on an external hard drive safely. Make sure you take regular backups to safeguard the contents of your Mac. Regular backups help in keeping all your documents and media files secure.
Experiencing difficulties with your Device, check out our “How To” page on how to resolve some of these issues.


