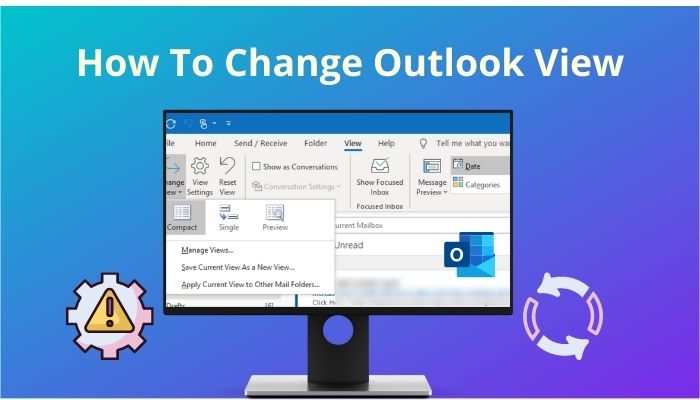
Are you tired of the same old Outlook view? Do you wish to customize the display to make it more attractive and appealing? Look no further! In this comprehensive guide, we will walk you through the process of changing your Outlook view on both Android and iOS devices. Whether you want to sort your emails, change the theme, adjust the display density, or customize swipe options, we’ve got you covered. Let’s dive in and transform your Outlook experience!
Ways to Change Your Outlook View
1. Change the Sorting of Your Emails
Sorting your emails can make it easier for you to find and prioritize important messages. You can customize the way your emails are organized in Outlook. Here’s how:
- Open the Outlook app on your mobile phone.
- Tap on the “Filter” option located at the top right corner, above the message list.
- A pop-up menu will appear with various sorting options. Choose the one that suits your needs.
2. Change Your Outlook Theme
Customizing the theme of your Outlook can give it a fresh and appealing look. You can change the background color and add special effects. Follow these steps to change the theme:
- Click on the Google (G) icon in the top left corner of your Outlook.
- Select the “Settings” icon.
- Scroll down to the “Preferences” section.
- Click on “Appearance.”
- Choose a theme that suits your style.
3. Adjust the Display Density of Your Outlook
The display density determines the amount of information shown on your screen. You can choose between a compact view or a more spacious layout. Here’s how to adjust the display density:
- Click on the Google (G) icon in the top left corner of your Outlook.
- Select the “Settings” icon.
- Scroll down to the “Preferences” section.
- Click on “Appearance.”
- Choose one of the three options: Roomy, Cozy, or Compact.
4. Customize Swipe Options
Using swipe gestures can help you quickly perform actions on your emails. You can set up swipe options based on your preferences. Here’s how:
- Tap on “Settings.”
- Scroll down to the “Contacts” section.
- Click on the “Swipe” option.
- Choose either “Swipe Right” or “Swipe Left” and select an action.
5. Change Notification Settings for Specific Email Accounts
Managing email notifications can help you stay focused and avoid unnecessary distractions. You can customize the notification settings for specific email accounts. Follow these steps:
- Go to the Settings menu in your Outlook app.
- Scroll down to the Email section.
- Tap on “Notifications.”
- Select the desired notification option from the available choices.
6. Turn Focused Inbox On/Off
The Focused Inbox feature separates your emails into two tabs: Focused and Other. Important emails are sorted into the Focused tab, while the rest go to Other. If you prefer a different email organization method, you can turn off the Focused Inbox feature. Here’s how:
- Tap on Settings in your Outlook app.
- Scroll down to the Email section.
- Toggle the button for Focused Inbox to turn it on or off.
7. Turn the Organize Email by Thread On/Off
Organizing emails by thread groups them based on the replies, making it easier to follow conversations. If you find this feature helpful, you can turn it on. Here’s how:
- Tap on Settings in your Outlook app.
- Scroll down to the Email section.
- Toggle the button for “Organize Email by Thread” to turn it on or off.
Conclusion
Customizing your Outlook view can enhance your productivity and make your email management more enjoyable. From sorting emails to changing the theme and adjusting display density, there are various ways to personalize your Outlook experience. Experiment with different settings and find the setup that works best for you. And remember, if you ever want to revert to the default settings, you can easily do so. Enjoy your new and improved Outlook view!
Experiencing difficulties with your Device, check out our “How To” page on how to resolve some of these issues.