The Bixby key on Samsung Galaxy phones has been a topic of contention for many users. While some find it useful, others find it intrusive and would prefer to remap it to perform other functions. If you’re one of those users who wants to customize the Bixby key on your Samsung Galaxy phone, this guide is for you.
In this comprehensive tutorial, we will explore different methods to remap the Bixby key on various Samsung Galaxy phone models. Whether you have the latest Samsung Galaxy S20 or an older device like the Galaxy S9, we’ve got you covered. So, let’s dive in and discover how you can personalize the Bixby key to suit your needs.
Bixby and the Bixby Key
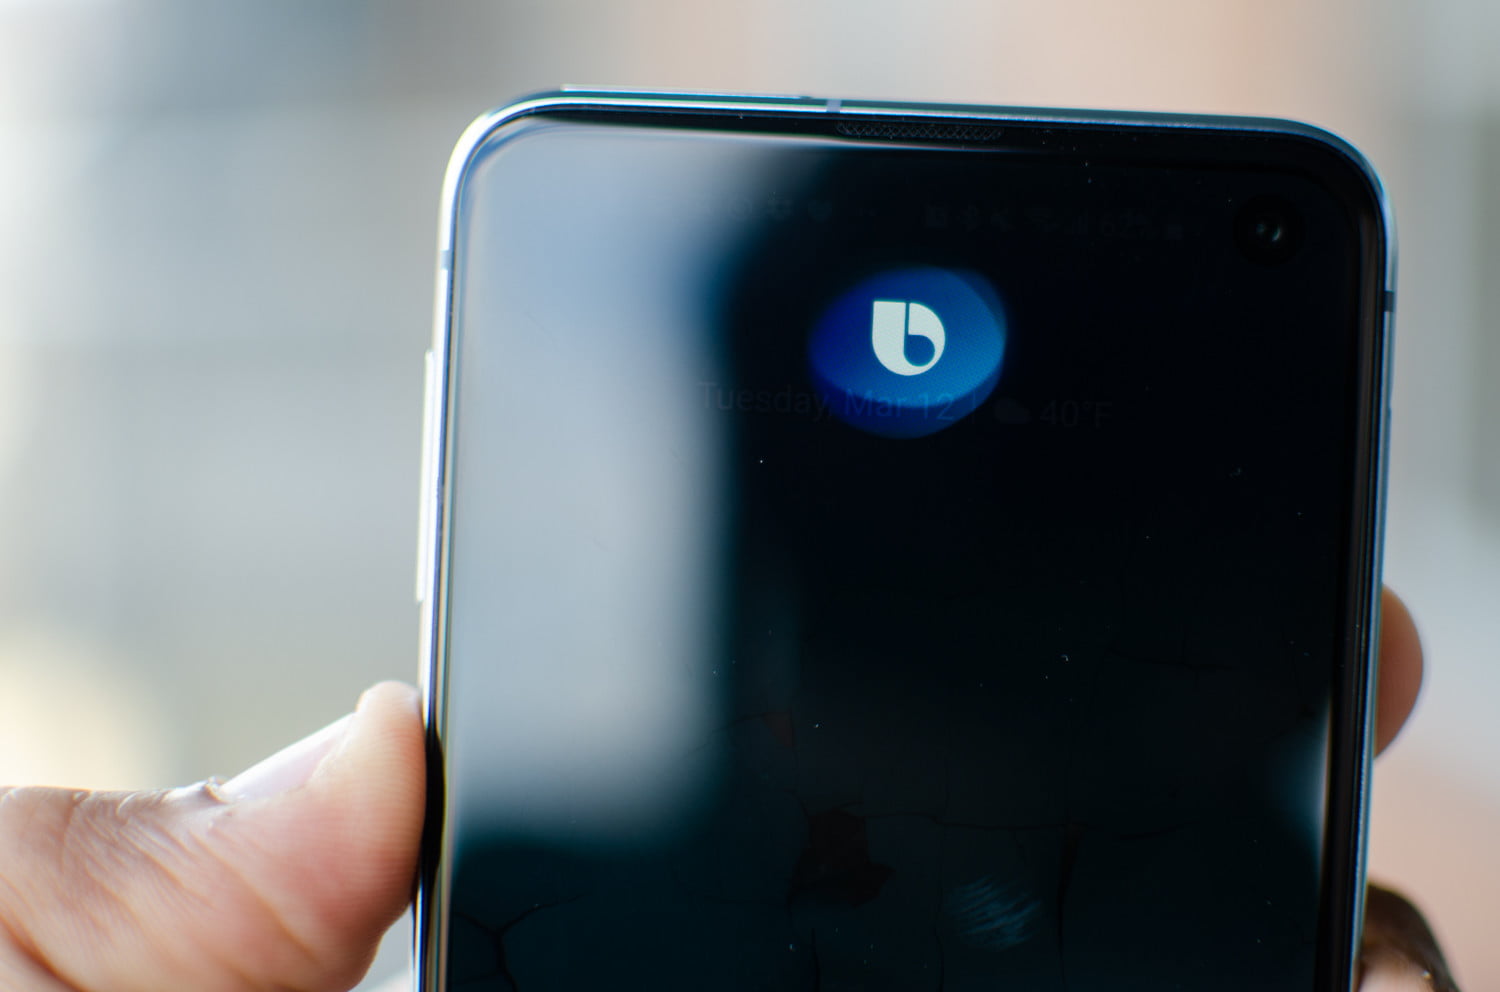
Before we dive into the remapping process, let’s first understand what Bixby is and why the Bixby key is a significant feature on Samsung Galaxy phones. Bixby is Samsung’s virtual assistant, designed to provide voice control and assistance. It offers features like launching apps, performing tasks, answering questions, and more.
The Bixby key, usually located on the side of the phone, is a physical button dedicated to activating Bixby. By default, pressing the Bixby key activates Bixby Voice, allowing you to interact with the virtual assistant. However, many users find this feature unnecessary and would prefer to assign a different function to the Bixby key.
Remapping Bixby on Samsung Galaxy S20 and Newer Models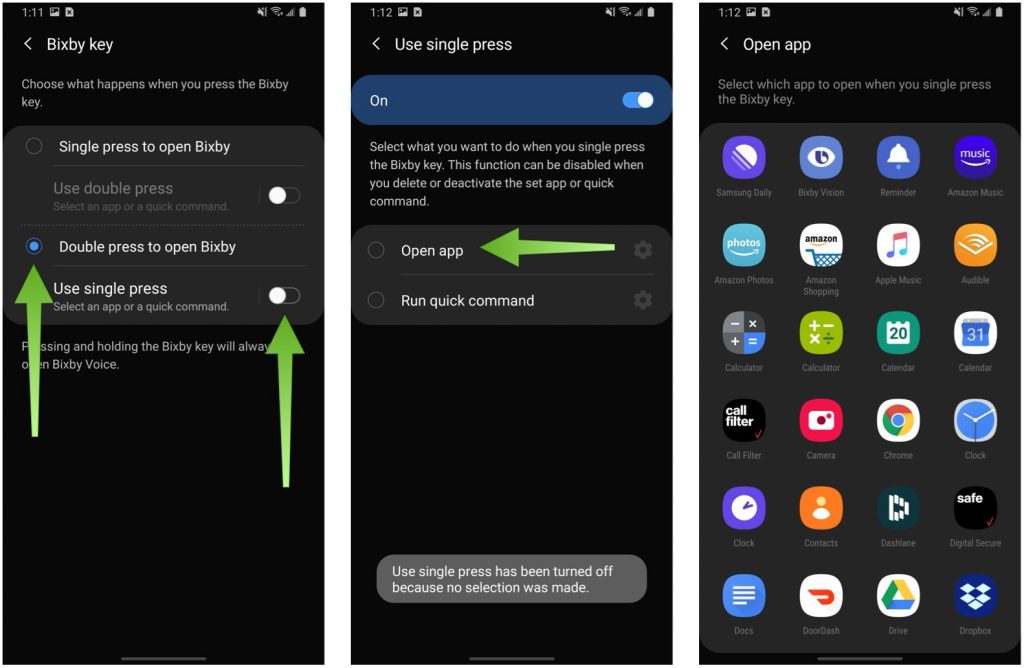
If you own a Samsung Galaxy S20 or a newer model, you may have noticed that there is no dedicated Bixby key. Samsung has merged the Bixby functionality with the power button on these devices. To change how Bixby works with the power button, follow these steps:
- Go to Settings > Advanced features > Side key.
- Enable the Double press switch option.
- Tap the settings icon next to Open app.
- Select the app you want to launch when double-pressing the power button.
- Under the Press and hold section, choose the Power off menu option.
By following these steps, you can effectively disable Bixby’s association with the power button, reducing the chances of accidentally triggering the virtual assistant.
Remapping Bixby on Samsung Galaxy S10 and Older Models
For Samsung Galaxy S10 and older models, the Bixby key is a physical button separate from the power button. While you have fewer options for remapping the Bixby key on these devices, you can still customize its functionality through the system settings. Here’s how:
- Go to Settings > Advanced features > Bixby key.
- Tap the Get started button and log in with your Samsung account if prompted.
- Choose the Single press to open Bixby option.
- Select the app you want to replace the default Bixby key action.
- Choose the Double press to open Bixby option.
- Select the app you wish to assign to it.
By following these steps, you can assign different functions to the single press and double press gestures of the Bixby key on your Samsung Galaxy S10 or older model. This allows you to make the Bixby key more useful and tailored to your preferences.
Exploring Third-Party Apps for Bixby Remapping
If the built-in remapping options on your Samsung Galaxy phone don’t provide the level of customization you desire, you can turn to third-party apps for more advanced remapping capabilities. These apps offer additional features and flexibility to customize the Bixby key according to your specific needs. Here are a few popular options:
- Tasker: Tasker is a powerful automation app that allows you to create custom actions and remap the Bixby key to perform a wide range of tasks. It offers extensive customization options but requires a purchase to unlock its full potential.
- Bixby Remap: Bixby Remap is another app specifically designed to remap the Bixby key. It offers a user-friendly interface and allows you to assign various functions to the Bixby key based on different gestures and actions.
- Button Mapper: Button Mapper is a versatile app that not only supports Bixby remapping but also allows you to customize other hardware buttons on your Samsung Galaxy phone. It offers a range of pre-defined actions and the ability to create your own custom actions.
These third-party apps can enhance your Bixby remapping experience and provide more options for personalization. However, keep in mind that using third-party apps may require additional permissions and may not be as seamlessly integrated with the system as the built-in remapping options.
Frequently Asked Questions about Bixby Remapping
To address some common queries about Bixby remapping, we’ve compiled a list of frequently asked questions and their answers:
Can I remap the Bixby button to the power button?
On older Samsung phones, mapping the Bixby button to the power button may not be directly possible using native options. However, you can explore third-party remapping apps to achieve this functionality.
What can I remap my Bixby button to?
You can remap the Bixby button to various apps and actions based on your preferences. Popular choices include launching the camera, opening Google Assistant, controlling media playback, or triggering custom shortcuts.
Why did Samsung introduce the Bixby button in the first place?
Samsung introduced the Bixby button to promote its virtual assistant and provide users with a dedicated way to access Bixby’s features. However, due to user feedback, Samsung later allowed remapping options to accommodate user preferences.
Conclusion
Customizing the Bixby key on your Samsung Galaxy phone can significantly enhance your overall user experience. Whether you have the latest Samsung Galaxy S20 or an older model, you can remap the Bixby key to perform functions that align with your needs and preferences. By following the steps and exploring third-party apps mentioned in this guide, you can take full control of the Bixby key and make it a valuable asset on your Samsung Galaxy phone.
Experiencing difficulties with your Device, check out our “How To” page on how to resolve some of these issues.