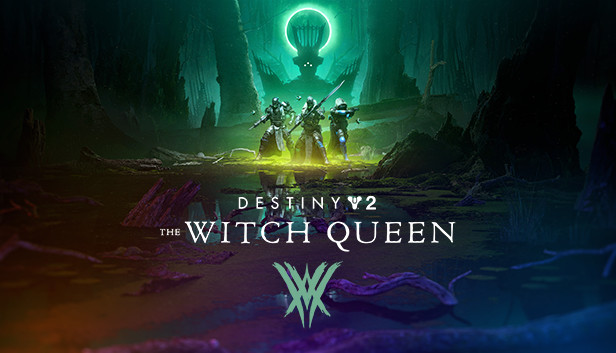
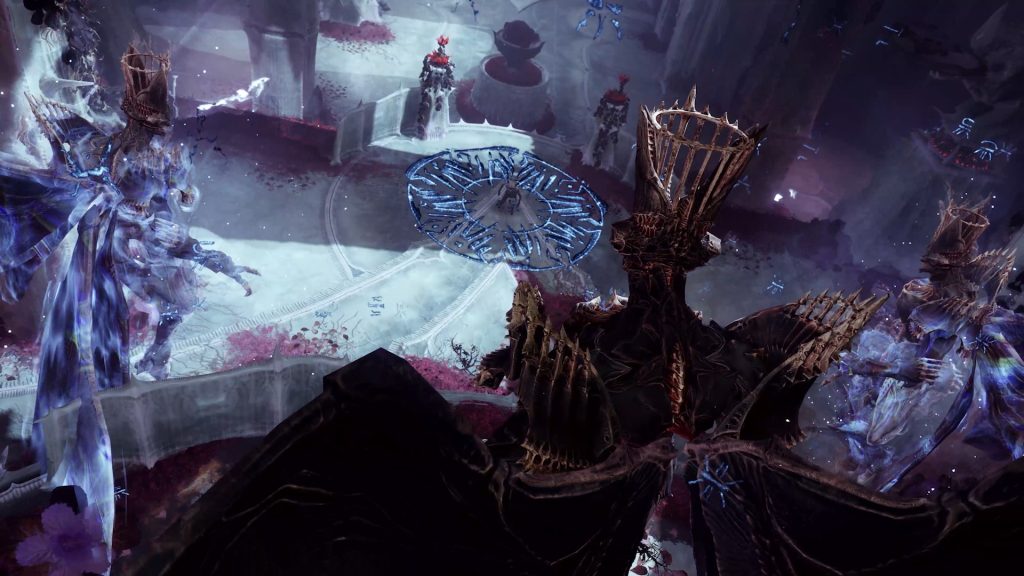
Destiny is a very popular game among users and it is a multiplayer first-person shooter. Destiny 2 was released in 2017 for PC users. The Witch Queen is Destiny 2’s latest major expansion. The update brings tons of new content in the form of weapons, challenges, skins, and more. But many users are facing the Destiny 2: Witch Queen, crashing error.
There are two situations in which the game crashes. At first, when launching the game, the screen goes black and the game crashes. After that, the whole game system crashes and to fix this problem, the user needs to restart the system. While some users claim that the error appears after a few minutes of playing the game.
Meanwhile, some players may experience Destiny 2: Witch Queen crash due to outdated DirectX versions, outdated Windows versions, problems with the Microsoft Visual C++ redistributable, overlay application issues, CPU/GPU forced pulse, PC compatibility issues with game system requirements, etc. can also cause problems. Since we know the possible reasons, we can look into the workaround below.
How to Resolve Destiny 2: Witch Queen crash Issue

Now, if you are also one of the victims of the Destiny 2: Witch Queen crash problem then below listed are some workarounds that may help you. Chances are, this problem has been common to PC players for years. Although the game looks good, users may experience problems due to several reasons.
Solution 1: Check Destiny 2 Official Twitter Handle
One of the reasons behind Destiny 2: Witch Queen crash issues can happen due to some bug in the game. Destiny 2 won’t work properly if there is some glitch in the game. To check, visit their official Twitter handle and see if there are any tweets about the issues with Destiny 2.
If yes, then, unfortunately, It cannot be resolved on your part. If there is a glitch and none of the workarounds help, then the only option you have is to wait for the Destiny 2 team to fix the problem.
Solution 2: Check your Internet Connection
Slow or unstable networks can also cause Destiny 2 crashing problems. To check your internet speed, run a speed test on your network online. This will help measure your network’s current upload and download bandwidth. If the test results show that your internet network has problems, then follow the steps listed down below.
Step 1: Restart the modem or router to refresh the connection with the ISP’s servers.
Step 2: Unplug your router from the outlet and wait 5-10 seconds before plugging it back in.
Step 3: Once done, run the test again on your network to check if the problem is resolved.
Step 4: If the problem persists, before contacting your service provider, check the below-mentioned solution. If that doesn’t work, then ask your Internet Service Provider to improve their service.
Solution 3: Power Cycle your Router
Well, before contacting your Internet Service Provider, you can try a little on your part to fix this problem. You can power cycle your modem and router to try to solve the network problem. Check the below-listed steps to power cycle your router:-
Step 1: Long press the power button on your router or modem to turn it off.
Step 2: Next, you just need to unplug all the wires from the router or modem.
Step 3: Now, wait at least 10-20 seconds and plug them in.
Step 4: After that, turn on the router via the power button and wait for the lights to start flashing again, especially the Internet indicator light.
Step 5: That’s it. Now check your internet speed again. If the network speed is still slow, call your Internet Service Provider and ask them to fix it.
Solution 4: Update Destiny 2: The Witch Queen
In case you haven’t updated your Destiny 2: The Witch Queen game in a while, make sure to follow the step listed down below to check for updates and install the latest patch.


Step 1: Open the Steam client.
Step 2: Go to Library.
Step 3: Click on Destiny 2: The Witch Queen in the left pane.
Step 4: It will automatically search for available updates. If an update is available, be sure to click Update.
Step 5: Installing the update may take some time.
Step 6: Once done, make sure to close the Steam client.
Step 7: Finally, restart your PC to apply the changes and then try to launch the game again.
Solution 5: Update Graphics Driver
Updating the graphics driver on your Windows system is always necessary to run all programs smoothly. To update the Graphic drivers, follow the steps listed down below:-
Step 1: Right-click on the start menu to open the quick access menu.
Step 2: Click Device Manager from the list.
Step 3: Now, double-click the Display Adapters category to expand the list.
Step 4: Then, right-click on the name of the dedicated graphics card.
Step 5: Select Update Driver.
Step 6: Select Automatically search for drivers.
Step 7: The updater will automatically download and install the latest version if available.
Step 8: Once done, remember to restart the computer to change the effects.
You can also manually download the latest version of the graphics driver and install it directly from your graphics card manufacturer’s official website. Nvidia graphics card users can update the GeForce Experience app through the official website. Meanwhile, users of AMD graphics cards can also visit AMD’s website.
Solution 6: Update Windows
Updating the Windows Operating System version is always essential for PC users as to minimize system crashes and compatibility issues. Meanwhile, the latest version mainly includes additional features, improvements, security fixes, and more. To update the windows, follow the steps listed down below:-
Step 1: Press the Windows key + I to open the Windows Settings menu.
Step 2: Next, click Update & Security.
Step 3: Select Check for updates in the Windows Update section.
Step 4: If a feature update is available, select Download and install. The update process may take some time.
Step 5: Once done, restart your computer to install the update.
Solution 7: Check system requirements
First, you need to make sure that the system requirements for the game are compatible with your PC hardware. Sometimes, low-end PC configuration or outdated hardware can lead to some problems such as launching games. Now, if you are not sure about compatibility, you can follow the minimum and recommended game requirements listed down below.
Minimum System Requirements:
Requires a 64-bit processor and operating system
OS: Windows 7 / Windows 8.1 / Windows 10 64-bit (latest Service Pack)
Processor: Intel Core i3 3250 3.5 GHz or Intel Pentium G4560 3.5 GHz / AMD FX-4350 4.2 GHz
Memory: 6 GB RAM
Graphics: NVIDIA GeForce GTX 660 2GB or GTX 1050 2GB / AMD Radeon HD 7850 2GB
Network: Broadband Internet connection
Storage: 105 GB available space
Recommended System Requirements:
Requires a 64-bit processor and operating system
OS: System Windows 7 / Windows 8.1 / Windows 10 64-bit (latest Service Pack)
Processor: Processor Intel Core i5 2400 3.4 GHz or i5 7400 3.5 GHz / AMD Ryzen R5 1600X 3.6 GHz
Memory: 8 GB RAM
Graphics: NVIDIA GeForce GTX 970 4GB or GTX 1060 6GB / AMD R9 390 8GB Memory 8 GB RAM
Network: Broadband Internet connection
Storage: 105 GB available space
Solution 8: Disable Windows Firewall or Anti-Virus Program
Chances are your default Windows Defender firewall protection or any third-party antivirus is preventing ongoing connections or game files from working properly. So make sure to disable or temporarily disable real-time protection and firewall protection. You should then try to launch the game to check if the issue of Destiny 2: The Witch Queen Crashing on PC is resolved. To disable the firewall, follow the steps listed down below:-
Step 1: Click the Start menu.
Step 2: Type firewall.
Step 3: Select Windows Defender Firewall from the search results.
Step 4: Now, click Turn Windows Defender Firewall on or off from the left pane. A new page will open.
Step 5: Select the Turn Windows Defender Firewall off option (not recommended) for private and public network settings.
Step 6: After selecting, click OK to save the changes.
Step 7: Finally, restart your computer.
Similarly, you should also disable Windows security protection. Just follow the steps listed below.
Step 1: Press the Windows key + I to open the Windows Settings menu.
Step 2: Click Update & Security.
Step 3: Click Windows Security in the left pane.
Step 4: Now, click the Open Windows Security button.
Step 5: Go to Virus and threat protection.
Step 6: Click Manage Settings.
Step 7: Next, you just need to turn off the real-time protection switch.
Step 8: If prompted, click Yes to continue.
Step 9: In addition, you can also turn off the protection provided by the cloud, and Tamper Protection if you want.
Wrapping Up
I hope the above-listed solutions helped you in resolving the Destiny 2: Witch Queen crash error. If it did, let us know in the comments section down below.
Experiencing difficulties with your Device, check out our “How To” page on how to resolve some of these issues.


