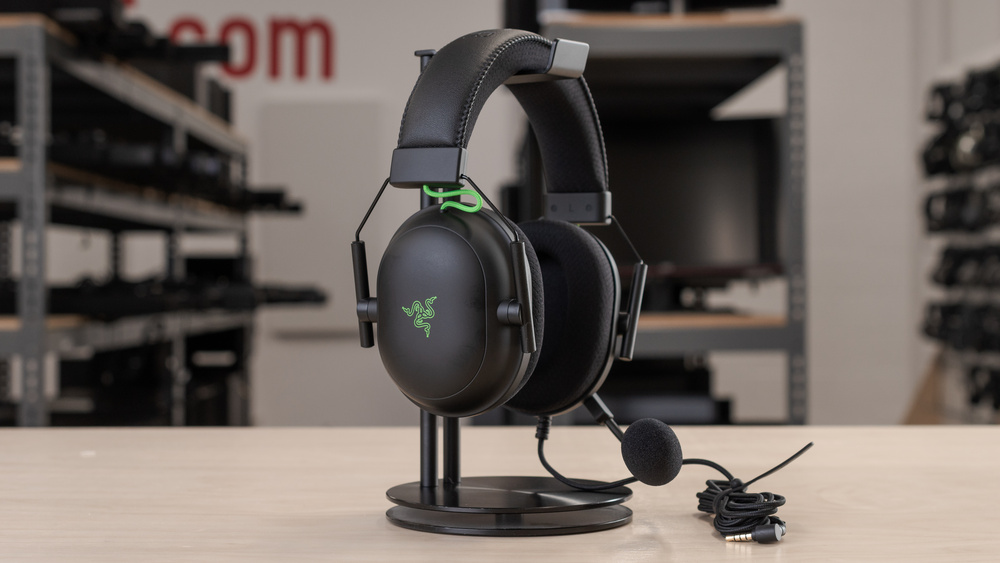
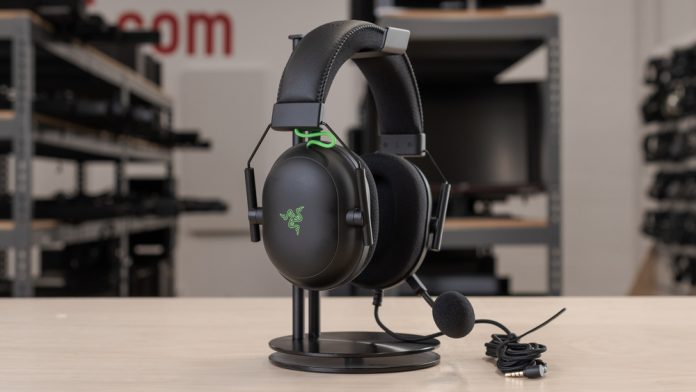
We all know that the latest headset coming to the market gives users the best virtual 7.1 channel surround sound experience while gaming. Gone are the days when we had to face problems with our audio systems, however, as companies like Razer completely changed this market by offering premium products like the Razer BlackShark V2, V2 X or V2 Pro. But, complaints are floating around, about the Razer BlackShark mic not working.
Many headphone companies have entered the market. However, since 2005, Razer has launched many products such as mice, keyboards, speakers, headphones, etc. and dominated the market. Unfortunately, however, in the past few days, many users have started reporting that the mic of the Razer headset is not working properly, especially for the Razer BlackShark V2, V2 X and V2 Pro.
The reason for this issue is still undetermined but after hours of brainstorming, I have found some fixable workarounds if your Razer BlackShark mic is not working. So follow the solutions listed down below to resolve the issue.
How To Fix Razer BlackShark Mic Not Working

So, here are some of the methods I have mentioned to fix the Razer BlackShark Mic not working properly issue. Therefore, make sure to follow each solution in turns unless you get a solution that works for you. Meanwhile, it is also possible that the fixes may not work for you depending on what is causing this error as sometimes the error is caused by an internet hardware problem. Anyways, without further ado, let’s look into the possible solutions.
Solution 1: Check the Mute Button
You may accidentally press the mute button on your Razer headset. Therefore, if this is the case then you need not to worry as this is not a bug. So, to get your Razer BlackShark V2, V2 X or V2 Pro Microphone working again, check if you pressed the mute button. If yes, re-enable it and check if the problem is resolved or not.
Solution 2: Check For Damage
If your Razer BlackShark V2, V2 X, or V2 Pro mic isn’t muted and even if you’re having problems with the microphone on your headset, it’s possible that your headset is damaged or there’s a fault in the cable. So, you just need to take your earphone and check it carefully to check if the cable is faulty or not.
Also make sure that the headphone is not damaged at all. However, assuming you find your headphones broken or severely damaged, we recommend that you stop using them immediately and go to the nearest service center to get them repaired. In the meantime, if there is no service center near you, contact the support team and explain your condition.
Solution 3: Run The Program Using Admin Rights
It’s possible that the app you’re trying to launch doesn’t have permission to use your device. Therefore, you must make sure to give it permission. However, you only need to run the program with administrator rights.
To run the program as an admin, follow the steps listed down below.
Step 1: Hover your mouse over your desktop and right click on the application you want.
Step 2: From the drop down menu, select the option Run as administrator. That is all.
Step 3: Now, connect your Razer BlackShark V2, V2 X or V2 Pro and check if the mic not working problem is resolved or not.
Solution 4: Verify If Your Headphone is Connected To Your Device Properly
Have you properly connected the headset to your device? Well, most of us don’t plug the headset into the correct port of the device and due to the poor connection, it doesn’t work properly. However, the BlackShark V2, V2 X or V2 Pro headset models do not have the usual 3.5mm jack like other headset models. Instead it has a USB pin. Therefore, it is more important that the headset is properly connected to your device.
Solution 5: Check Whether The Mic Is Enable/Disable
We often find that many users get this error just because they have turned off the microphone on their device and start to think that the microphone is broken. But this is not the case. It will automatically start working after you turn on the microphone on your device. So, if you are using the Razer BlackShark V2, V2 X and V2 Pro on Windows PC, simply follow the steps listed down below to enable the mic for your PC:
Step 1: Hover over the Control Panel and go to the Sound option.
Step 2: Then, switch to the Recording tab.
Step 3: Now, right-click on an empty space and select View Disabled Devices.
Step 4: It will show you all the devices connected to your PC.
Step 5: Therefore, right-click on the name of the headset and select the Enable option to enable the microphone on your PC.
Solution 6: Update Audio Driver
If you recently updated your audio driver, you can move to the next solutions. However, if it’s been a while since you updated your audio driver, we recommend updating it because sometimes older drivers can also cause this type of problem. So, to update the audio driver, follow the steps listed down below:-
Step 1: Hover over Device Manager and expand the Audio Inputs and Outputs section.
Step 2: Next, right-click on your device manufacturer’s name.
Step 3: From the drop-down menu, select Update Driver.
Step 4: That is all. Now wait a few seconds until it checks for updates.
Step 5: Then, if an update is available, it will automatically be downloaded and installed on your PC.
Step 6: Once done, restart your PC and connect your headphones to check if the mic not working problem is resolved or not.
Solution 7: Update Windows
Just like audio drivers, it’s important to update your Windows operating system to the latest version. Many users have previously reported that the mic not working issue was automatically fixed after updating their Windows to the latest version. So to update the Windows to the latest version, follow the steps listed down below:-
Step 1: Launch the start menu.
Step 2: Using the Windows search bar, search for Windows Update.
Step 3: Next, open it and on the next page tap the Check for Updates button.
Step 4: Then, wait for it to check for updates and if an update is available, download and install it on your PC. This will definitely fix the problem and get your headset mic working again.
Solution 8: Delete All Razer Applications
Razer manually downloads and installs a lot of apps to set up the device, but sometimes this becomes the main cause of this error. So, to fix this problem you need to remove all Razer related programs. To do this, follow the steps listed down below:-
Step 1: Click on the Windows search bar and search for More programs.
Step 2: Then, in the next window a list of installed programs will appear.
Step 3: Select Razer related programs.
Step 4: Then, click on it and hit the uninstall button.
Solution 9: Troubleshoot the Audio Devices
We’re sorry that none of the tips we mentioned earlier in this guide worked for you. However, in the end, we suggest that you try to troubleshoot your audio device by following the steps listed down below.
Step 1: First of all, right-click on the Sound icon located at the bottom right corner of the screen.
Step 2: After that, select the Troubleshoot sound problems option.
Step 3: Then, it will open the list of devices for which you want to run the troubleshooter.
Step 4: From there, select the device and wait until the process gets finished.
Wrapping Up
I hope this guide helped you in resolving the Razer BlackShark mic not working problem. If it did, let us know in the comments section down below.
Experiencing difficulties with your Device, check out our “How To” page on how to resolve some of these issues.


