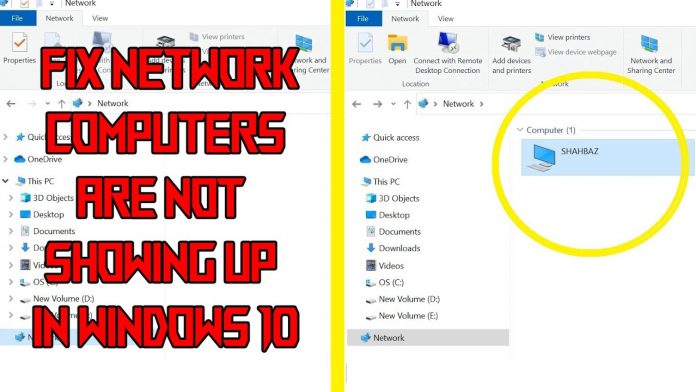
A network connection is essential for accessing the internet and network services on a device. However, sometimes users may encounter the issue of their computer not showing up on the network, which can be frustrating. This problem can occur due to various reasons, including network configuration issues, faulty Windows updates, or adapter settings. In this comprehensive guide, we will explore several solutions to help you resolve the “computer not showing up on network” problem and regain seamless network connectivity.
How to fix Computer Not showing up on Network problem

Solution 1: Check Internet Connection
One of the first steps to take when facing the “computer not showing up on network” problem is to ensure that your internet connection is working properly. Sometimes, temporary network glitches can prevent your computer from appearing on the network. Restarting your computer can often fix these issues. To do this, click on the Windows icon, select the power button, and choose the restart option. After restarting, check if your computer is now visible on the network by opening File Explorer and navigating to the Network section.
Solution 2: Update Windows
Buggy updates can sometimes cause network-related problems, including the issue of a computer not showing up on the network. It is crucial to keep your Windows system up to date to ensure optimal performance and compatibility. To check for updates, access the Settings app by clicking on the Windows icon and selecting the gear-shaped icon. From there, navigate to “Update & Security” and click on “Check for updates”. If updates are available, download and install them. After the update process is complete, restart your computer and check if the issue persists.
Solution 3: Change Advanced Sharing Settings
Network discovery and file sharing settings play a significant role in determining whether your computer is visible on the network. If network discovery is not enabled for your PC, you can manually configure it through the Settings app on Windows 10. Here’s how:
- Open the Settings app from the Start menu and navigate to the “Network & Internet” section.
- Click on “Network and Sharing Center” under “Advanced Network Settings”.
- When the Control Panel window opens, click on “Change advanced sharing settings” on the left side.
- Under the “Private” network profile, select “Turn on network discovery” and enable the option for automatic configuration of devices connected to the network.
- Additionally, select the option for “Turn on file and printer sharing”.
- Expand the “All Networks” section and select “Turn on sharing so anyone with network access can read and write files in the Public folder”.
- If you have an older PC with an outdated operating system, select “Enable file sharing for devices that use 40 or 56-bit encryption” under File sharing connections.
- Finally, click on “Save Changes” to apply the new settings.
After making these changes, restart your computer and check if your computer is now visible on the network.
Solution 4: Turn On SMB 1.0/CIFS File Sharing Support
Enabling the SMB 1.0/CIFS file-sharing option can help resolve the issue of your computer not showing up on the network. Follow these steps:
- Type “control” in the search box and select “Control Panel” from the search results.
- Change the view to “Category” if needed.
- Click on the “Programs and Features” section.
- In the Programs and Features window, click on the “Turn Windows features on or off” link.
- Locate “SMB 1.0/CIFS File Sharing Support” and expand it.
- Check the box for “Automatic Removal of SMB 1.0/CIFS,” “SMB 1.0/CIFS Client,” and “SMB 1.0/CIFS Server”.
- Click the OK button to save the changes.
- Restart your computer to apply the new settings.
Solution 5: Change the Startup Type of FDRS
Function Discovery Resource Publishing Service(FDRS) is responsible for publishing resources to the network and enabling network discovery. Changing the startup type of FDRS can potentially resolve the issue of your computer not showing up on the network. Follow these steps:
- Press the Windows and R keys simultaneously to open the Run dialog box.
- Type “services.msc” and click OK to open the Services app.
- Scroll down to find “Function Discovery Resource Publishing Service” and double click on it.
- In the properties window, click on the “Startup Type” dropdown menu.
- Select “Automatic(delayed start)” from the list.
- Click Apply and OK to save the changes.
- Restart your computer to apply the new settings.
Solution 6: Update Network Card Driver
Outdated network drivers can cause network-related issues, including the problem of your computer not appearing on the network. Updating your network card driver to the latest version can potentially resolve this issue. Here’s how:
- Press the Windows Key + X and click on “Device Manager” to open it.
- In the Device Manager window, expand the “Network Adapters” category.
- Right-click on the network driver and select “Update driver”.
- Choose the option to search for updated drivers automatically.
- Follow the on-screen instructions to complete the driver update process.
- Once the driver is updated, restart your computer.
- After the restart, check if your computer is now visible on the network.
Final Thoughts
Encountering the issue of a computer not showing up on the network can disrupt your network connectivity and file sharing capabilities. By following the solutions mentioned above, you can troubleshoot and resolve this problem effectively. Remember to check your internet connection, update Windows, adjust advanced sharing settings, enable SMB file sharing, modify the FDRS startup type, and update network card drivers. By implementing these solutions, you should be able to restore the visibility of your computer on the network and enjoy uninterrupted network connectivity.
Experiencing difficulties with your Device, check out our “How To” page on how to resolve some of these issues.


