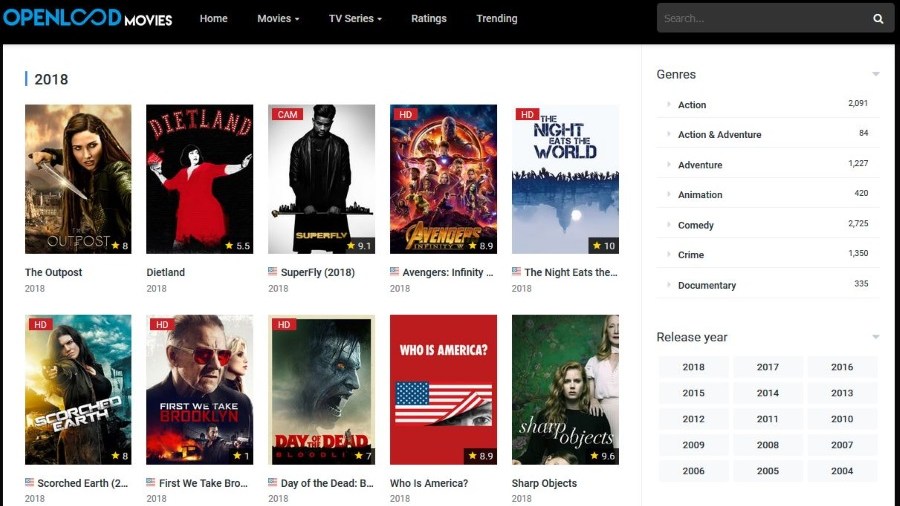
Media content has a range of benefits. The entertainment industry is broad and full of materials customized to suit the end-user. The media has great coverage on the items available. Across the internet, there are many available platforms to load and save the media content of preference. One such platform is Kodi but, many users have no idea how to install Openload on Kodi and thus seek help.
Users can select the sites to use and organize the media on their devices. Add-on features provide users with an opportunity to enjoy movies and TV shows with high-quality streaming. Kodi application is customized with features that provide an experience to its users.
Kodi has uploaded features such as one-click that make it entertaining. Openload adds-on provides quality material. Openload on Kodi enables the users to gain access to new releases and current releases. Kodi is legal and free to use to all audiences. There are legal questions raised by users about the application.
Kodi is available on iOS and Android devices from the Play Store. The installation of Openload on Kodi is easy and can be customized for every user. Kodi can be used by multiple profiles to provide experience to a huge audience. To know how to install Openload on Kodi, read on further.
How to install Openload on Kodi

Install Openload on Kodi on Mac Operating system
Step 1: First you need to select an appropriate version of Kodi for your operating system. Pick the suitable version.
Select the version of preference from the versions available. Kodi has three versions which include Stable build which has final releases with few bugs. Nightly built is the second version which includes Experimental builds. The monthly build has features incorporated into the two.
Step 2: Once the application is downloaded double click on the DMG to mount it.
Step 3: In the window that appears, drag the Kodi icon onto the application short cut and wait for the copy to complete.
Step 4: Launch the application and verify the developer by clicking the settings.
Step 5: Now, select Security & Privacy option.
Step 6: Then, click on the option labeled as General to open.
Step 7: Add, media, plugins, and more.
When Kodi is first launched a blank screen will appear. Select the menu on the left. You will notice that your library is empty. To add some media sources, follow the steps listed down below:
Step 1: Click on the cog icon to reveal the settings menu and then choose Media Settings.
Step 2: Under the Manage sources, select the type of media of preference. The options available include Video, music, or pictures.
Step 3: Click Add Videos to bring up the New Source dialogue box.
Step 4: Click Browse to pick a location or share protocol where you can add more than one source. Name it and click Ok button.
Step 5: Now, you need to specify the type of media you want to add. For example, for videos, one can choose between movies, music videos, and TV shows.
Step 6: Click OK for Kodi to start scanning the media.
Plugins are needed to make the most of the platform. Choose Adds-on from the main menu and select Download to view the categories available. Pick one and open the plugins available. Select and download which you want to be installed on Kodi.
Openload movies on Kodi
Many instances will require one to install Openload on Kodi. These entail the use of Kodi 17 Jarvis which can be installed using the steps below.
Step 1: Launch the home screen of the application. At the top right corner, select the option indicated System where a list of options appears.
Step 2: Scroll through the options available and select the File manager option.
Step 3: Select the add source option and click OK. Then, select a preferable source media and click OK.
Step 4: Open the Home Screen through the option indicated back.
Step 5: Select the option indicated System. Once selected, a mini menu will appear.
Step 6: Click the Add-On option from the available list and then, select the install from the zip file option.
Step 7: Choose the selected media source and include it in the zip option.
Step 8: Click on the video add-ons and select the Openload movies and then hit the Install button.
Openload profiles
The Openload on Kodi can be used by many users. For instance, the user can create multiple profiles. Kodi is likely to be used by more than one person. In this case, it’s important to set up different profiles for each user. To set up a profile, open the System option and select profiles and add a profile. One can set a password, choose whether to share content and sources with other profiles, or keep these completely separate.
Adds-on access
Personalized Kodi is largely about choosing the right add-ons that allow the user easy access to the media content. When Kodi has first installed one has access to the Kodi repository. These are the add-ons that are acceptable by Kodi. For a much wider selection of Add-ons, repositories go to System and select File manager and add source.
Once the source is added, go to the System option and click on the Add-ons option. Select install from zip option and select the repository added. If installed successfully, add some videos through the add-ons get more options.
Select the videos of preference and then click install. These repositories will enable the user to access the content whenever need be.
Wrapping up
Kodi is a free, and open-source media center, there are plenty of options to customize the end-user experience. These range from the overall appearance of Kodi to Openload. The more personalized Kodi, the more the user will rely on the application for all media center needs.
Photos and music can be streamed from online sites. Media content displays from TV streams are possible making it convenient to the user of Kodi. Media content is essential to the entertainment industry for a range of reasons.
The users can use the aforementioned methods to install Openload on Kodi. The media streams can be accessed and customized to suit the needs of the user.
Experiencing difficulties with your Device, check out our “How To” page on how to resolve some of these issues.


