
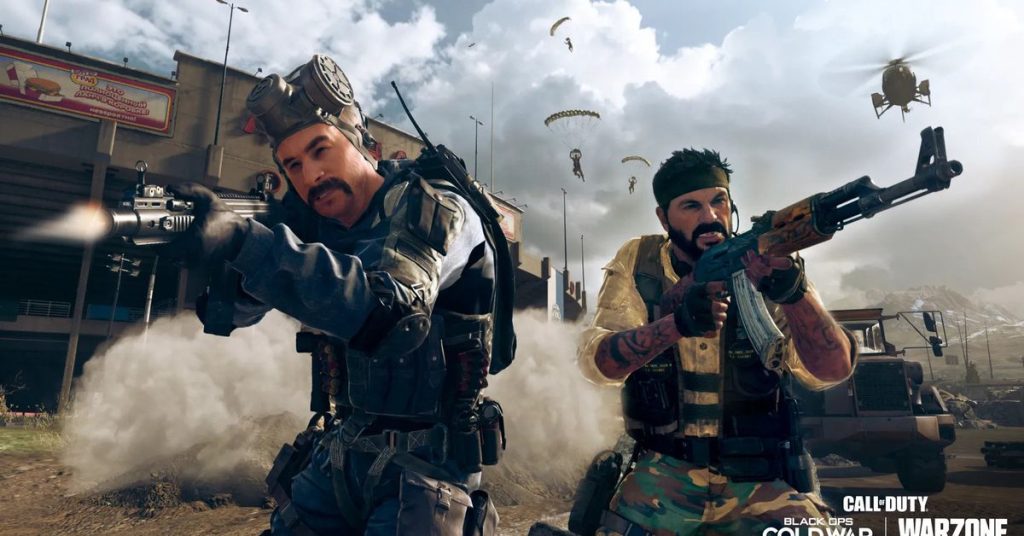
Finally, Call of Duty Warzone was released live by Activision. This is a free online Battle Royale video game for PC, Xbox and PlayStation 4 platforms that was released on March 10, 2020. As we all know, the COD series of games is already too popular and difficult to make. This new game level has flooded the game market, as part of the COD: Modern Warfare game released in 2019. However, the game has a lot of bugs like the Call of Duty Warzone Black Screen, White Flashes and Stuck at Loading Screen.
Several COD Warzone players recently reported on Reddit that the new Battle Royale game has some serious bugs, mainly occurring during gameplay on the battlefield. It’s quite annoying now to have all these glitches in the game where it pops up all over the screen making it impossible for the player to see for a while and can be easily killed by someone else.
One player reported strange white flashes appearing all over the screen while playing the game, most likely when shooting someone. As a result, some gamers also suggest turning off glare in the game settings because the white light looks like a reflection from sunlight, which is distracting.
While another player reported the COD Warzone stucking at the loading screen or lobby, therefore, the player cannot enter the game, which is most annoying. The same happens even after correctly checking all game settings and updating the graphics drivers. At the same time, PS4 users report that the console is overheating.
Now, whatever may be the reason, let’s look into possible solutions for the Call of Duty Warzone Black screen problem.
How to Resolve Call of Duty Warzone Black screen problem

Solution 1: Update your graphics driver
Your graphics drivers are important to get the best performance out of your GPU. When you experience black screen issues in Warzone, your outdated graphics driver could be the culprit. To fix this problem, you need to update your graphics driver. It’s quite essential, especially if you can’t remember the last time you updated it.
There are mainly two ways you can update your graphics driver: manually and automatically.
Option 1: Manually update your graphics driver
If you’re familiar with computer hardware, you can update your graphics drivers manually by visiting the manufacturer’s official website.
Then, find the driver for your version of Windows, then download and install it by following the onscreen instructions.
Option 2: Automatically update your graphics driver
If you don’t have the time, patience, or computer skills to update your graphic drivers manually, you can do it automatically using Driver Easy. Driver Easy will automatically recognize your system and find the appropriate new drivers for your system, and it will download and install them correctly. Follow the steps listed down below to update the graphics drivers automatically using Driver Easy software:
Step 1: Download and install Driver Easy.
Step 2: Run Driver Easy and click the Scan Now button. Driver Easy will then scan your computer and detect any outdated drivers.
Step 3: Click Update All to automatically download and install the correct version of all the drivers that are missing or out of date on your system.
This requires the Pro version which comes with full support and a 30-day money-back guarantee. You will be prompted to upgrade when you click Update All. If you don’t want to upgrade to the Pro version, you can also update your driver to the FREE version. All you have to do is download them one by one and install them manually.
After updating the driver, restart your computer and play Warzone to see if that fixes the problem. If the problem persists, move on to the next troubleshooting step.
Solution 2: Install all Windows updates
Before skipping any other troubleshooting steps, it’s important to always install Windows updates. They address bugs and issues that can affect the stability of your operating system. Also, Windows updates come with improved performance. Therefore, to be able to fix any problems you are having, you should download and install the latest Windows updates. To install new Windows updates, follow the steps listed down below:-
Step 1: In the Search box, type in “check for updates”. Click Check for updates from results.
Step 2: Click on the Check for updates tab. If there are any updates available, it’ll automatically start to download and install it. Simply wait for it to complete and you should be asked to restart your computer.
Step 3: Once you’ve installed the latest Windows updates, click on the Play button and check if your issue has been resolved. If it’s still showing a black screen, don’t worry, there are a few other fixes you can try.
Solution 3: Turn off Windows Firewall
The Windows Firewall is designed to prevent unauthorized users from accessing files and resources on your computer. But there are cases where it doesn’t trust your app. In this case, you should temporarily turn off the firewall when playing Warzone. To turn off the firewall, follow the steps listed down below:-
Step 1: On your keyboard, press the Windows logo key and I at the same time to open the Settings app.
Step 2: Click Update & Security.
Step 3: Click Windows Security.
Step 4: Then, click Firewall & network protection.
Step 5: Select the network which is currently active.
Step 6: Scroll down and under the Windows Defender Firewall section, toggle off the button to disable it. When a prompt appears, simply click Yes.
Also, if you’re using any other anti-virus software, make sure to disable it when you’re playing Warzone.
If you’ve done all the steps above but still no luck, try the next fix below.
Solution 4: Restart the router
While the black screen issue is a graphics issues, some users have reported on Reddit that it could be related to connecting to the Blizzard servers. What fixed the problem was to do a simple reboot of your router and also to change the DNS settings.
Change the DNS settings
In the event of a connection problem, replacing the server with a popular one can save you time in troubleshooting. And here we recommend using Google DNS. To know how to change the DNS Settings, follow the steps listed down below:-
Step 1: On your keyboard, press the Windows logo key and R at the same time to open the Run dialog box.
Step 2: Type control and then press Enter on your keyboard to open the Control Panel.
Step 3: Click Network and Internet. (Note: make sure you view the Control Panel by Category.)
Step 4: Click Network and Sharing Center.
Step 5: Click on your Connections, whether it’s Ethernet, Wifi, or others.
Step 6: Click Properties.
Step 7: Click Internet Protocol Version 4 (TCP /IPv4) > Properties.
Step 8: Click Use the following DNS server addresses:
For Preferred DNS server, type 8.8.8.8
For Alternate DNS server, type 8.8.4.4
Check the box next to Validate settings on exit, then click OK.
After applying the changes, launch Warzone and you will be able to access the home screen.
Wrapping Up
I hope the guide helped you in resolving the Call of Duty Warzone Black Screen. If it did, let us know in the comments section down below.
Experiencing difficulties with your Device, check out our “How To” page on how to resolve some of these issues.


