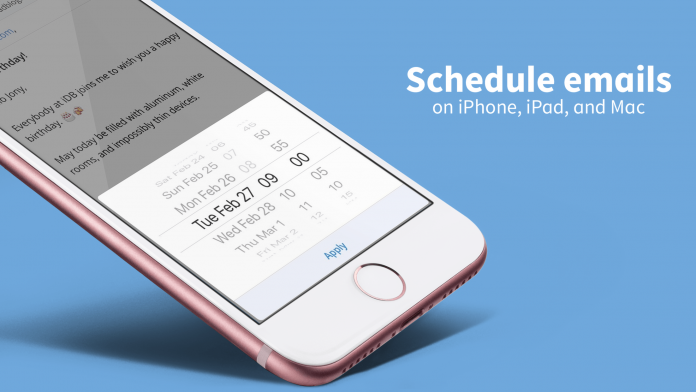
Some emails are effective when they are sent on time, such as birthday wishes, business mails, work lists, etc. But, most of the time we miss out to send mail on time. In this case, you can schedule Emails so that the receiver can receive them on time. However, iPhone and iPad do not come with this feature but the emails can be scheduled with the help of some tricks.
Let’s get a deep dive into this post to know all the tricks to schedule emails on iPhone and iPad.
How to Schedule Emails on iPhone and iPad?
Since the iOS Mail app doesn’t have a scheduling feature, you have to rely on third-party apps such as Spark, Gmail, Microsoft Outlook, etc., to get this done. Let’s scroll down to check the method via Spark and Gmail.
Method 1: Schedule emails Via the Gmail app
Firstly, install the Gmail app and then compose
Then, add recipient, subject, and message
Next, tap the three-dot icon present at the top right corner
Tap on schedule send options, finally, choose the desired date and time to schedule your email.
That’s done!
Pro-Tip:
If you need to change your scheduled date and time, go to Gmail > Scheduled > Select the email> Tap Cancel> Tap email again and then repeat the same steps to compose an email and reschedule it for another time and date.
Important Note:
With the Gmail app, users can schedule up to 100 emails for years in advance.
Method 2: Schedule emails via Spark
Install the Spark app and log in to email by filling up your credentials.
For creating a new email, you can tap on the pen icon and then select recipient, subject and write the message as usual.
Tap on the email scheduling icon in the bottom right corner.
Next, you can select the desired date or select from pre-defined schedules.
To send the mail, tap on the Send icon. That’s done. Our message will be sent at the set date and time. Till then, it is saved in Outbox.
Important Note:
Spark lets you schedule emails up to six months in advance.
Protip:
If you want to reschedule the email, go to the outbox section of the Spark app, select the mail you want to reschedule, then head to edit icon > Schedule icon > Select Customize or Remove Scheduling accordingly.
Experiencing difficulties with your Device, check out our “How To” page on how to resolve some of these issues.


