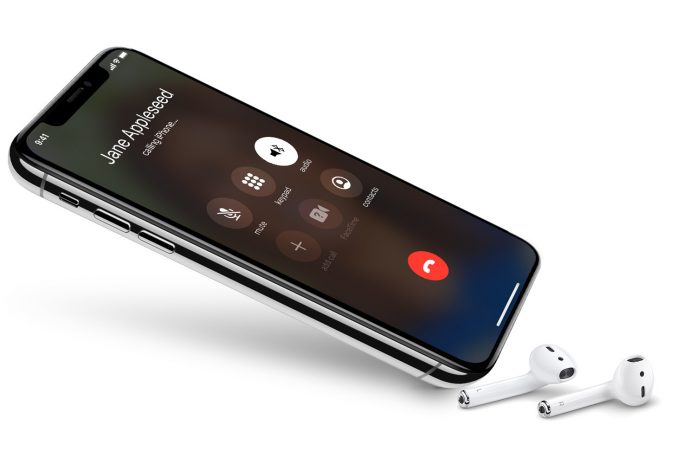
What Is Wi-Fi Calling?
Wi-Fi calling is a feature that allows you to make or receive calls over Wi-Fi using your device and number. You’ll only need a Wi-Fi connection, not any calling network. The speed of the wireless network you’ll connect should have download and upload speeds of at least 2mbps to use this facility.
What are the benefits of having Wi-Fi calling?
You will be able to make calls in rural areas, subways, basements, parking areas, or anywhere just by using a strong Wi-Fi signal. Here are the advantages of having a Wi-Fi calling facility:
It doesn’t use any talk time
You’ll be able to have good voice quality where you are facing poor network issues.
It doesn’t use LTE data
It can extend your battery life
It does not need to install any apps or require any login details.
How to set up Wi-Fi Calling on iPhone
It is easy to set up Wi-Fi calling on your iPhone as you just need to follow some simple steps for doing this. Follow the steps mentioned below to enable Wi-Fi calling.
Open the Settings app on your iPhone. You’ll be able to see it with a gear-shaped icon.
You’ll see a list of your phone settings. Find the “phone” option and tap on that.
Here, you’ll be able to find an option of Wi-Fi calling
Toggle on the slider corresponding to Wi-Fi calling. It will be green when enabled.
Now, it’ll send you a pop-up message to confirm that you really want to enable Wi-Fi calling on your phone. Tap enable. Sometimes, you may need to enter your address as well.
Wi-Fi calling is now enabled on your iPhone, and you can tap on any number from your contacts or type any number in your call log and call it using Wi-Fi calling.
Add a device
You have to add a device to use Wi-Fi calling. Make sure the device you want to add also has the latest version of the software. Follow the steps below to add the device:
First, go to Settings on your iPhone
Head towards the “Phone” option
Tap on Wi-Fi calling
You’ll see an option named “Wi-Fi Calling For Other Devices.” Turn it on.
Get back to the previous screen where you can find “Calls on Other Devices”. Tap on it.
Turn on the option ‘Allow Calls on Other Devices’ if it’s not on
You’ll be provided with a list of your eligible devices under the ” Allow Calls On” option.
Make sure both the devices are turned on
Now, you have to be sure that other devices can accept calls from your iPhone. For that, follow the steps mentioned below.
If the device is an iPad/iPod:
First, go to settings
Head towards Facetime
Turn on Calls from iPhone
If the device is a Mac:
Go to the Facetime app
Select Facetime
Go towards preferences
Turn on Calls from iPhone
(Note – If you’ve not turned on Wi-Fi calling on your iPhone or didn’t turn on Allow Calls on Other Devices, you’ll not be able to add a device. The same thing will happen if your preferred device doesn’t appear under the “Allow calls only” option.
Besides that, you have to use the same Apple ID for iCloud or facetime on both your iPhone and other devices. Otherwise, you’ll not be able to add another device.)
How to make and receive Wi-Fi calls from another device
To make or receive Wi-Fi calls from another device, your carrier should support Wi-Fi calling on Cloud-connected devices. Also, you have to sign in to iCloud and Facetime by using the same Apple ID you use on the iPhone in which you’ve enabled Wi-Fi calling.
If these two things are alright, you can make a Wi-Fi call from your iPad, Apple Watch, or Mac by following some simple steps. Follow these steps below for making a Wi-Fi call from your iPad, iPod touch, or Mac:-
First, make sure that you’ve added your device
Open Facetime
You have to add a contact number and then tap on it
You’ll be able to see an audio button. Tap on it
You can also use apps like contacts, messages, or safari to make a Wi-Fi call.
Experiencing difficulties with your Device, check out our “How To” page on how to resolve some of these issues.


